Help / Examples / Basics (Word) / Start Here
Summary
In this article we go through a number of concatenation (adding files one after the other) examples.
In the first example we combine two word files into a single document. As it is the first example, we go through much more detail of creating, configuring, saving and then building an Agile Document. In subsequent examples, we are less detailed on general SharePoint and Agile Document operations.
The second example discusses Agile Document inserting selective Excel data and images. The third example goes through modifying properties that control how content is inserted. Finally, the fourth example shows how Agile Documents inserts sections.
Please note that the examples described here are easily installed onto your SharePoint site. That installation procedure is described in Installing Examples.
Example 1: Combining Two Word Files
In order to begin using Agile Documents, we save some files in SharePoint. To support that, we need to do a couple SharePoint things. I'll assume you know your way around SharePoint, so this will be brief.
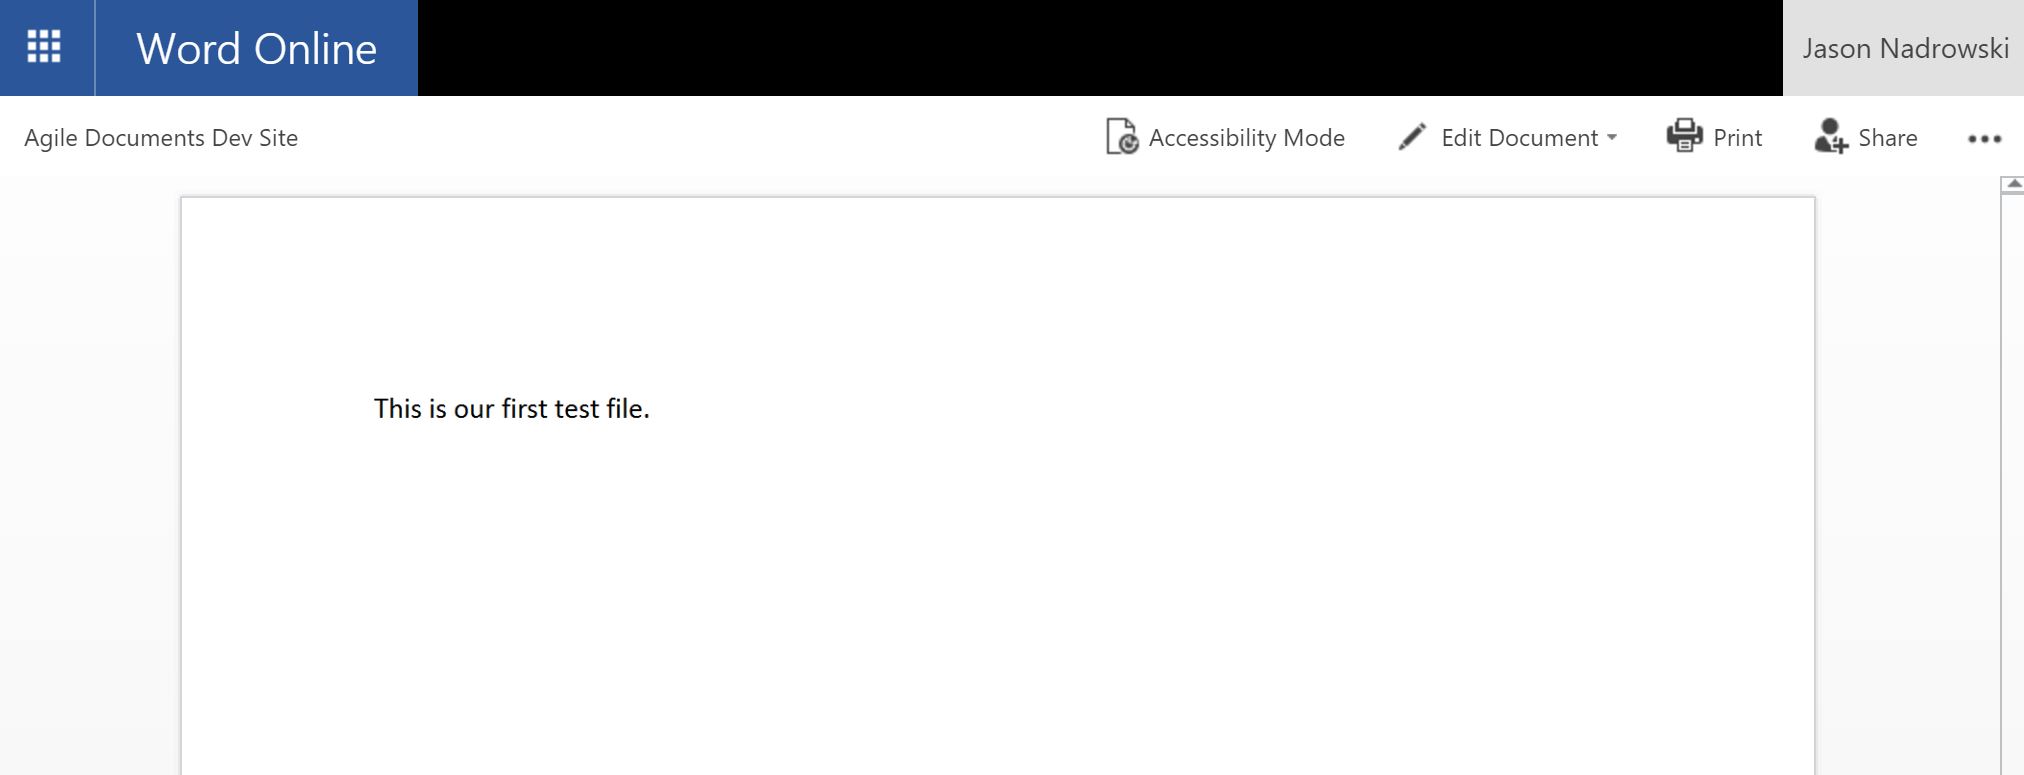
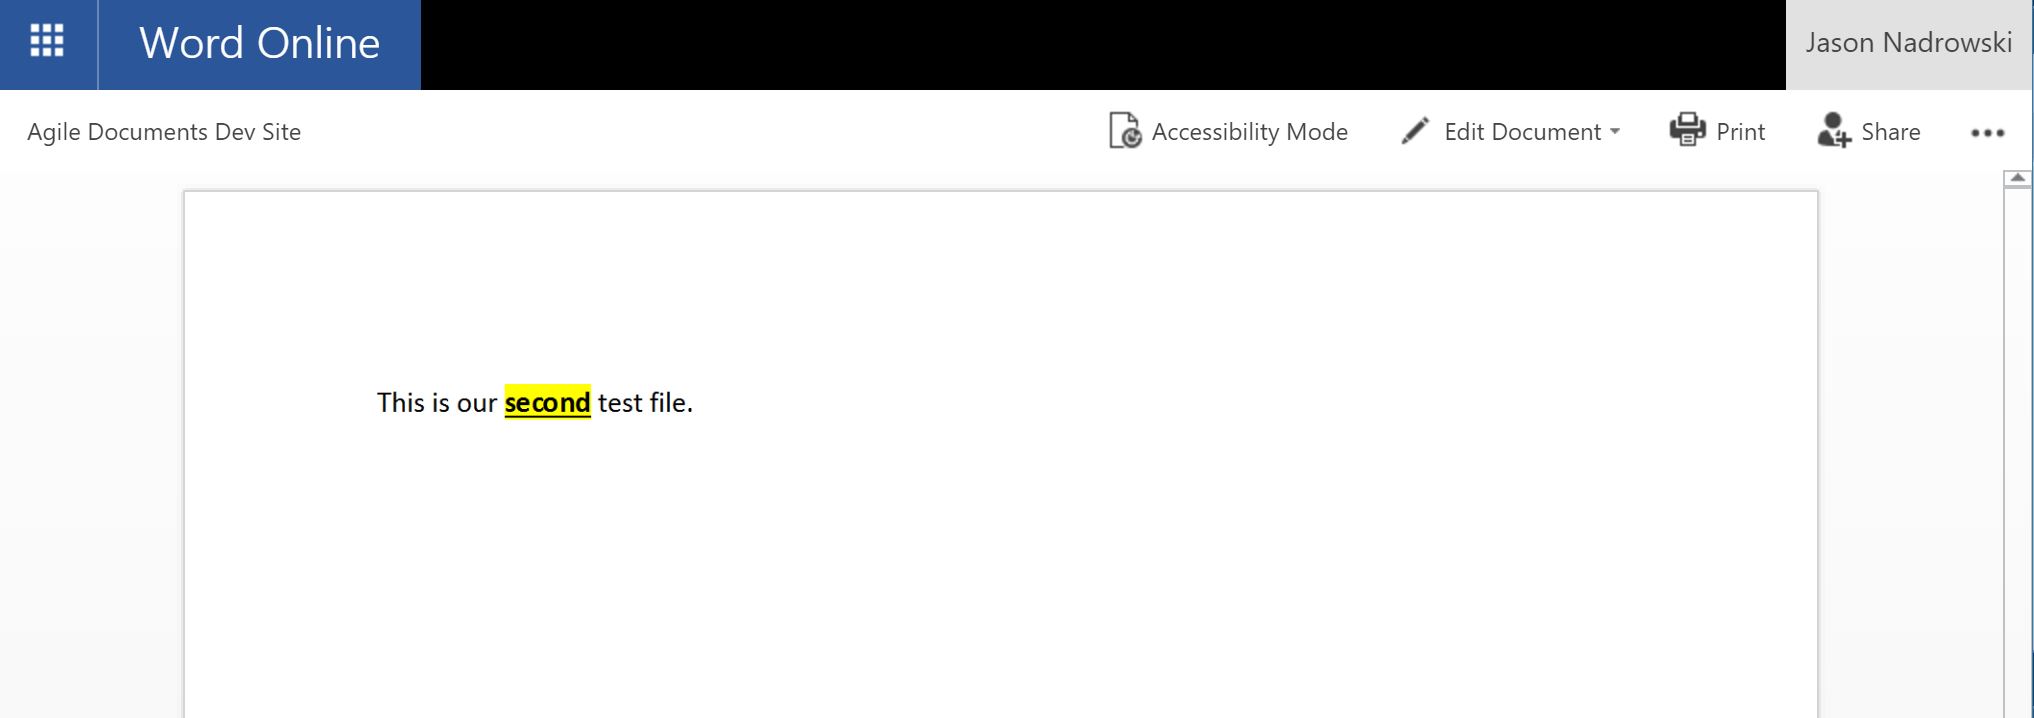
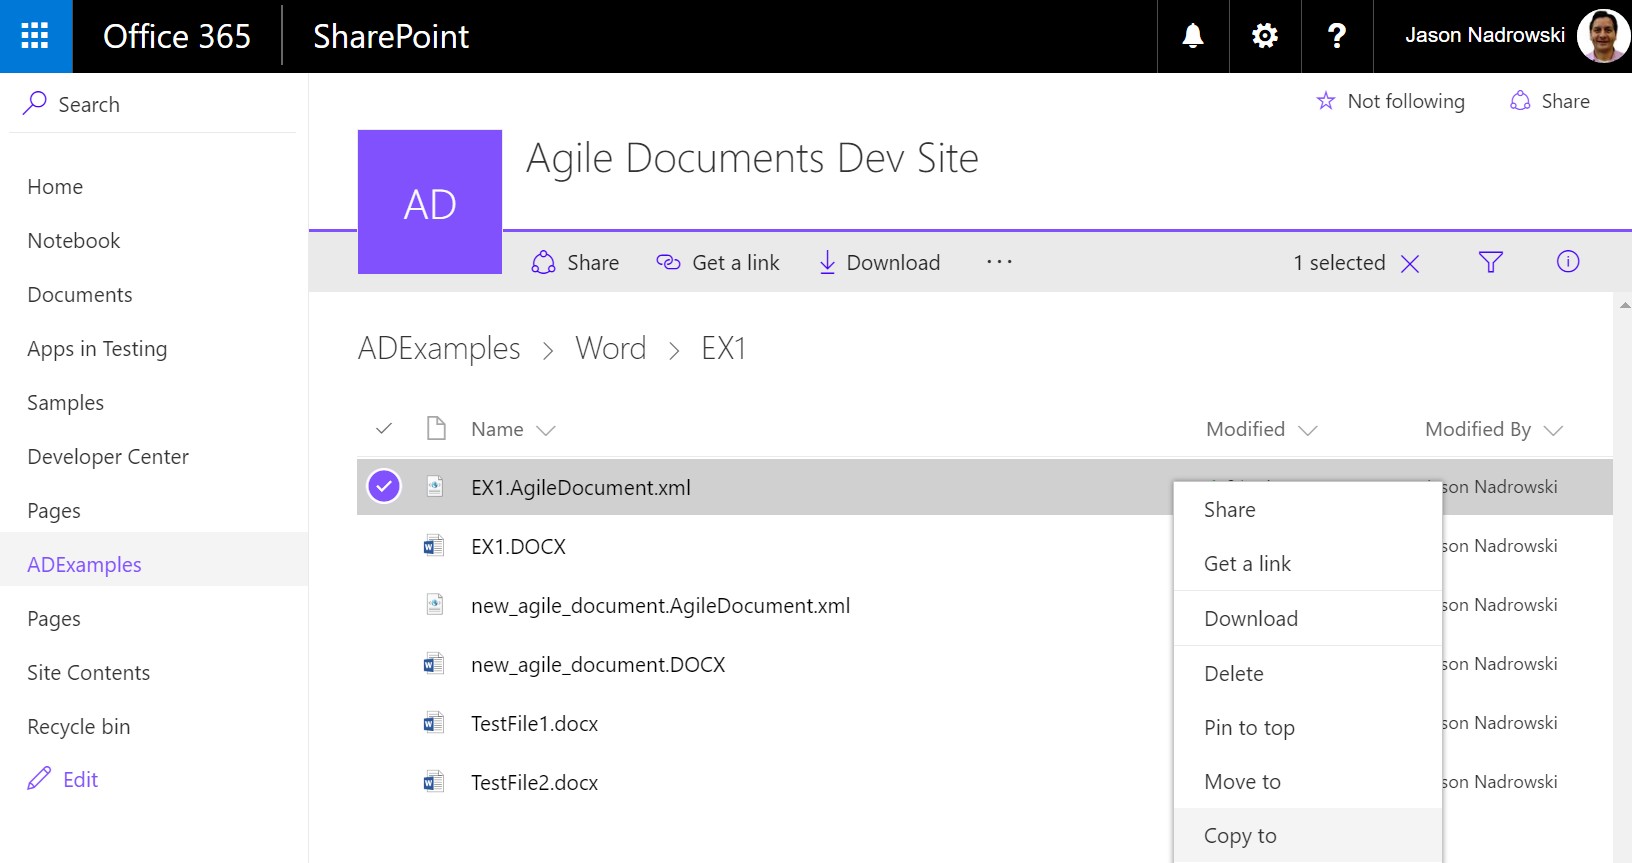
You need create a folder structure in SharePoint to store the Agile Document and associated files. Create the document library ADExamples to house our files. Since we have a number of examples, create a folder entitled Word with the child folder EX1 (Word/EX1). Finally, create a couple Word files in that folder to concentenate. Specifically, create TestFile1.DOCX (Figure 1) and TestFile2.DOCX (Figure 2).
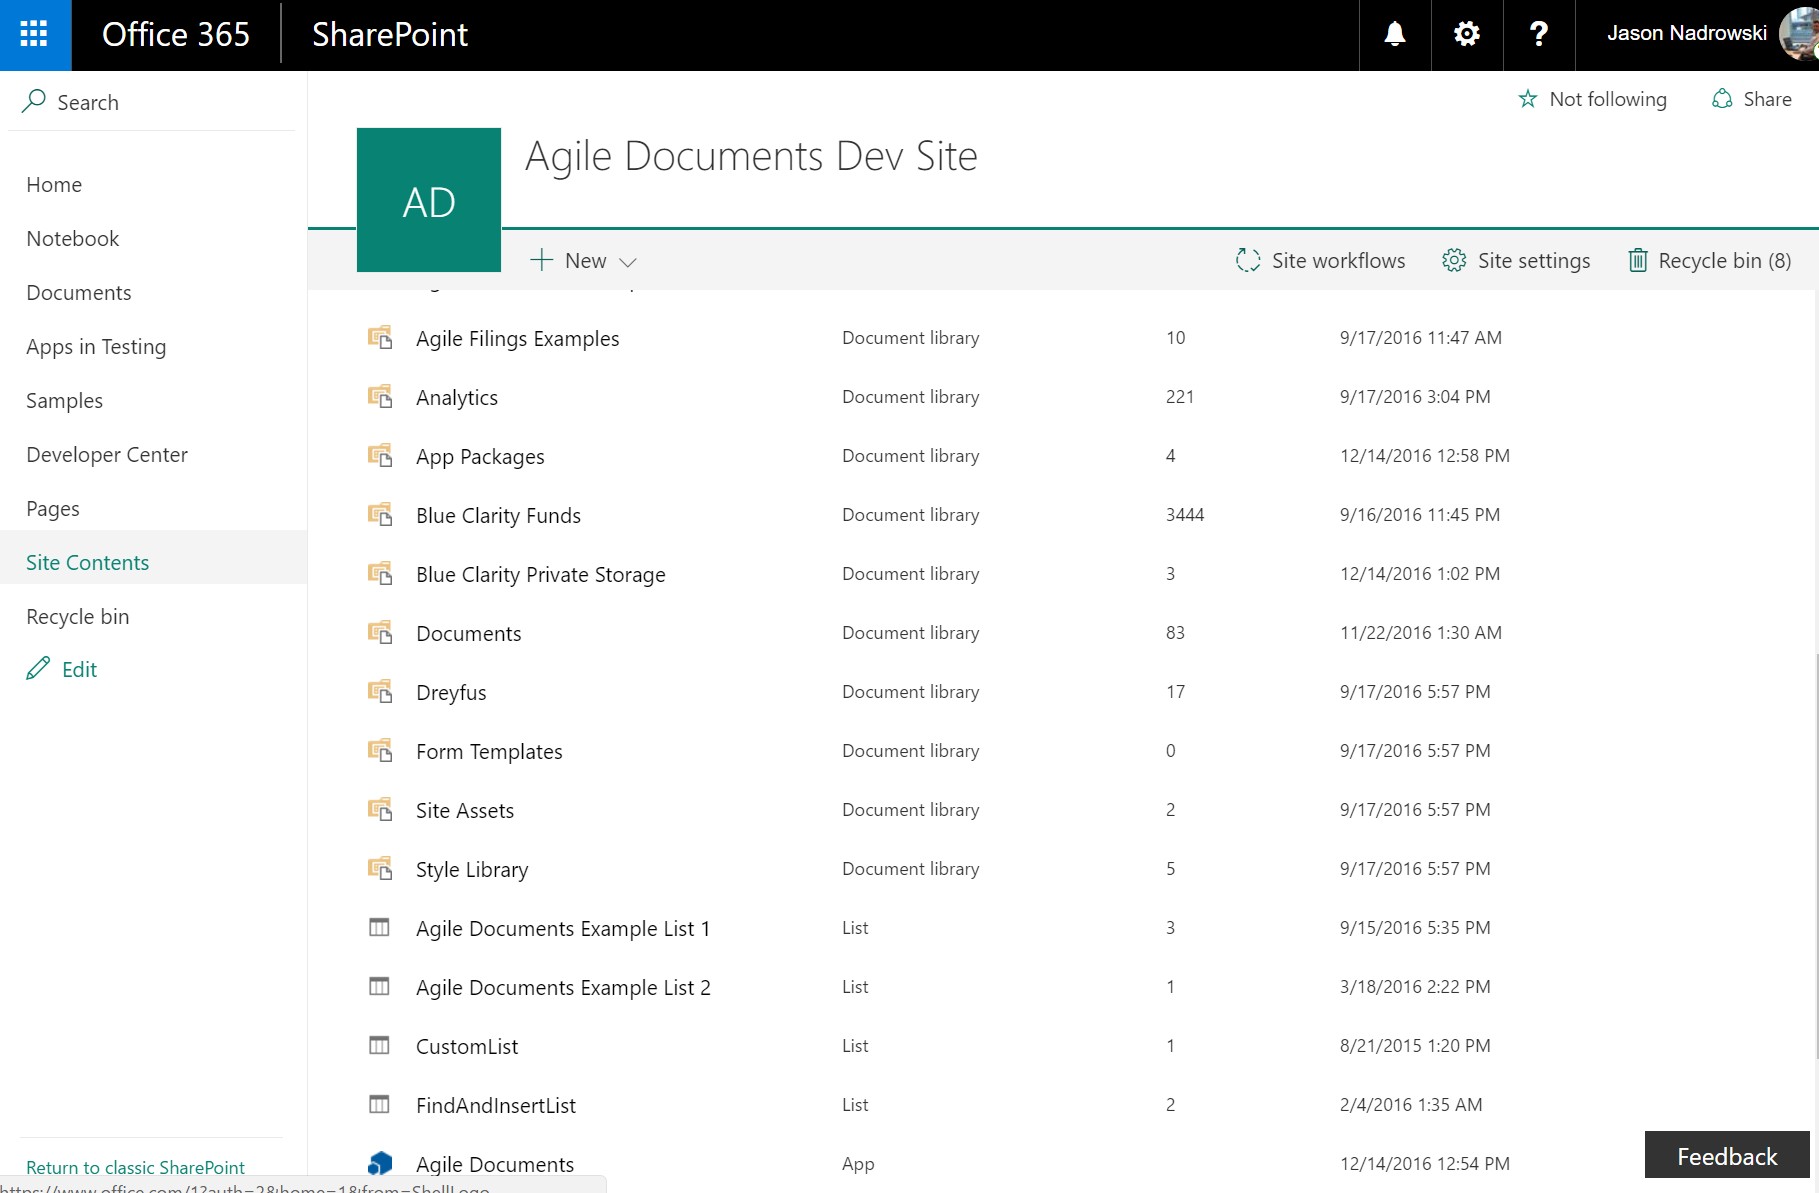
Next, use Agile Document's SharePoint Explorer to create an Agile Document file. As a reminder, you can launch SharePoint Explorer a number of ways. Perhaps the easiest is to view the site contents of where you installed Agile Documents and then click on the Agile Document App (bottom of Figure 3).
In SharePoint Explorer, right click on the desired folder and select New Agile Document (Figure 4). Once the Agile Document has been created, you will get a notification in the top right of the screen (Figure 5).
Next, right click on the folder you just added the Agile Document to and select Refresh (also shown in Figure 4). Now, right click on the new Agile Document and select Edit Agile Document (Figure 6).
Once the Agile Document editor has loaded, select the new_agile_document.AgileDocument.xml file in the Agile Document Orchestrator. Then select the Output tab and check Save As .DOCX (Figure 7). This ensures that when you build your Agile Document you create an output. There is not much fun in creating nothing.
Also, lets add those two Word files to the End of Document in the Agile Document Orchestrator (Figure 7). Simply drag them from the SharePoint Explorer pane to the desired place in the Agile Document Orchestrator pane.
Now, save your work by clicking the Save Toolbar button . This prompts you with a save dialog and asks you which Agile Document you wish to save (Figure 8). Make sure you select the Agile Document you are saving and then click the Save button.
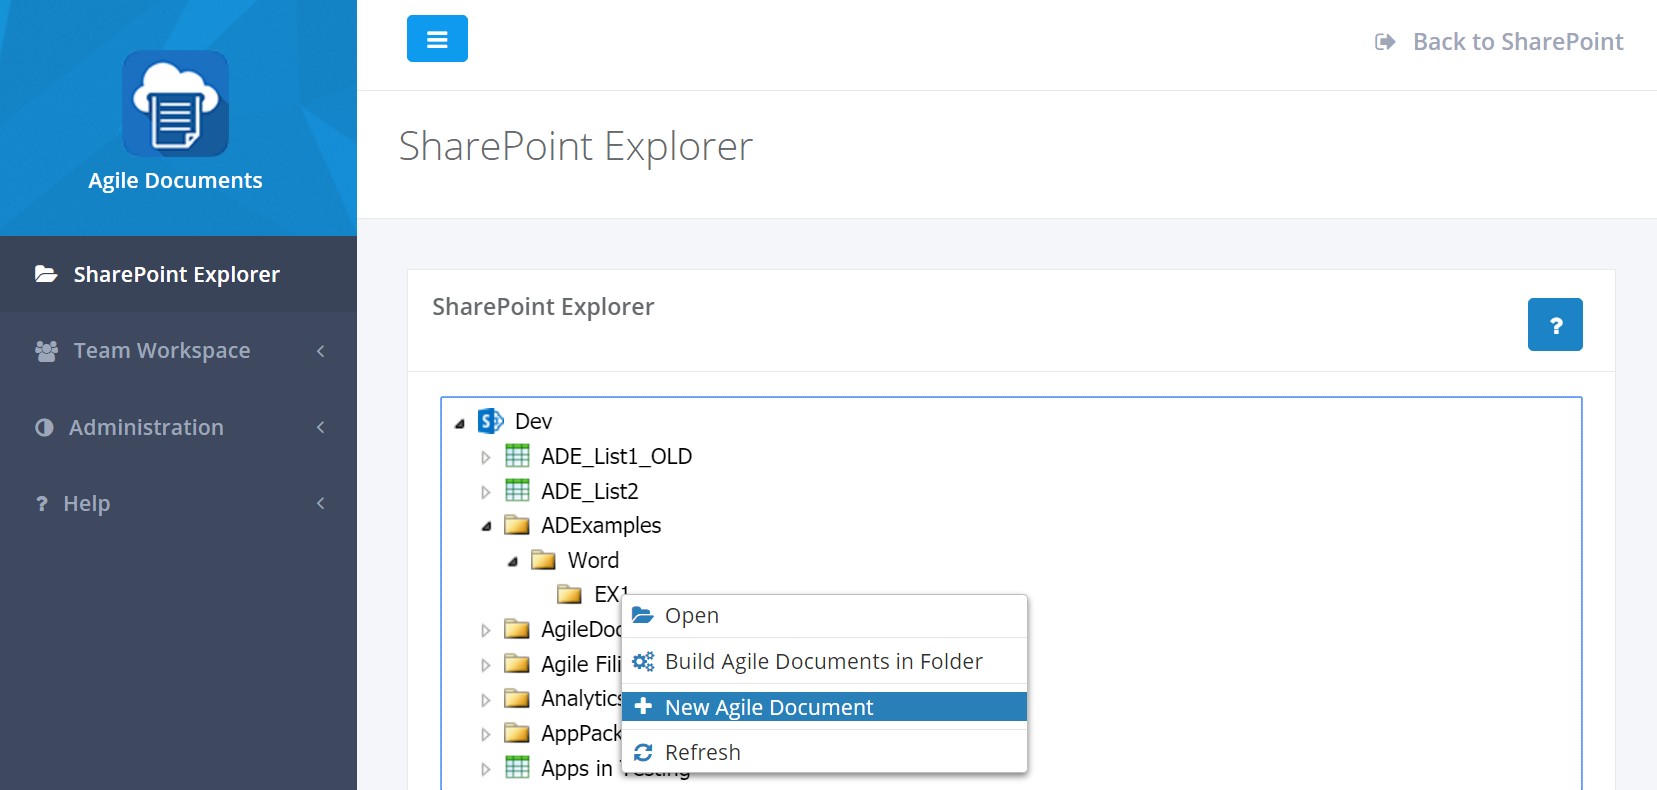
Figure 4: New Agile Document
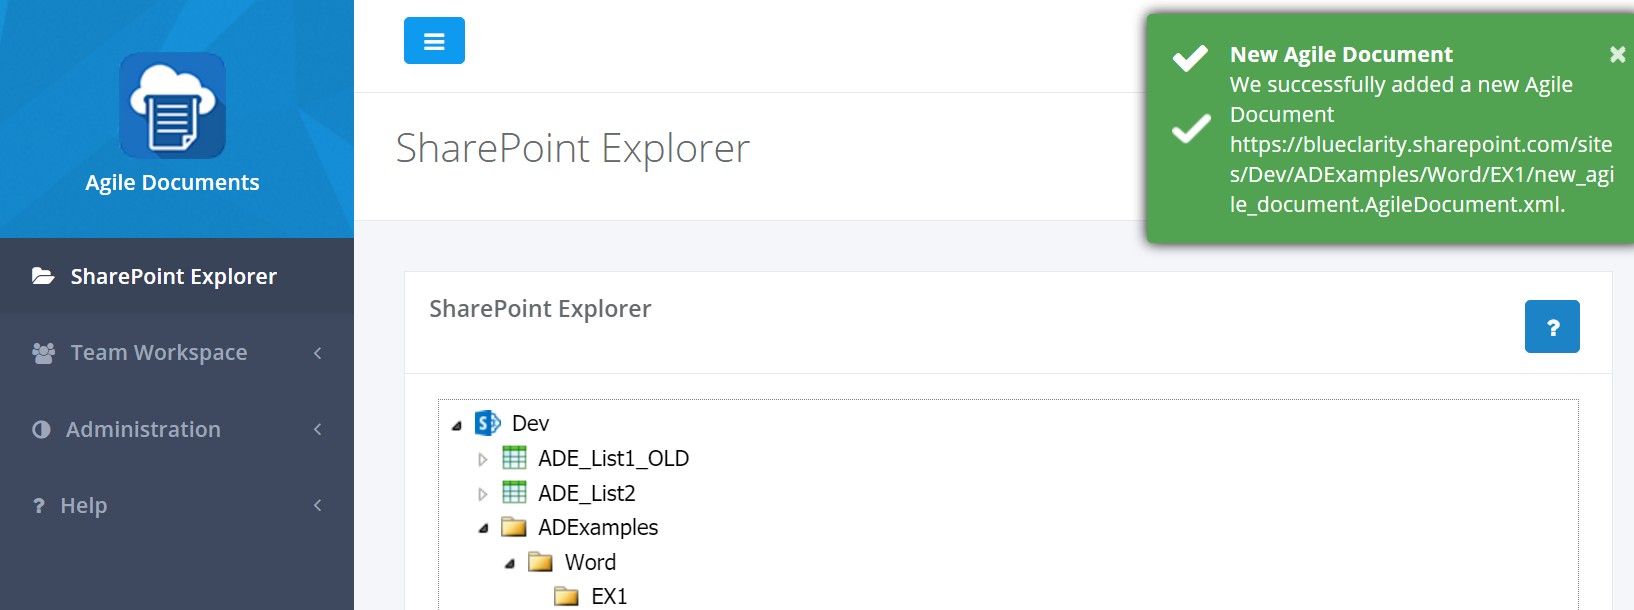
Figure 5: New Agile Document Success
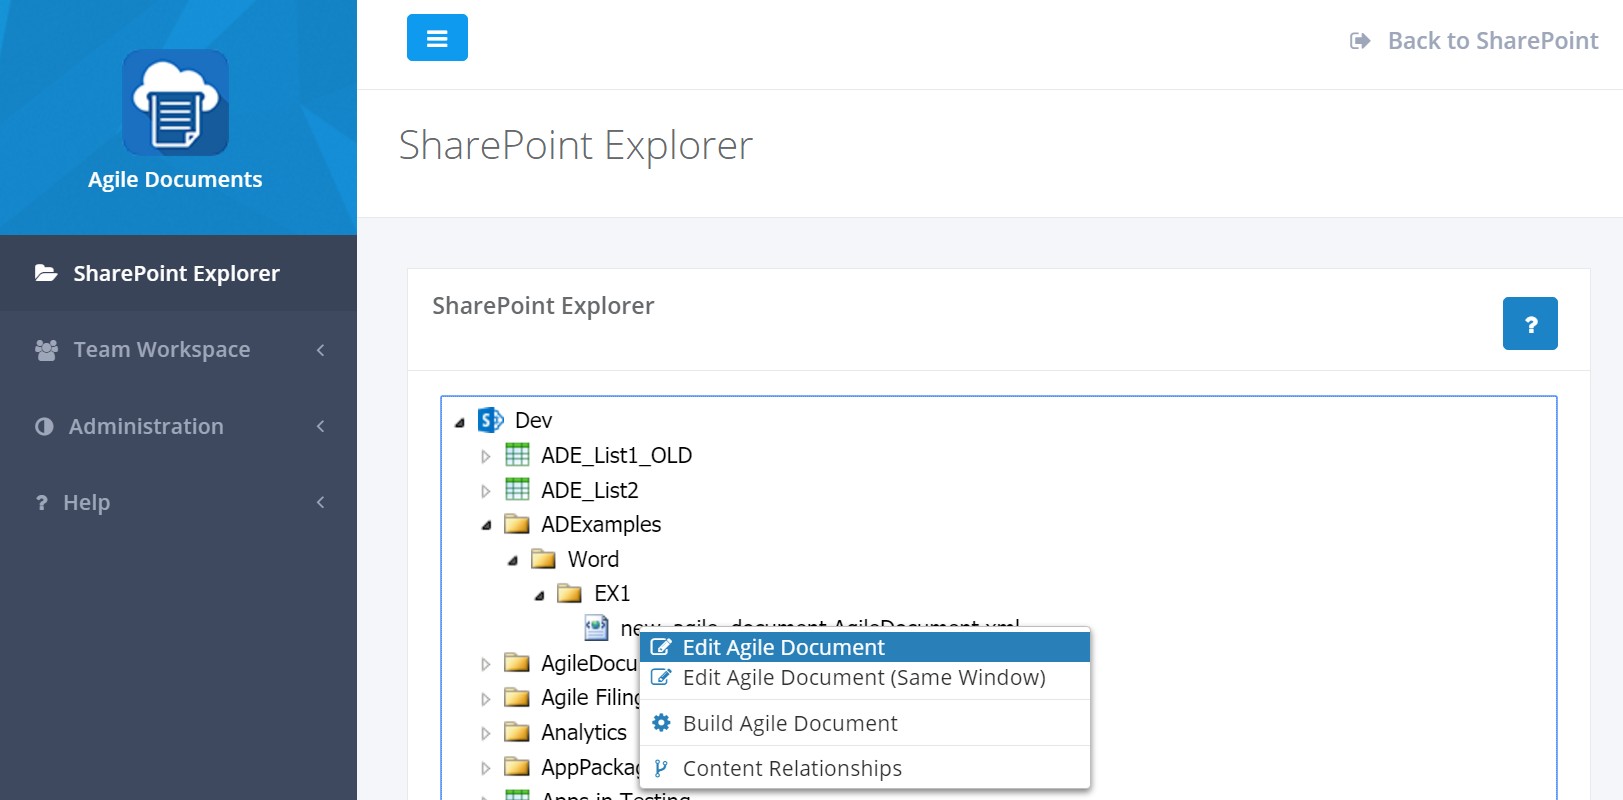
Figure 6: Edit Agile Document
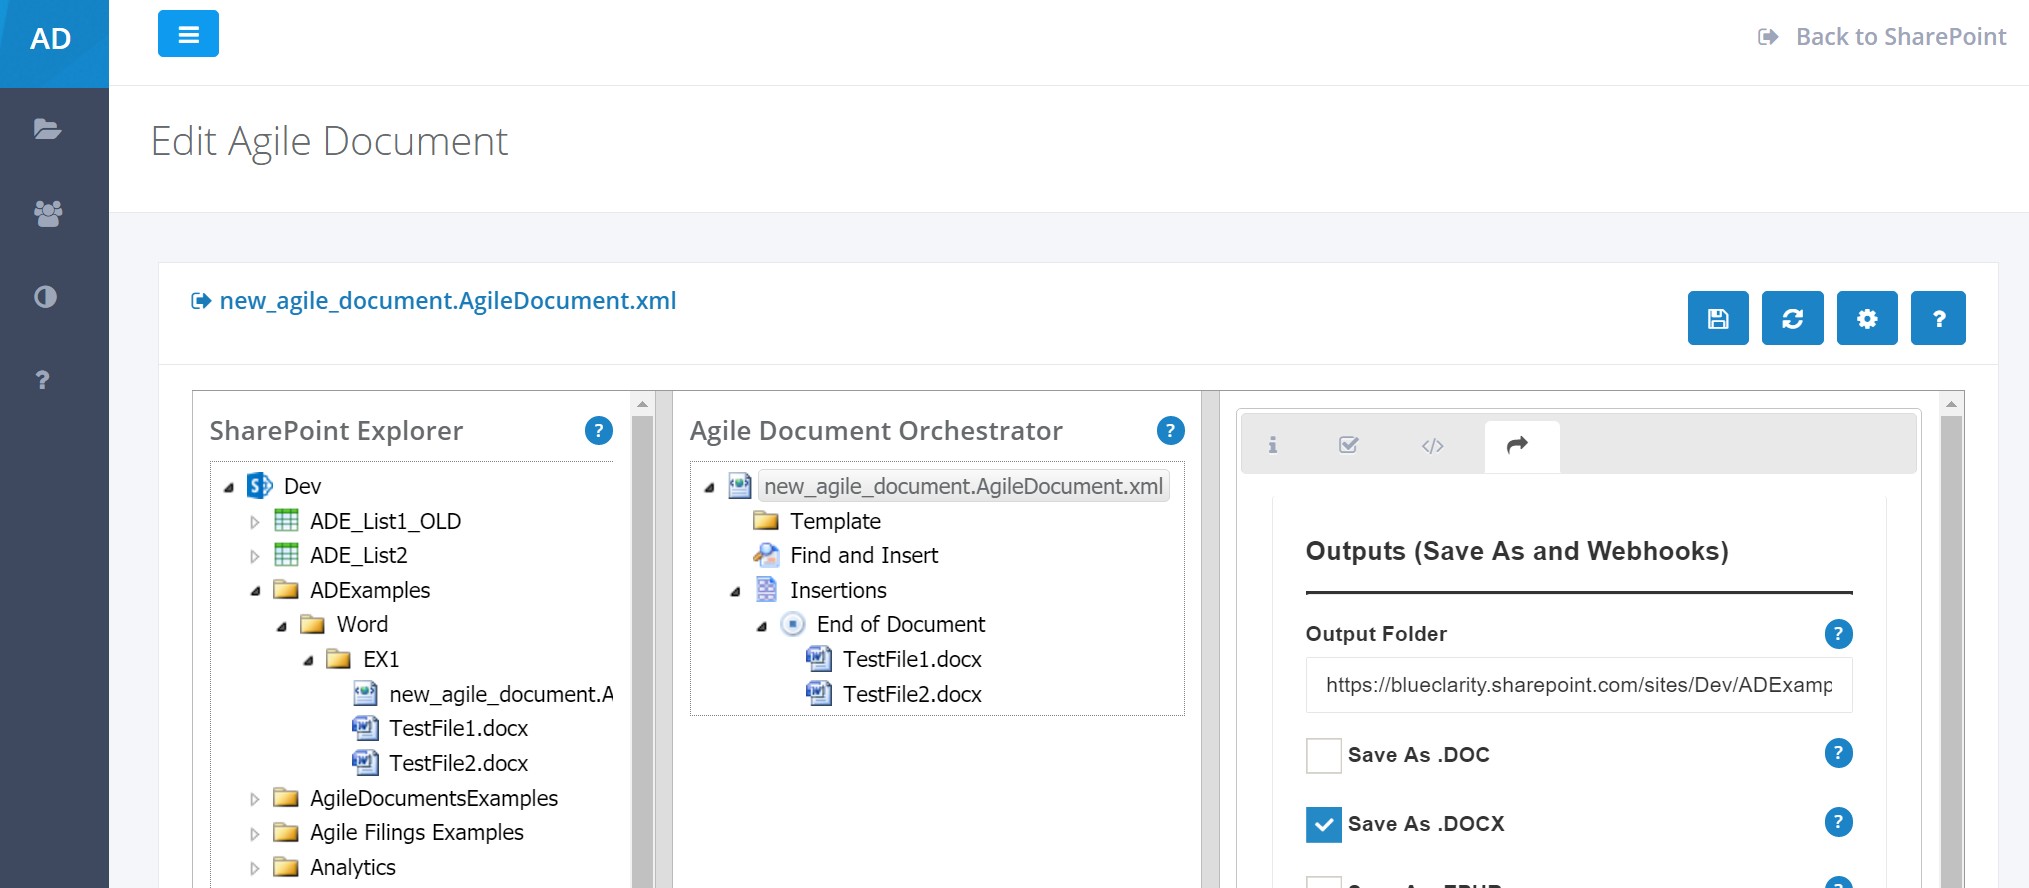
Figure 7: Edit Agile Document - Configure
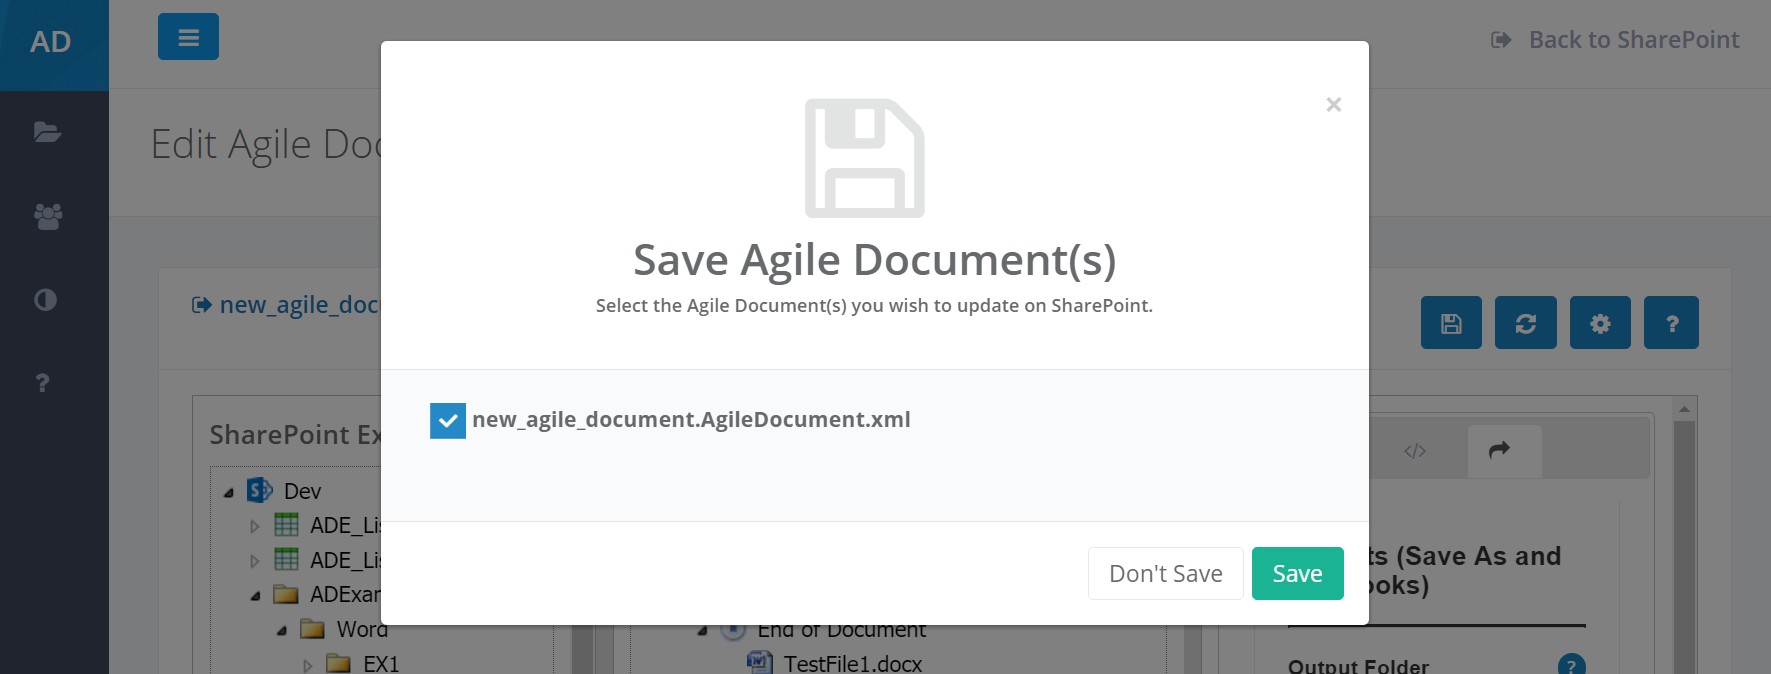
Figure 8: Edit Agile Document - Save
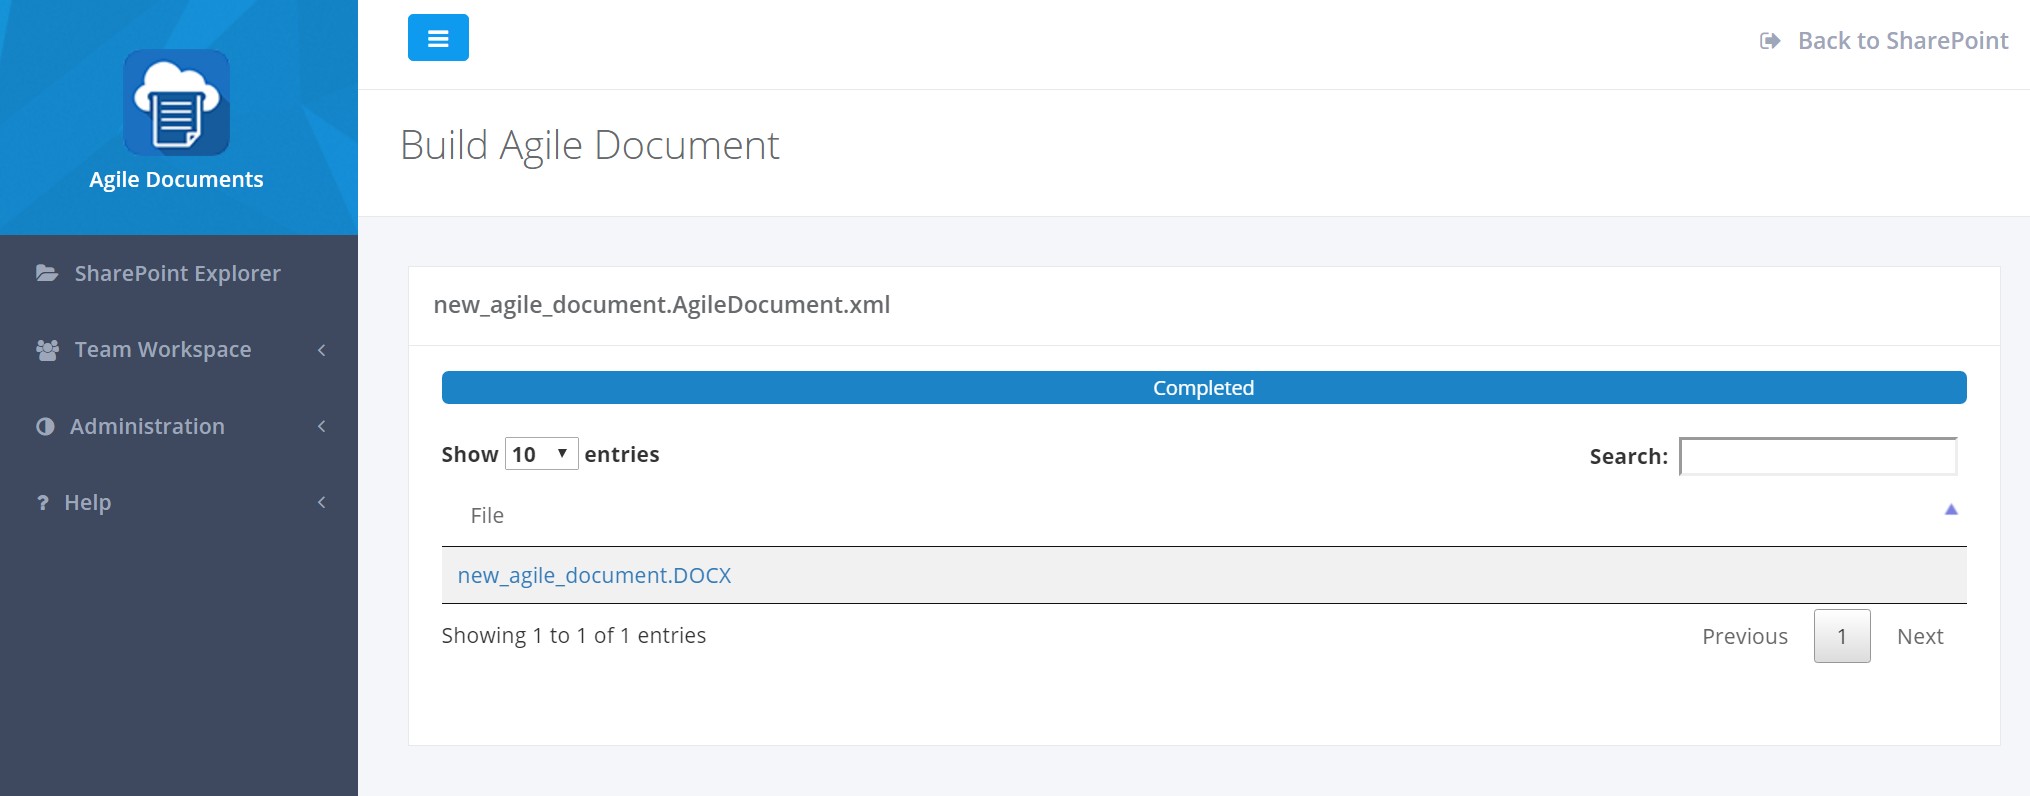
Congratulations you've created, configured and saved your first Agile Document! Now, click the build toolbar button to see the results of your creation. This builds your Agile Document and provides status on its progress (Figure 9). Once its completed it provides links to all the output files that were created. In our case, we only created one output--a DOCX file.
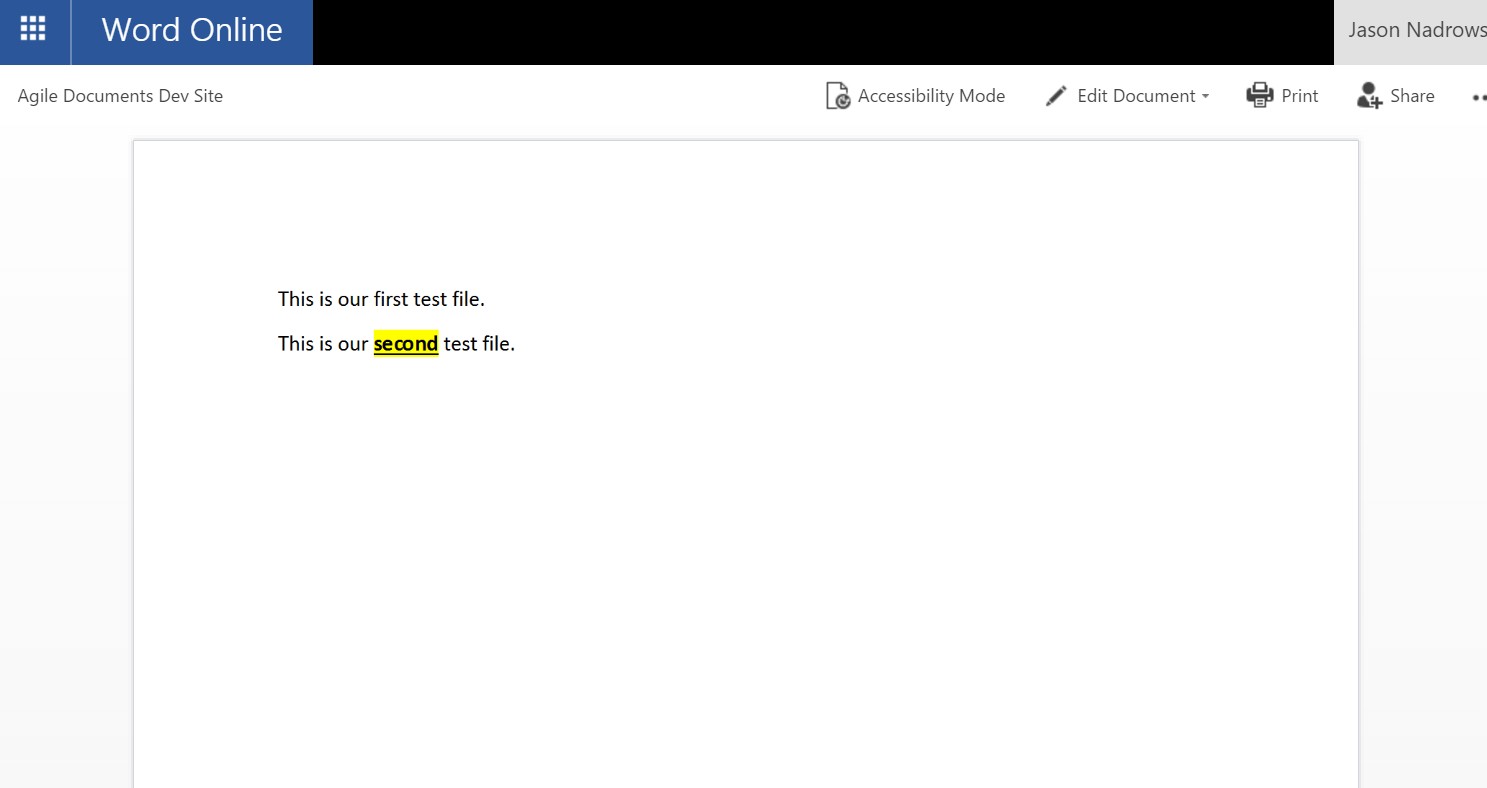
Click on the output file to view it in Word Online (Figure 10). As expected, its a concentation of our two files (Figure 1 and 2).
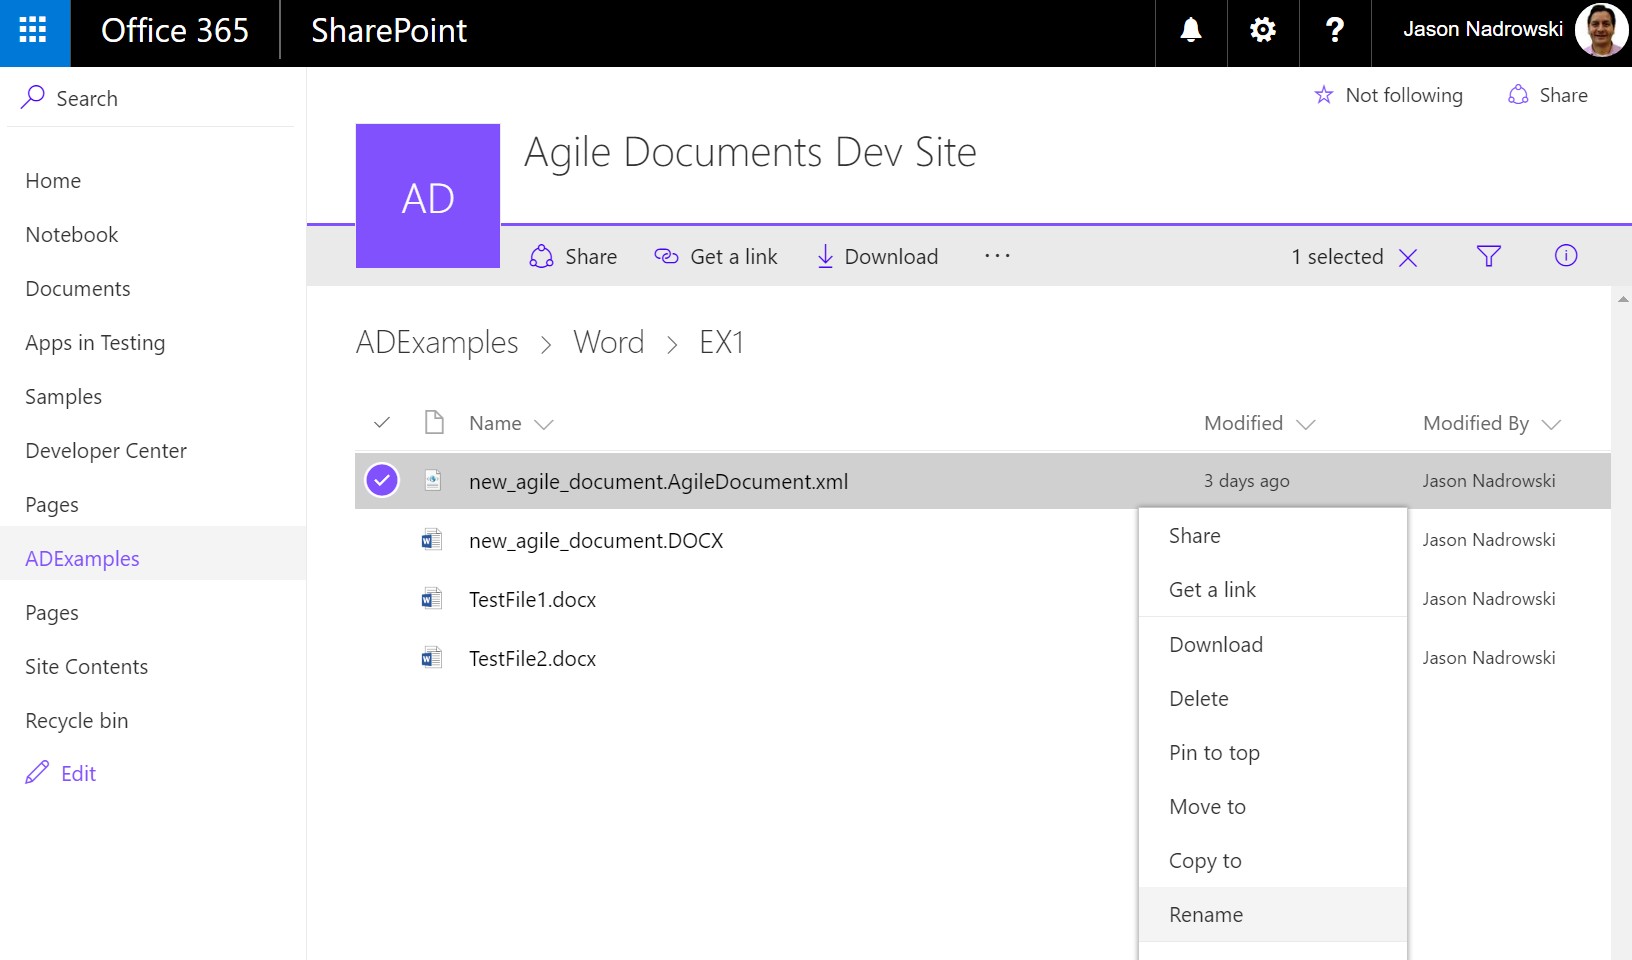
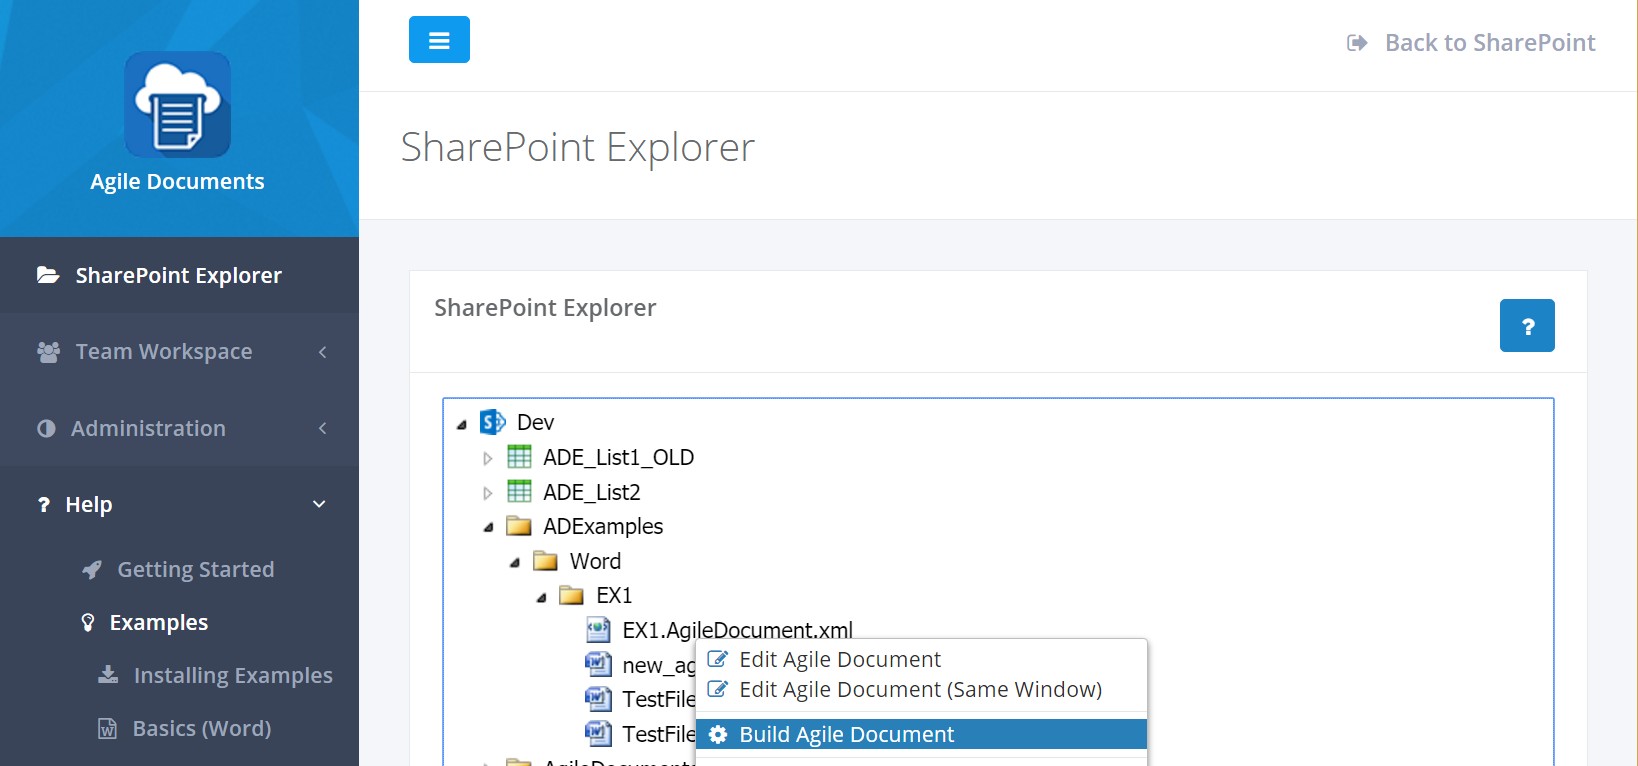
Before we go, lets clean up our example a little. In SharePoint, rename the file new_agile_document.AgileDocument.xml to EX1.AgileDocument.xml (Figure 11). Then, in SharePoint Explorer, build the renamed Agile Document (Figure 12). This will create a different output -- EX1.DOCX -- which matches the new Agile Document file name.
Example 2: Inserting other data
In this example, we will modify our Example 1 Agile Document and inject some Excel data, an image and an Agile Document.
Before we can get back into Agile Documents, we need to do some pre-work in SharePoint. First, create a new folder in our document library. It should be a sibling of 1 we created above, therefore the path should be Word/2. Next copy the Word/1/EX1.AgileDocument.xml file above to our new folder. There a lot of ways to do this, but in this case we would recommend Copy to (Figure 13). After copying it, rename Word/2/EX1.AgileDocument.xml to Word/2/EX2.AgileDocument.xml through SharePoint. Finally, create a new Excel file to be inserted into our Agile Document. We created book.xlsx (Figure 14).
Now, lets go into SharePoint Explorer to select and edit our newly copied file. The first thing you will notice is that the file looks exactly the same as our one above except for the inclusion of next to our inserted word files (Figure 15). This is a warning from Agile Documents that your Word files have moved. Now, obviously your Word files didn't move; but this warning was a result of moving the Agile Document. Behind the scenes, Agile Documents keeps track of a content item's relative path [which changed when you copied the Agile Document], list item IDs and DocumentID. Any one of these three items can be used to look up your content item. The benefit is that you can rename/move your content items and not have to worry about re-mapping within Agile Documents. This has been extraordinarily helpful to our clients who sometimes have hundreds of references to a single file and want to move it or rename it for whatever reason. In our particular case, our relative paths to the two Word files are no longer valid because they don't exist in the same folder as our Agile Document. But, don't worry, Agile Document's figured out what we meant and updated their references in memory. We could leave it to Agile Documents to look this up every time, but we should save our changes. When Agile Documents can't find a file--as is the case here--it takes some extra time to search for it. Thus, saving now will avoid additional steps to search for missing files in every future load or build.
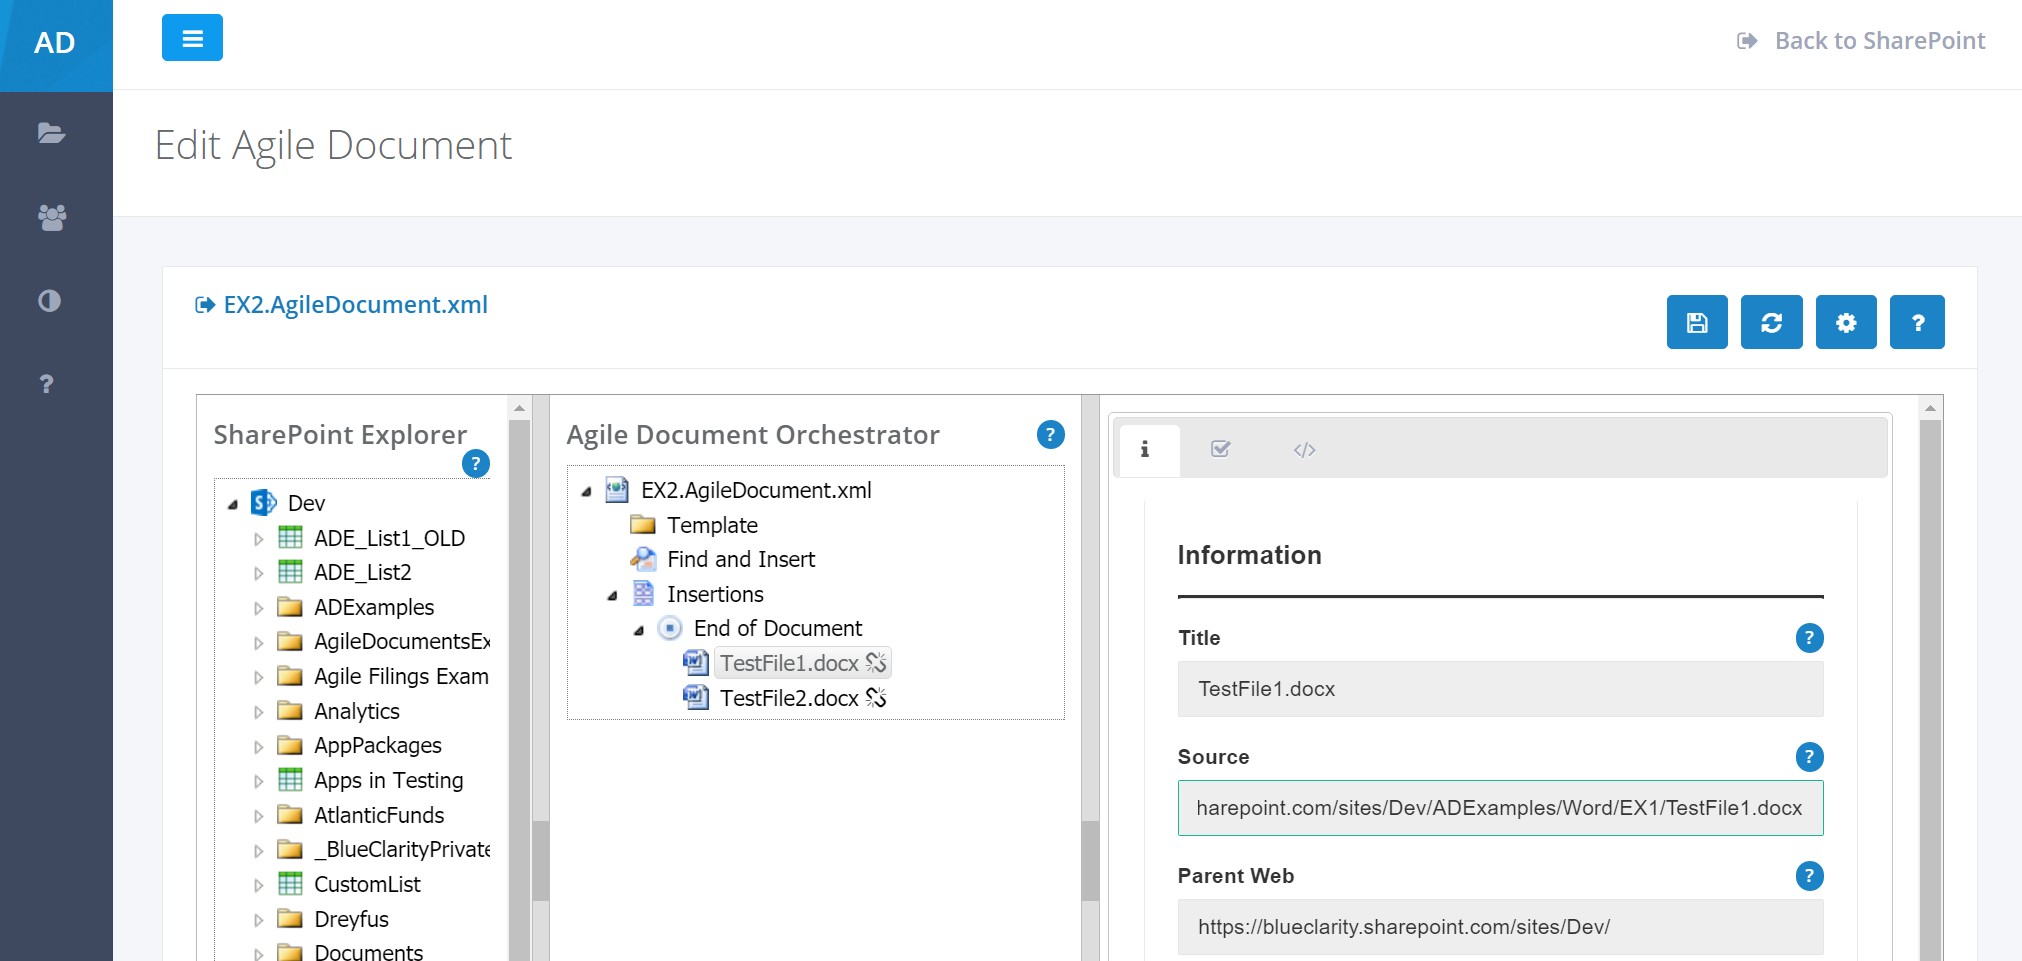
Next, lets include an Excel file. Drag the Book.xlsx file from the SharePoint Explorer pane to the Agile Document Orchestrator pane. Select the Excel file in Agile Document Orchestrator and then click on the Select tab. Now, with your mouse or keyboard arrow keys and the shift key, select the appropriate region of the Excel file. Notice how your selection updates the selection formula (Figure 16). After selecting the data in Excel, make sure you enable Preserve Formatting in the tab. This ensures that Agile Documents also copies the cell border, bold formatting as well as most other Excel formatting into our Word document.
Now, lets include an image in our document. In this example, we copied an ariel image of Amelia Island into our example 2 folder. We then dragged the file from SharePoint Explorer to the Agile Document Orchestrator and sets its properties in the tab. Specifically, we wanted to scale it down so we set the height and width to 6in (Figure 17).
For the last insertion we want to include the Agile Document from Example 1. Drag Ex1.AgileDocument.xml from the SharePoint Explorer pane to the Agile Document Orchestrator pane (Figure 18). Agile Document's ability to insert content from other Agile Documents allows you to abstract your document portfolio to whatever level of detail is appropriate. Tangibly, you could define an Agile Document for a particular document fragment and then reuse that fragment. If the fragment was only going to include a single Word file there wouldn't be much use for this paradigm. However it would be of tremendous use, if this Agile Document fragment was subject to potential reorganization and/or the grouping of files was large. As you might expect, reorganizing a package of files and/or defining a large grouping of files once is a lot easier than doing it multiple times.
You may have noticed that the Agile Document you just inserted can be explorered. What you may not have realized is that child Agile Documents can also be modified and saved. This gives you the ability view and change everything in once place.
If you are following along, make sure you save and then build your file. The output is shown in Figure 19. You'll notice that the last line of TestFile2.DOCX and the image appear on the same line. That is intentional. If you had wished a separation, you would have needed to put an extra return at the end of the document. Further, you'll notice that contents from the Example 1 Agile Document are not on the same line as the image. This is also intentional. You can learn more about joining paragraphs from different Word documents in the next example.
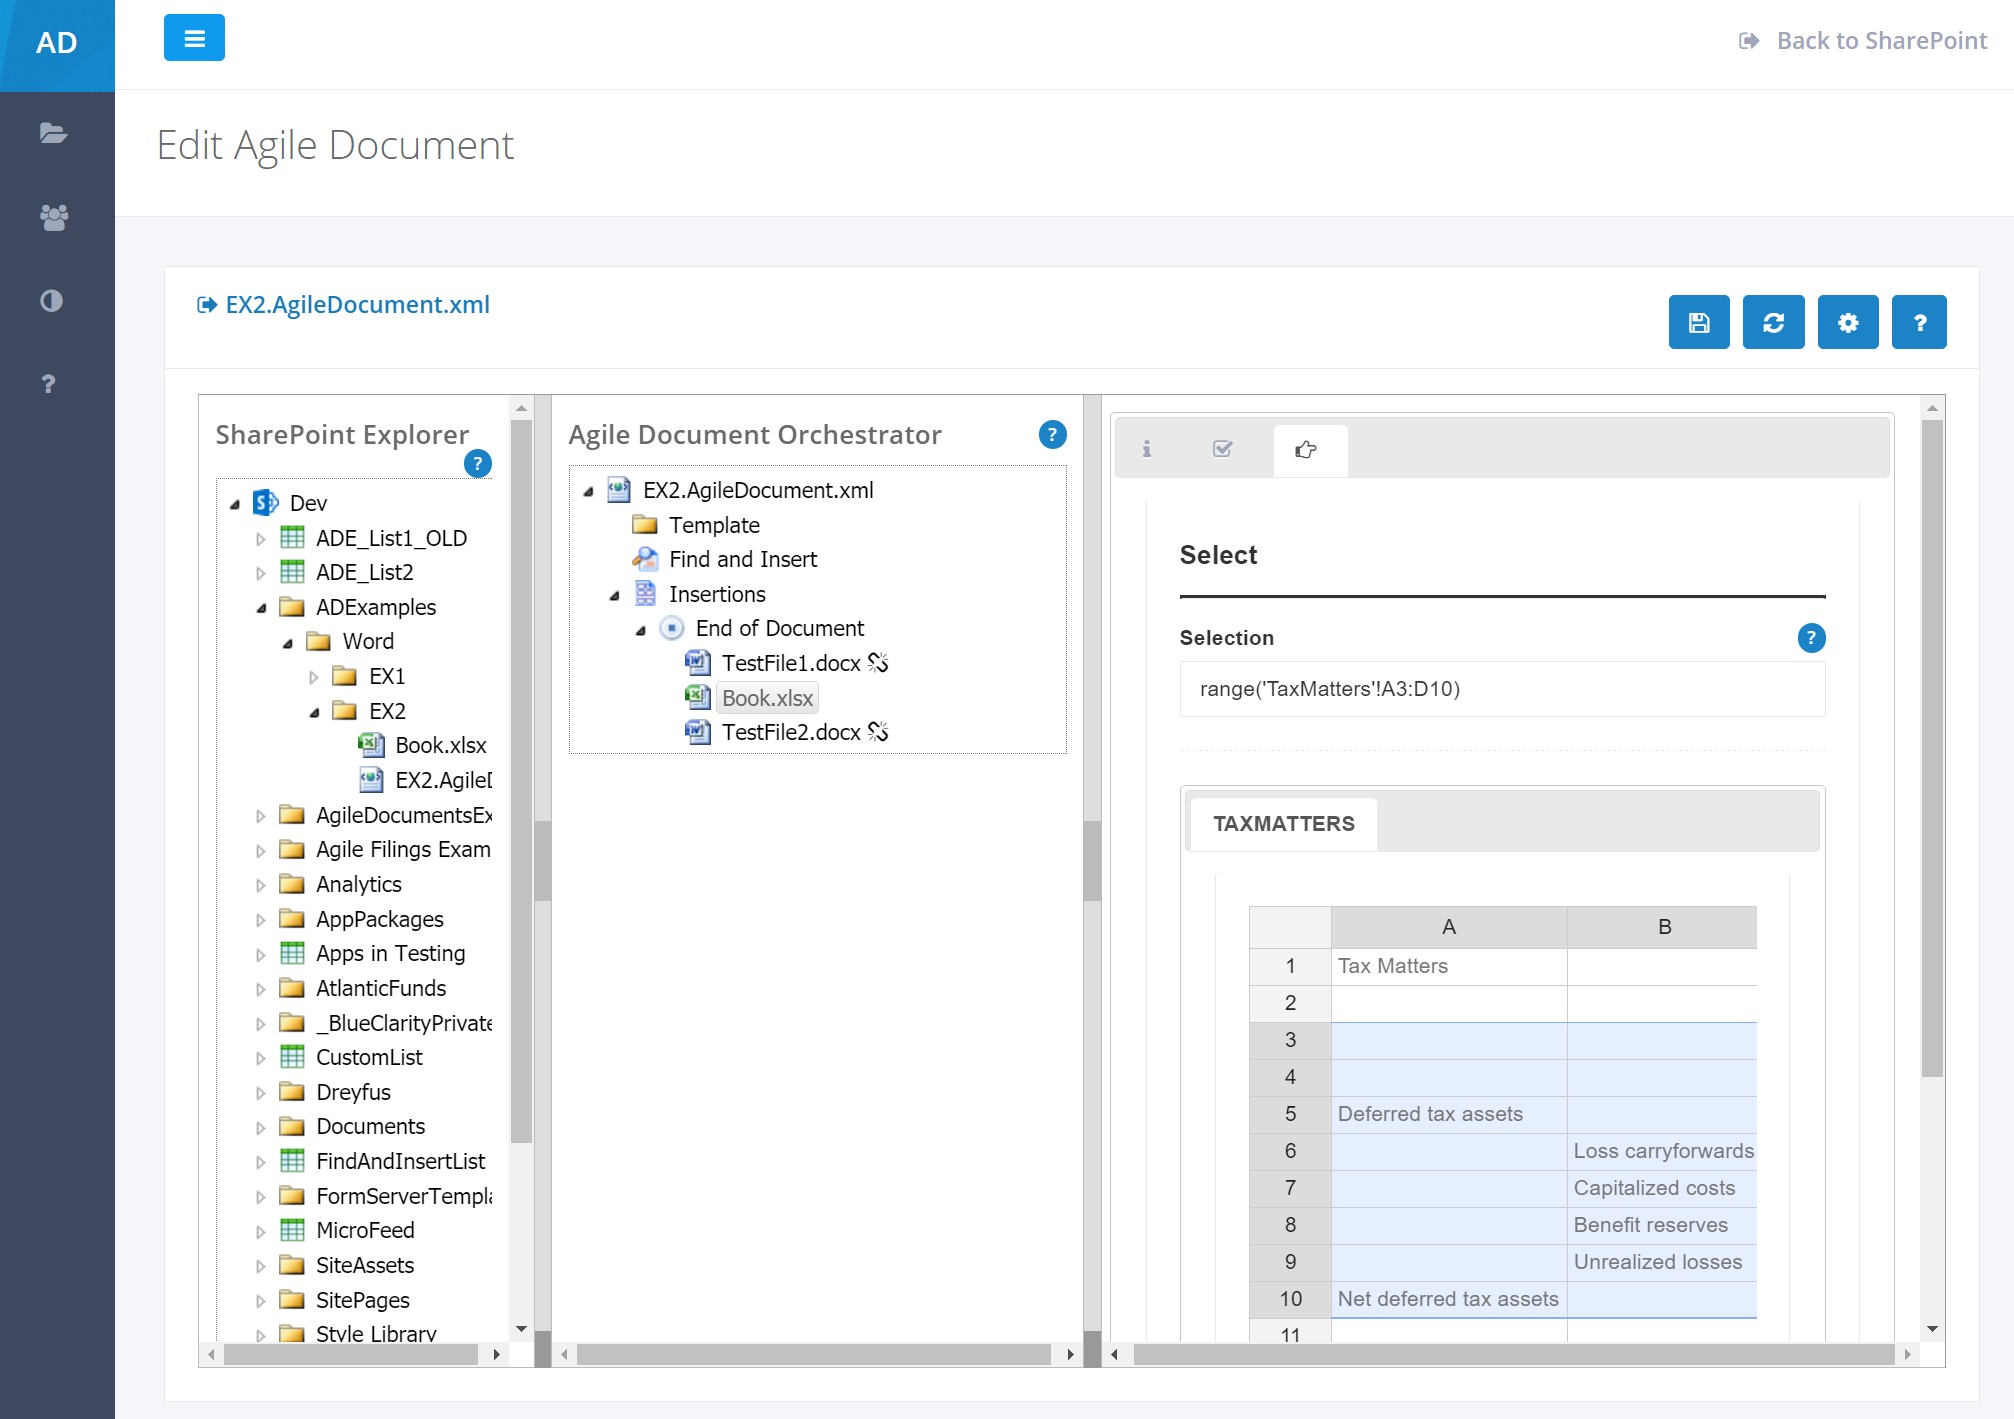
Figure 16: Excel Selection
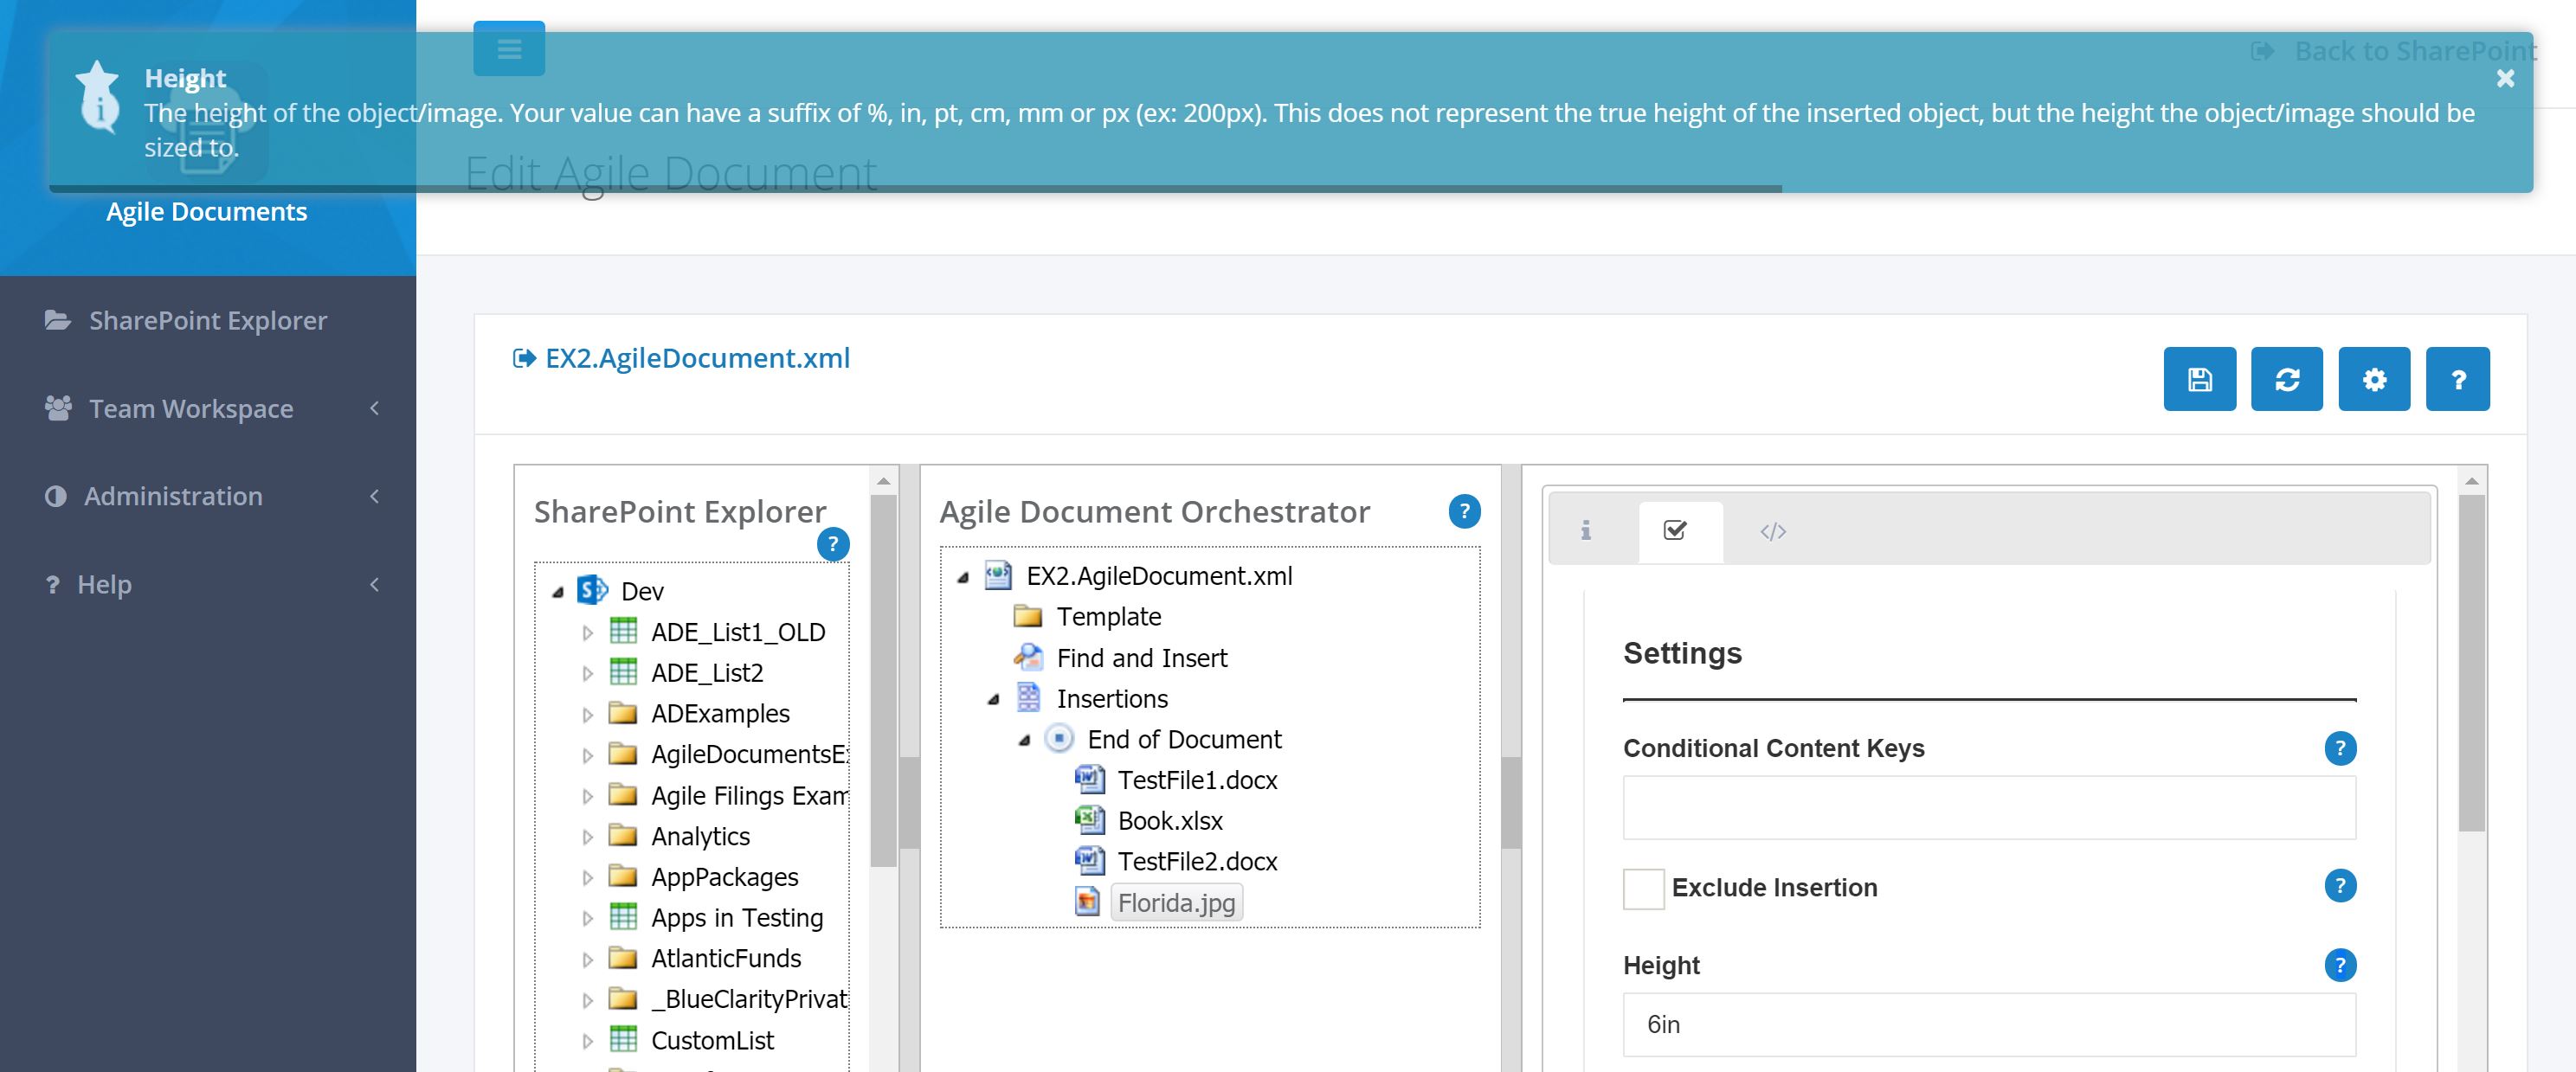
Figure 17: Image Properties
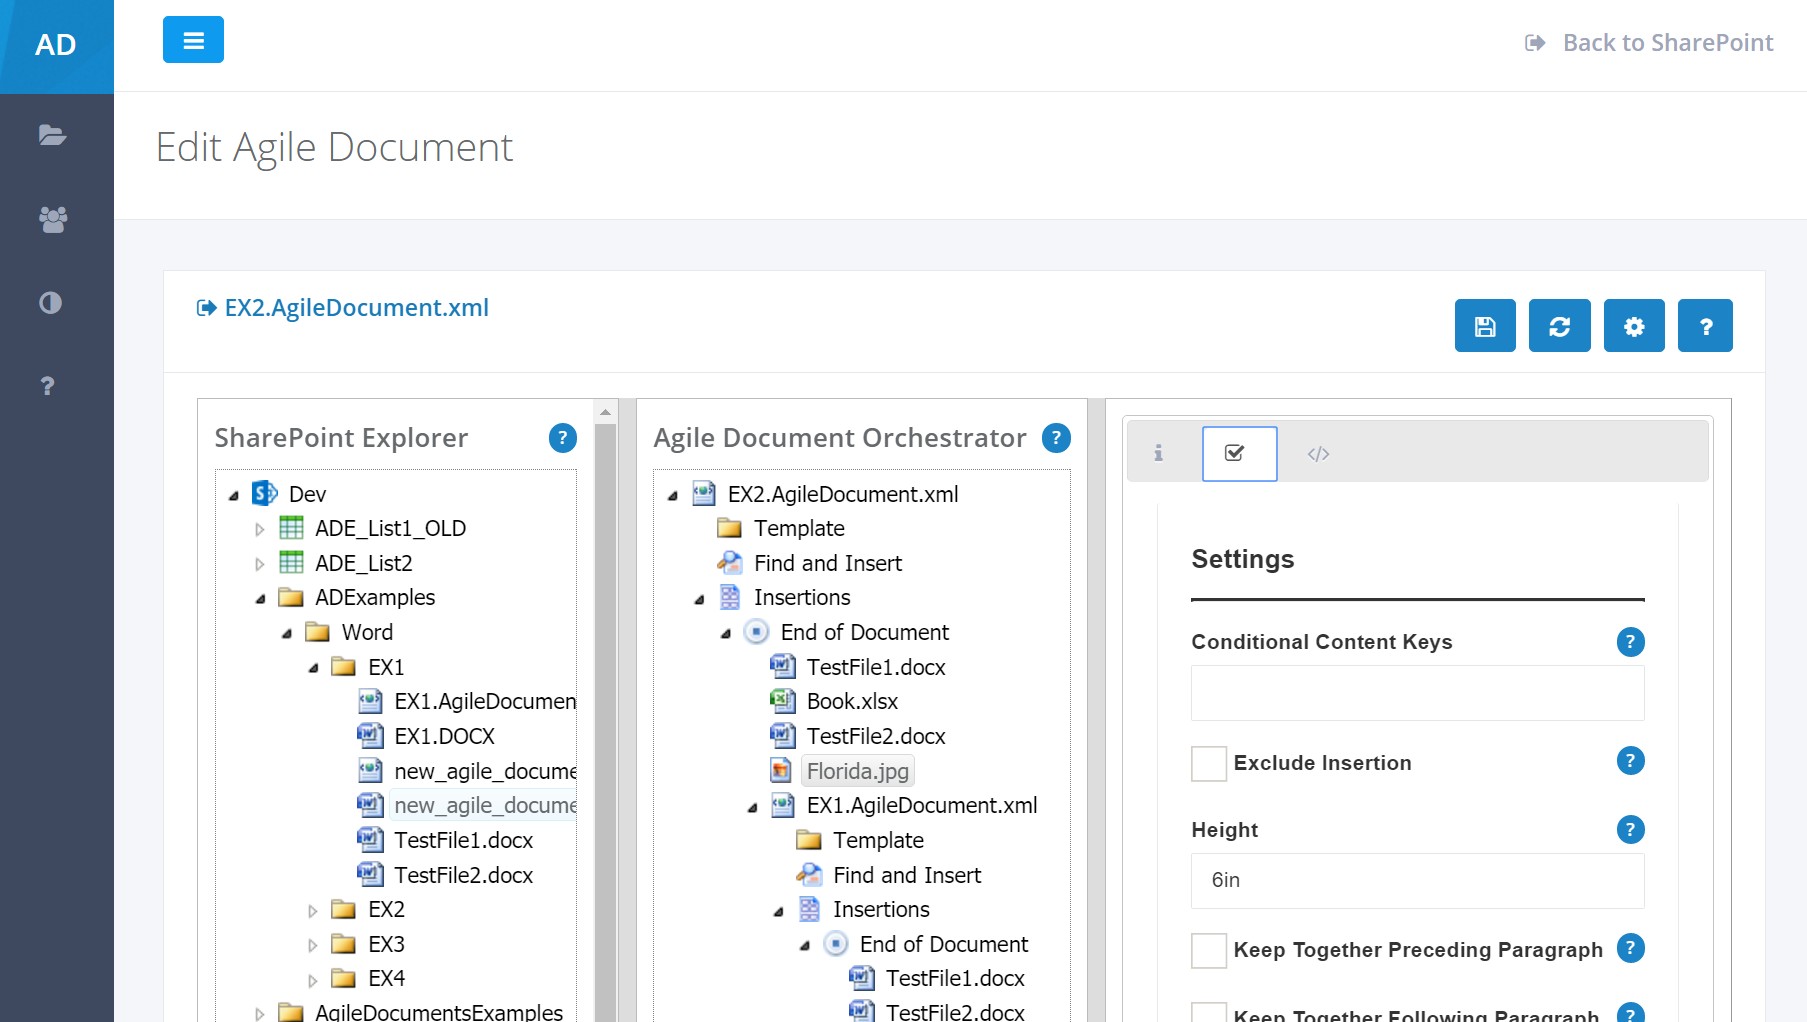
Figure 18: Child Agile Document
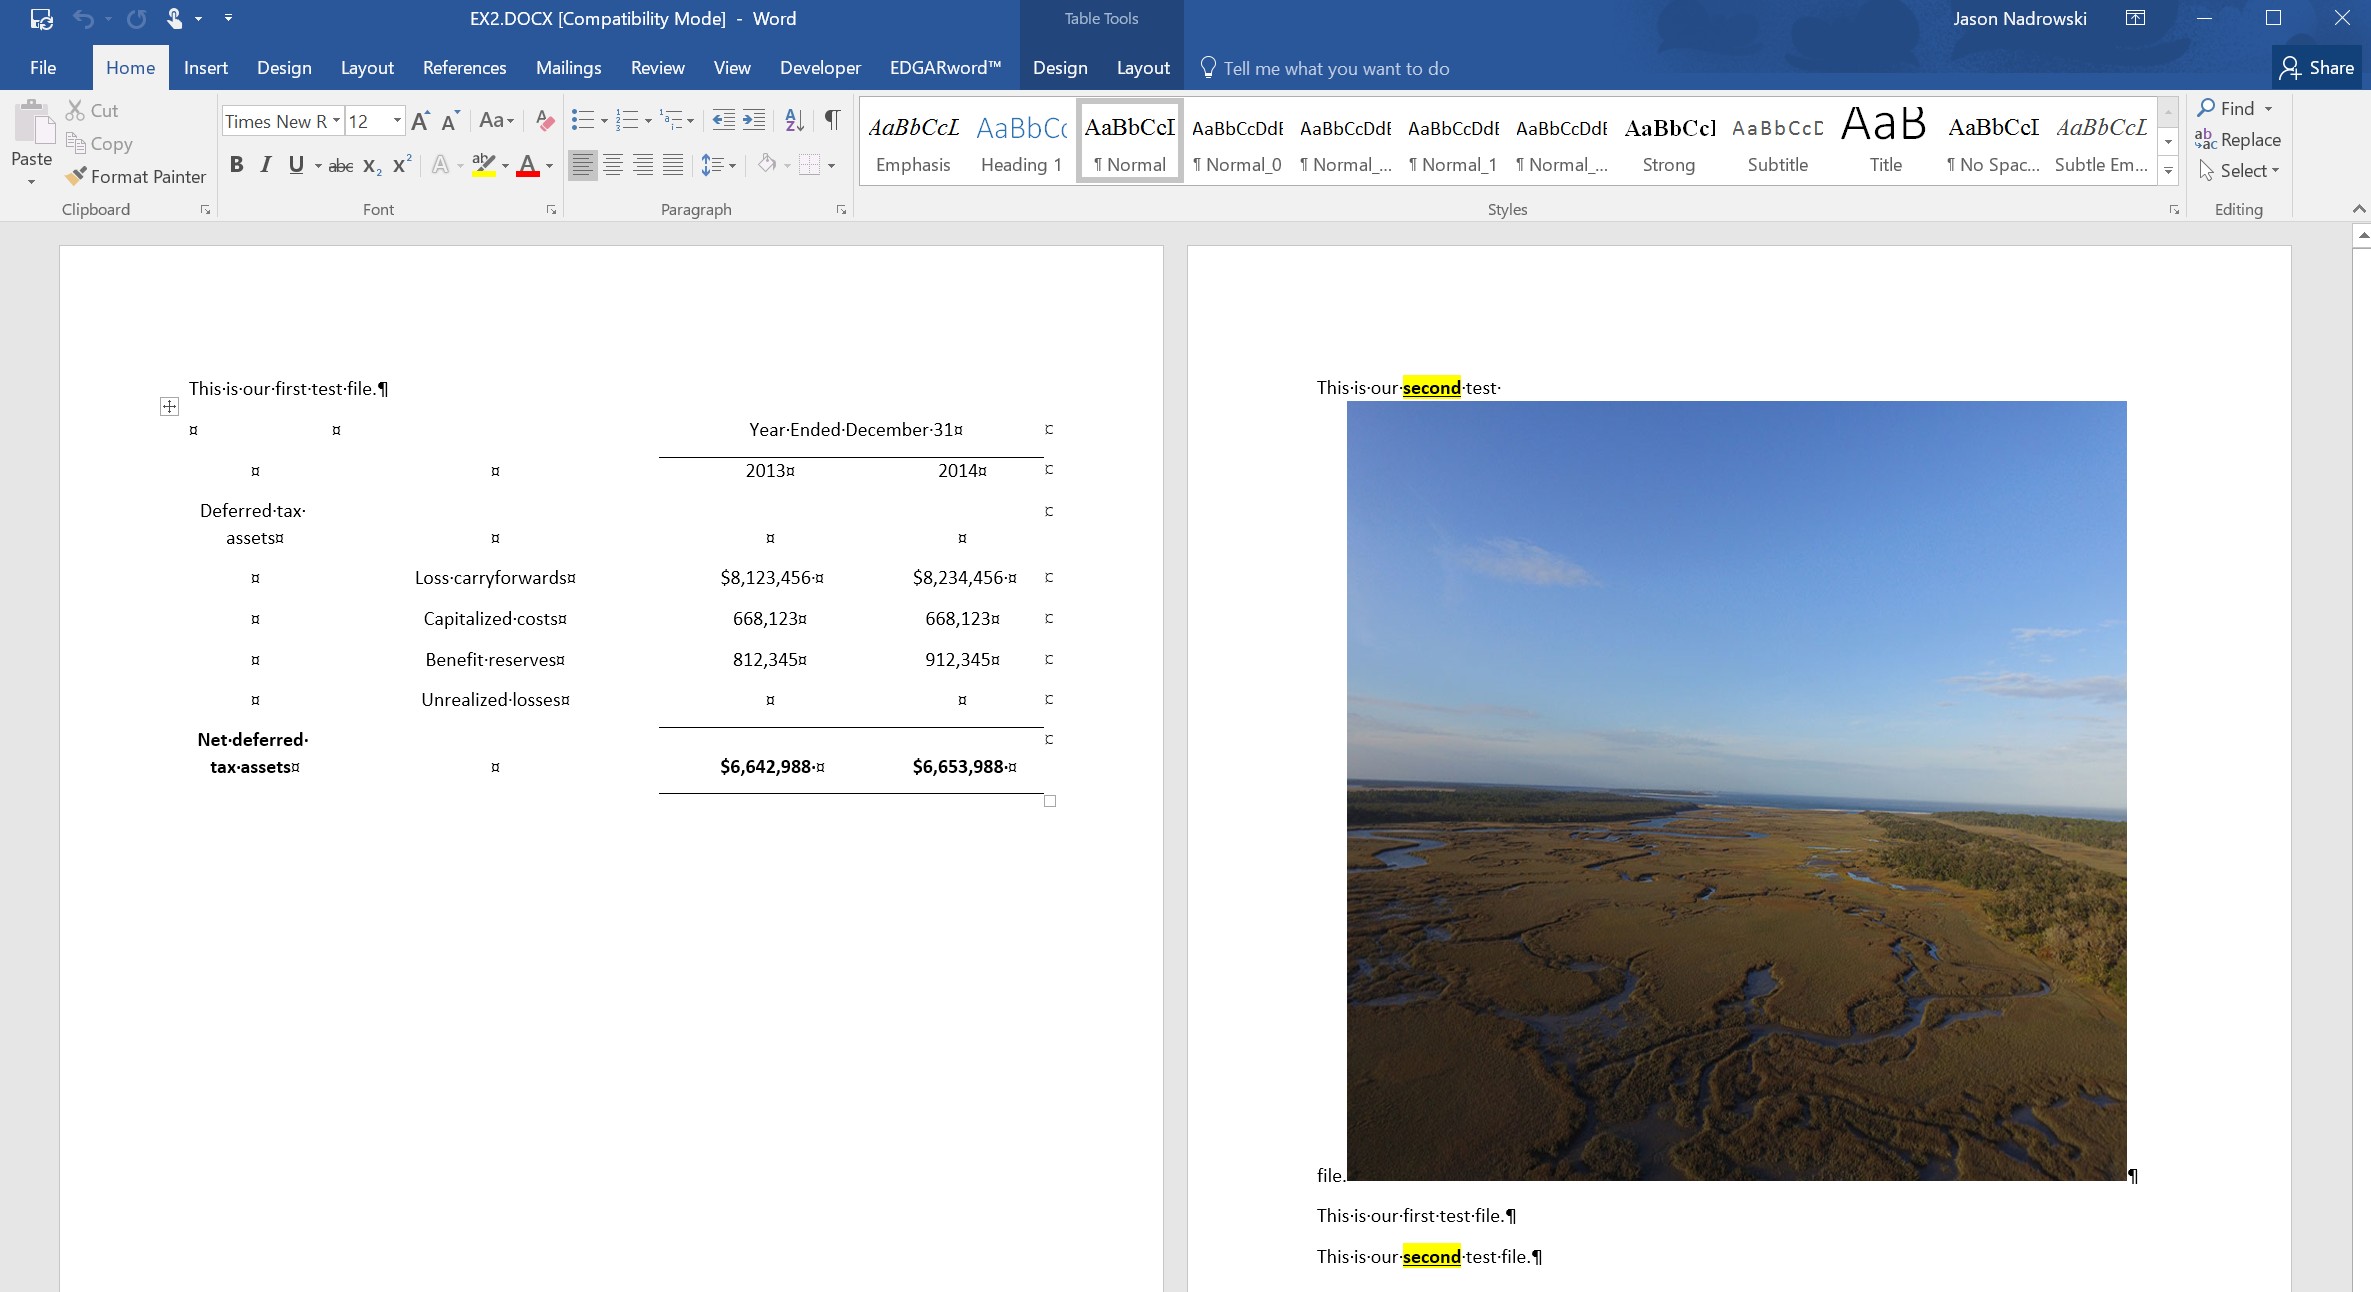
Figure 19: Output
Example 3: Content Insertion Properties
In this example, we showcase some of the properties associated with how content items are combined. Specificially, we focus on the keep together settings and how they influence paragraphs and non-paragraphs.
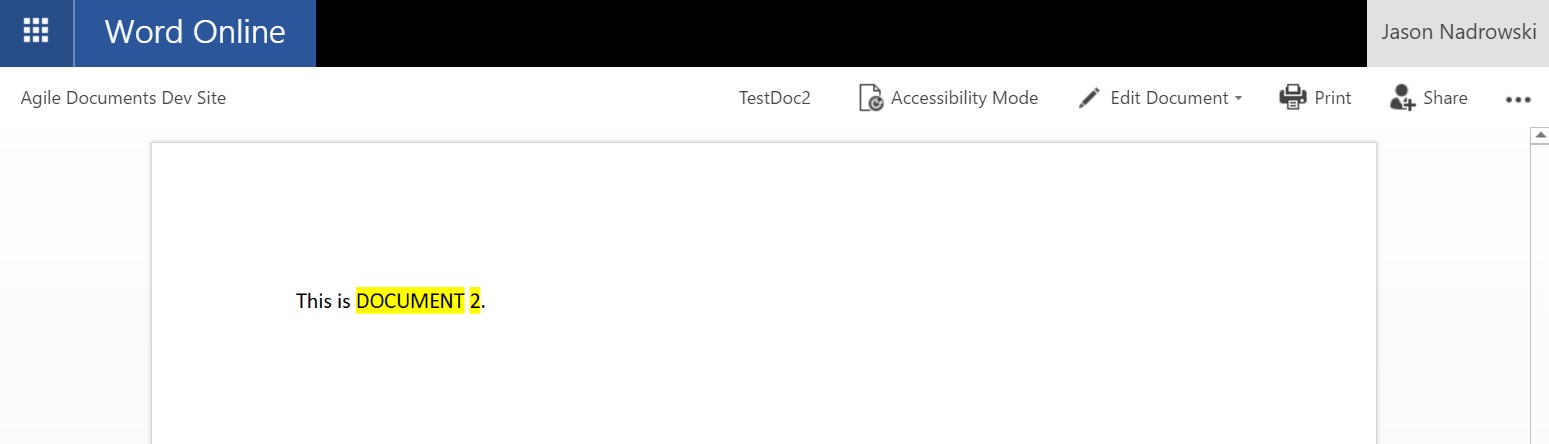
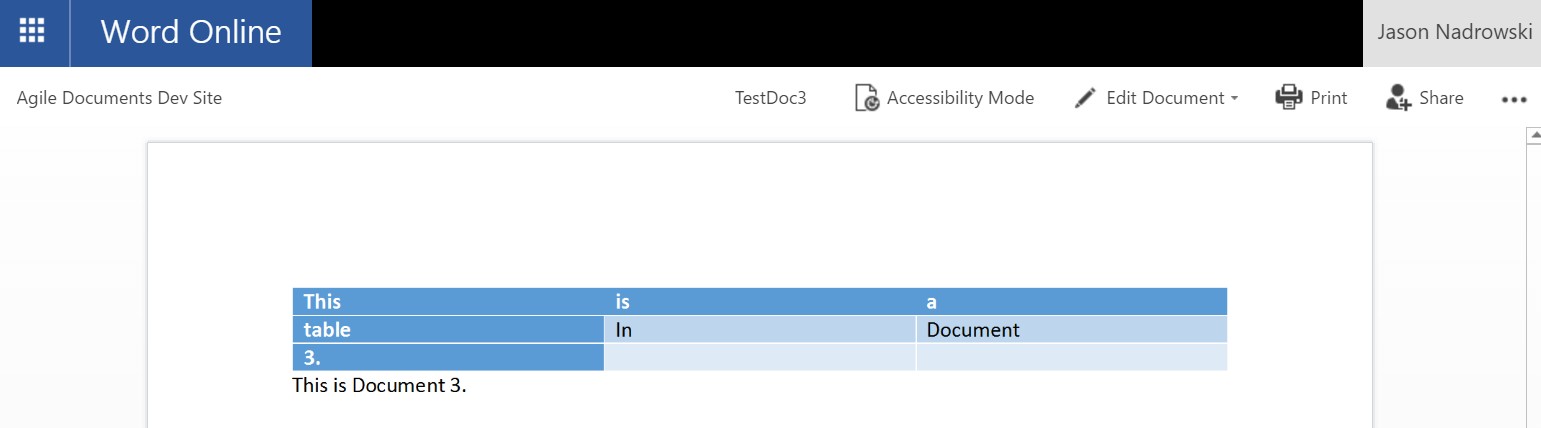
Similar to previous examples, ensure that the folder Word/EX3 exists within your document library. Then create a new Agile Document through SharePoint Explorer. Go back into SharePoint and rename it EX3.AgileDocument.xml. Also, create three Word files as shown in Figures 20, 21 and 22. Now, edit the Agile Document to concatenate TestDoc1.DOCX, TestDoc2.DOCX and TestDoc3.DOCX. In addition, make sure you set the Agile Document output type to DOCX. Save, build and then review Figure 23.
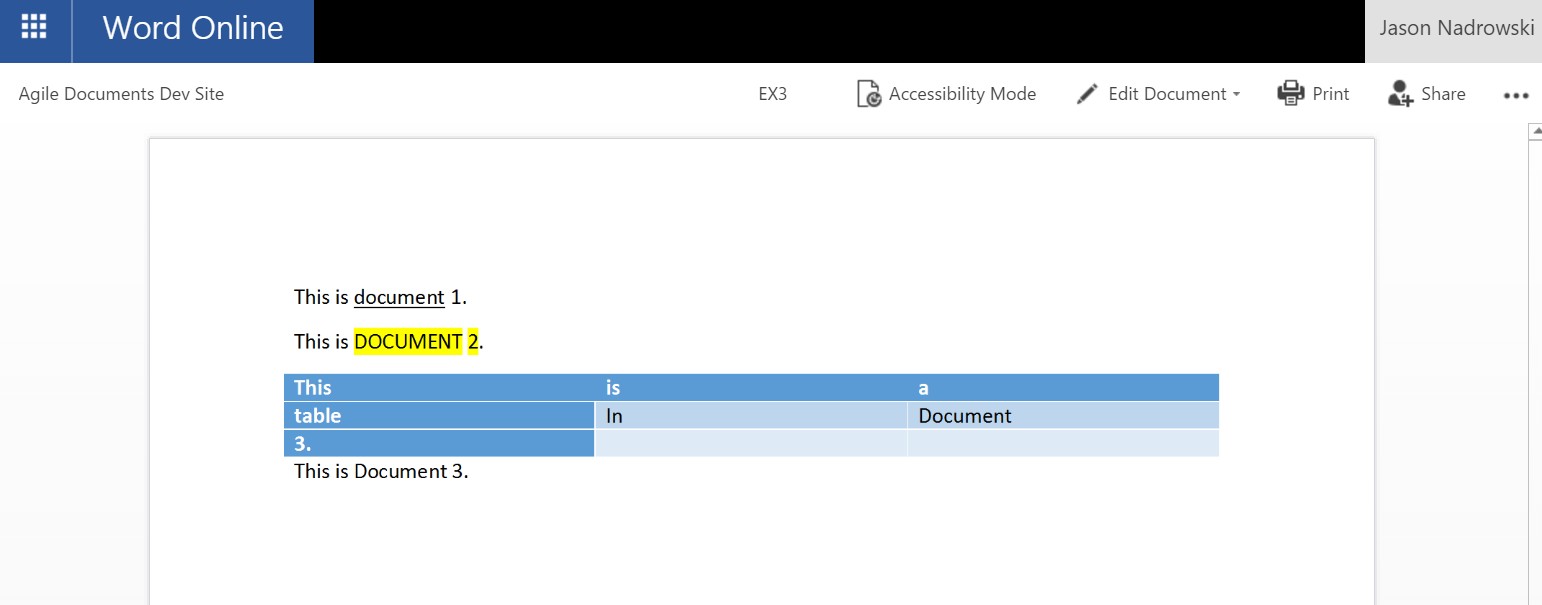
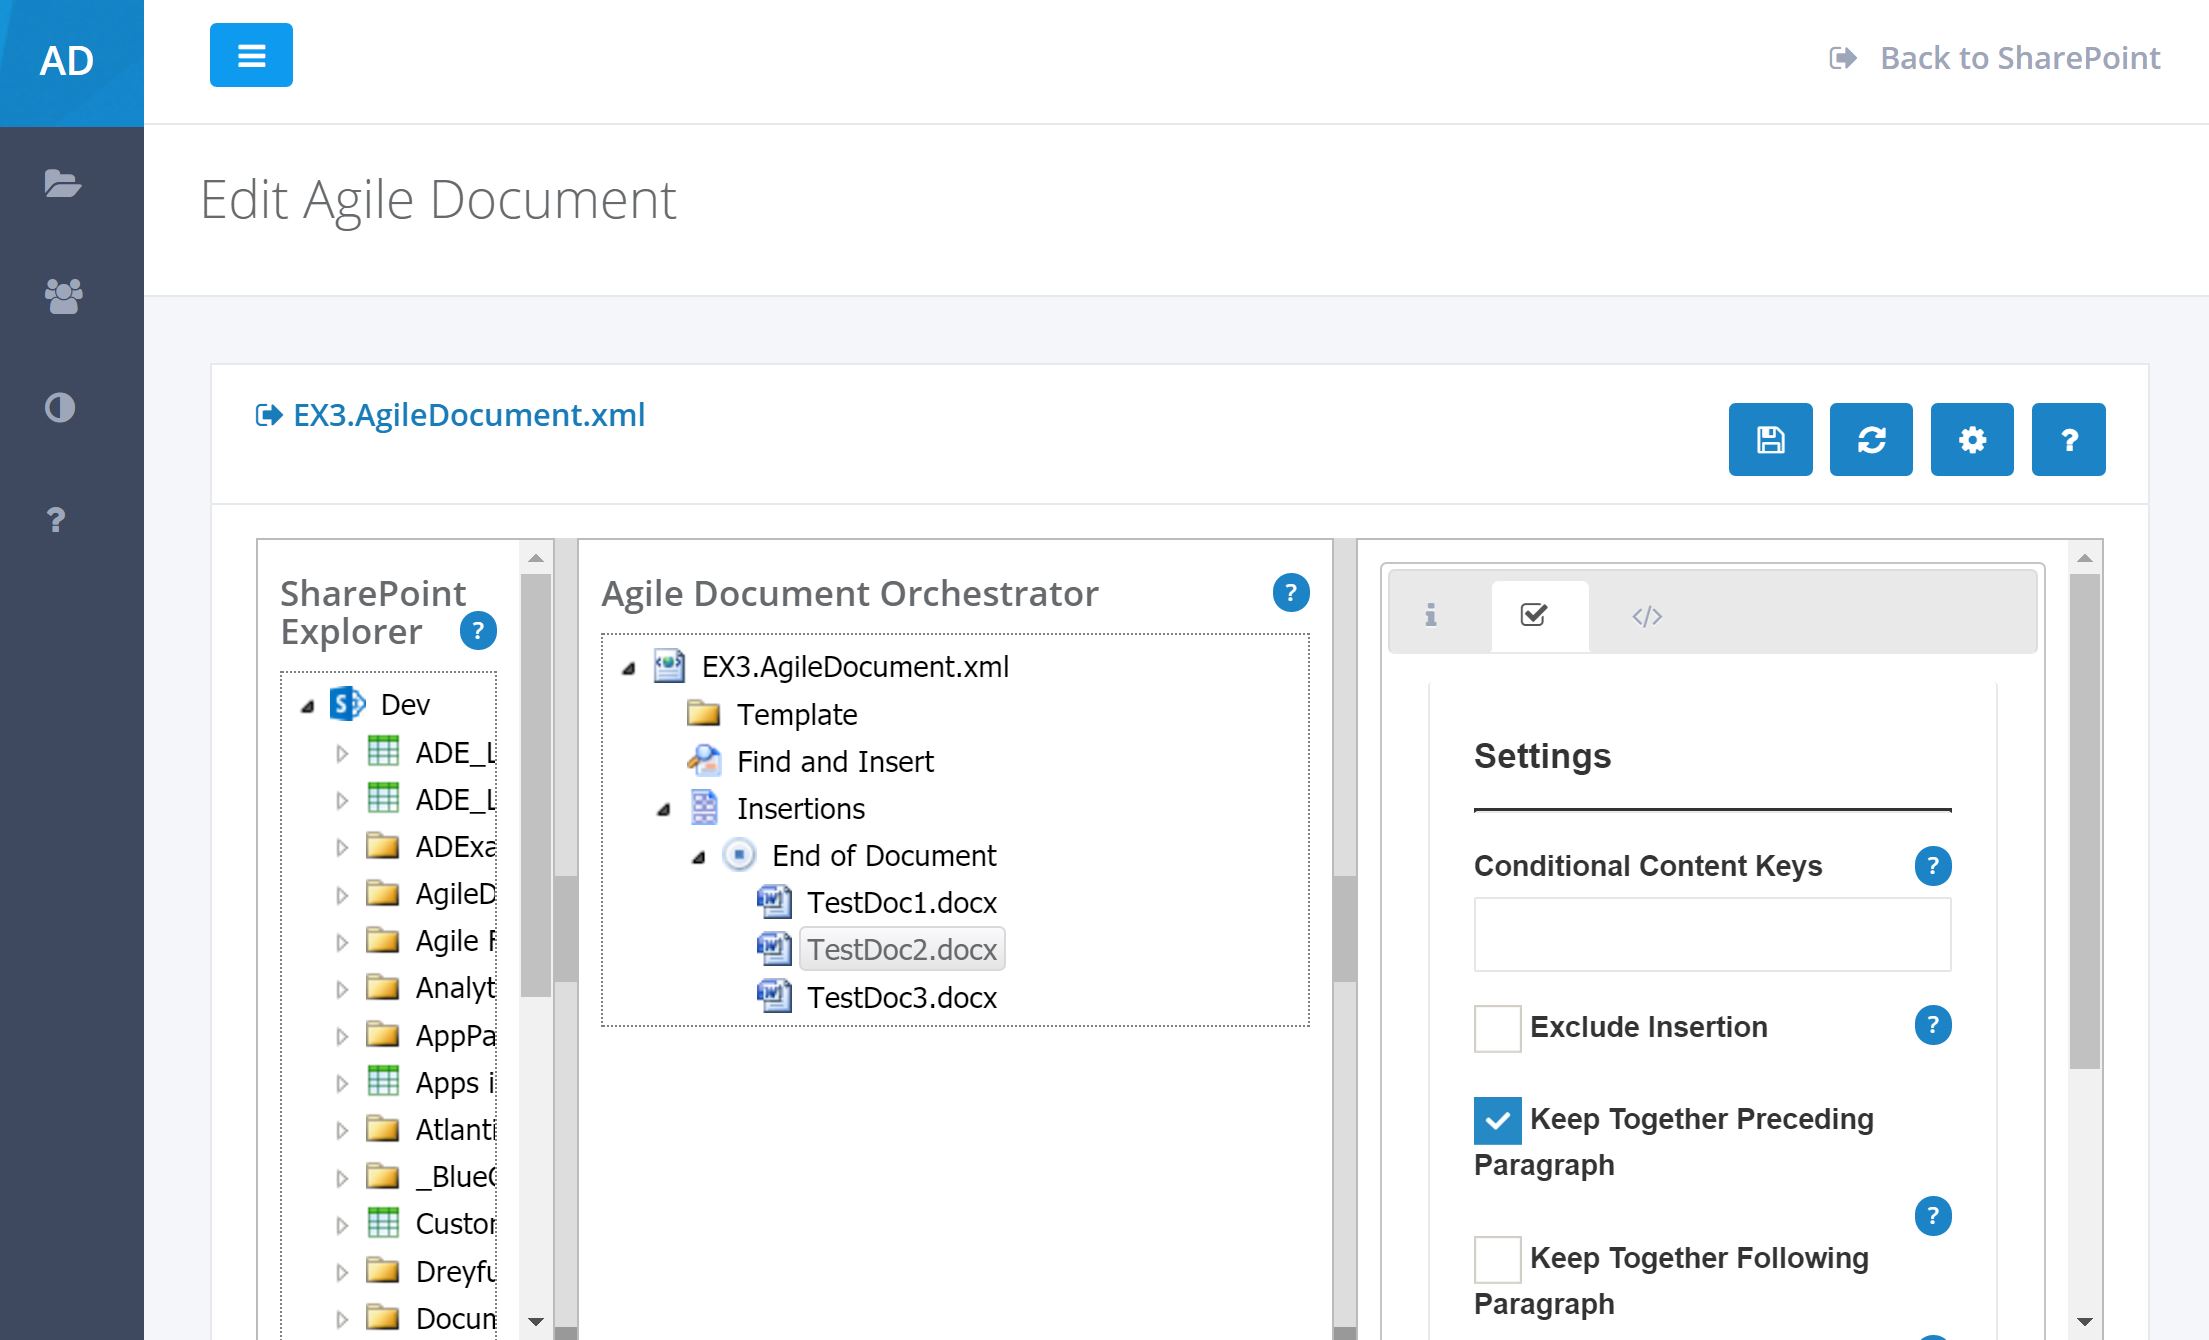
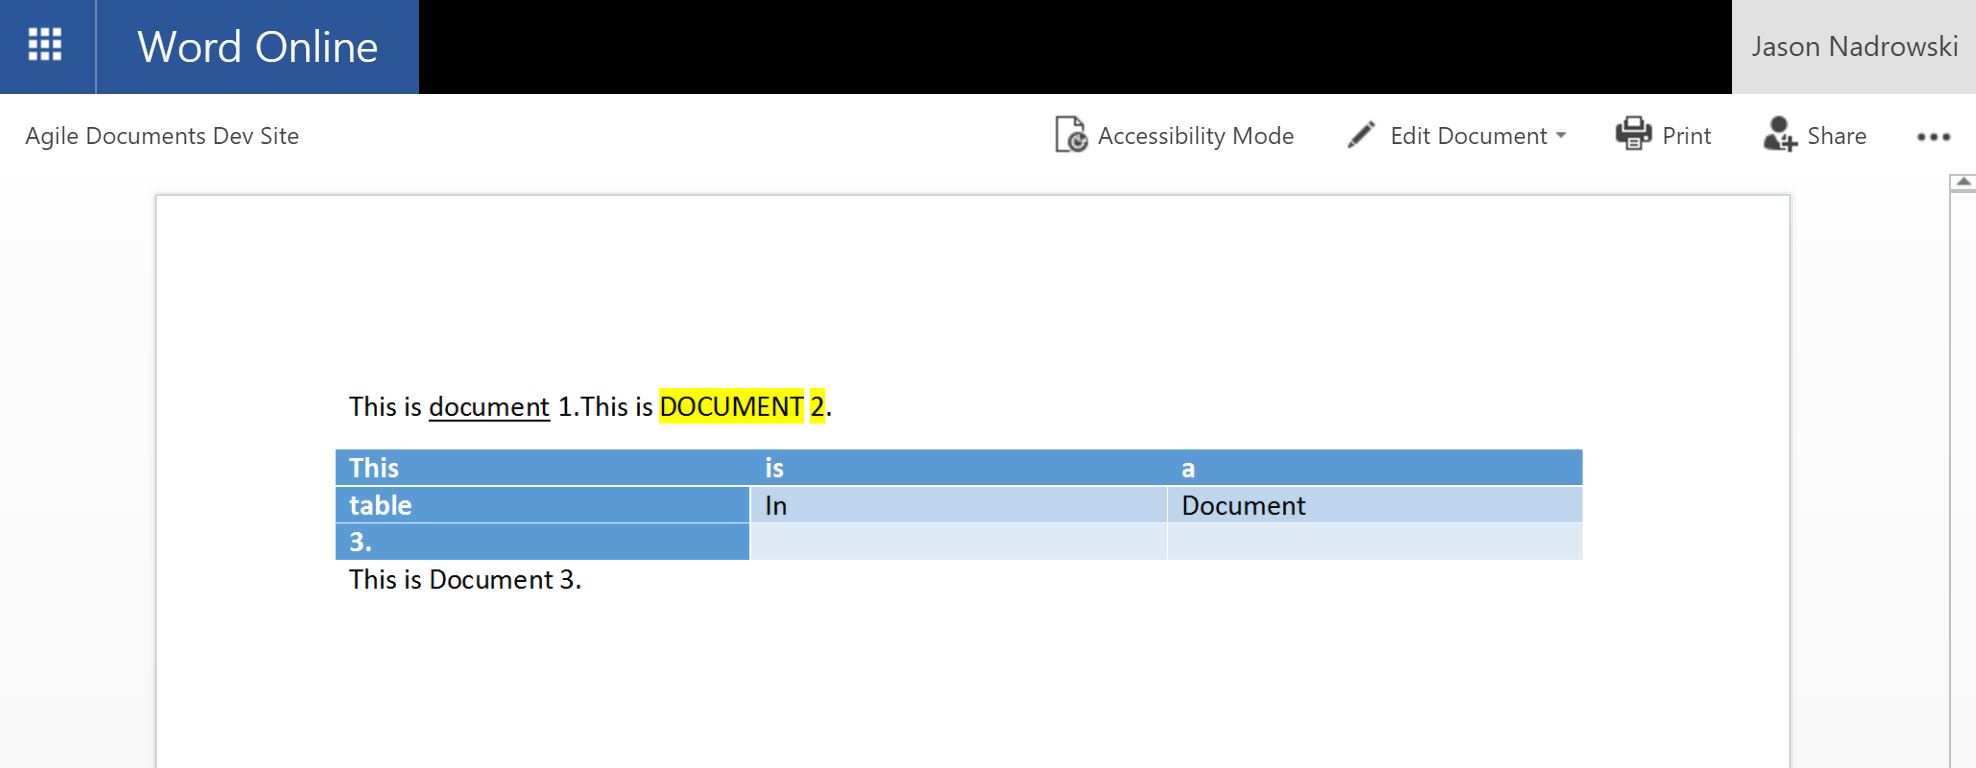
The results of the output in Figure 23 are as expected. But, what happens if we want This is document 1. and This is DOCUMENT 2. to be joined in the same paragraph? This is accomplished via the Keep Together Preceding or Keep Together Following setting. Enable Keep Together Preceding for TestDoc2.DOCX (Figure 24). This tells Agile Documents to try to join the immediate previous paragraph with the specified document. When you build the Agile Document, you will see the output shown in Figure 25, where the last paragraph of TestDoc1.DOCX is joined with TestDoc2.docx.
You may be asking, could we have accomplished the same thing with Keep Together Following on TestDoc1.DOCX? The quick answer is no. The Keep Together settings work at the time the content item is inserted. As you might expect, we insert TestDoc1.DOCX, then TestDoc2.DOCX and finally TestDoc3.DOCX. Therefore, at the time Keep Together following is executed for TestDoc1.DOCX, TestDoc2.DOCX doesn't exist in our consolidated document. Thus, it doesn't join. This option exists for cases where content is inserted into an insertion point above some other existing content.
Your next question is probably, well, what happens if I set Keep Together Preceding for TestDoc3.DOCX? You ask great questions! Well, in that case, there would be no change to the document because you cannot have a table flow within a paragraph.
Example 4: Adding Documents with Sections
In this final example, we show how Word document sections are inserted into an Agile Document.
Similar to previous examples, ensure that the folder Word/EX4 exists within your document library. Then create a new Agile Document through SharePoint Explorer. Go back into SharePoint and rename it EX4.AgileDocument.xml. Also, create three Word files as shown in Figures 26 and 27. Now, edit the Agile Document to concatenate TestDoc1.DOCX and TestDoc2.DOCX (Figure 28). In addition, make sure you set the Agile Document output type to DOCX. Save, build and then review Figure 29.
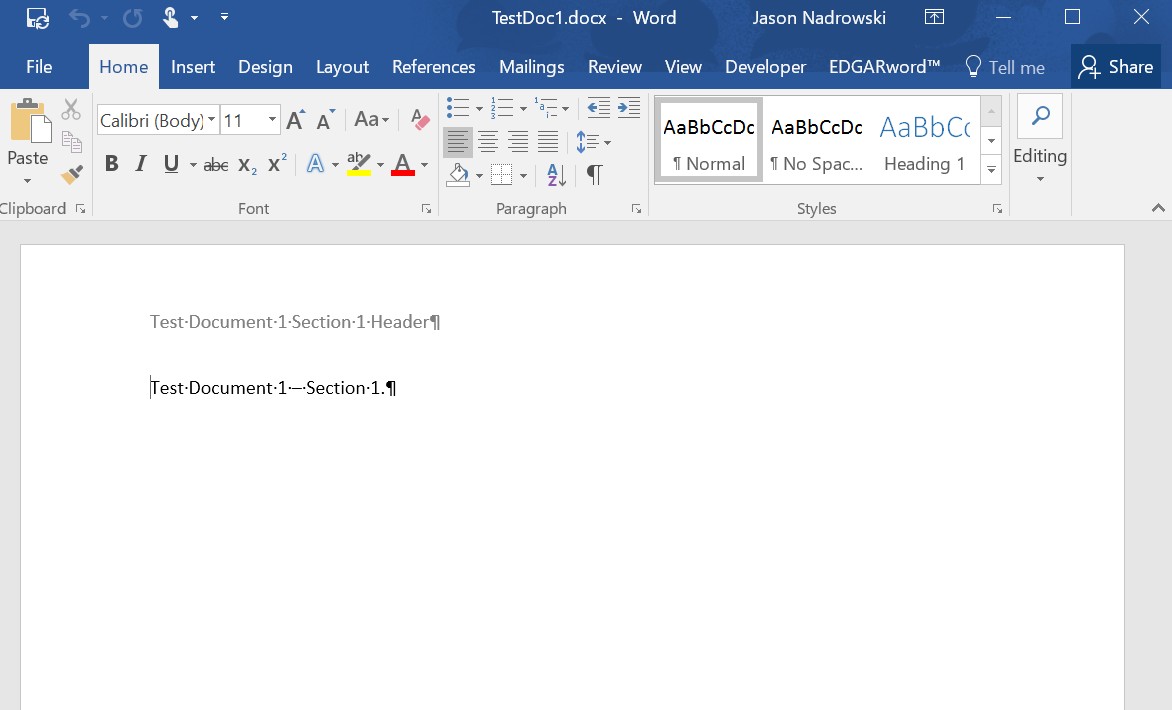
Figure 26: TestDoc1.DOCX
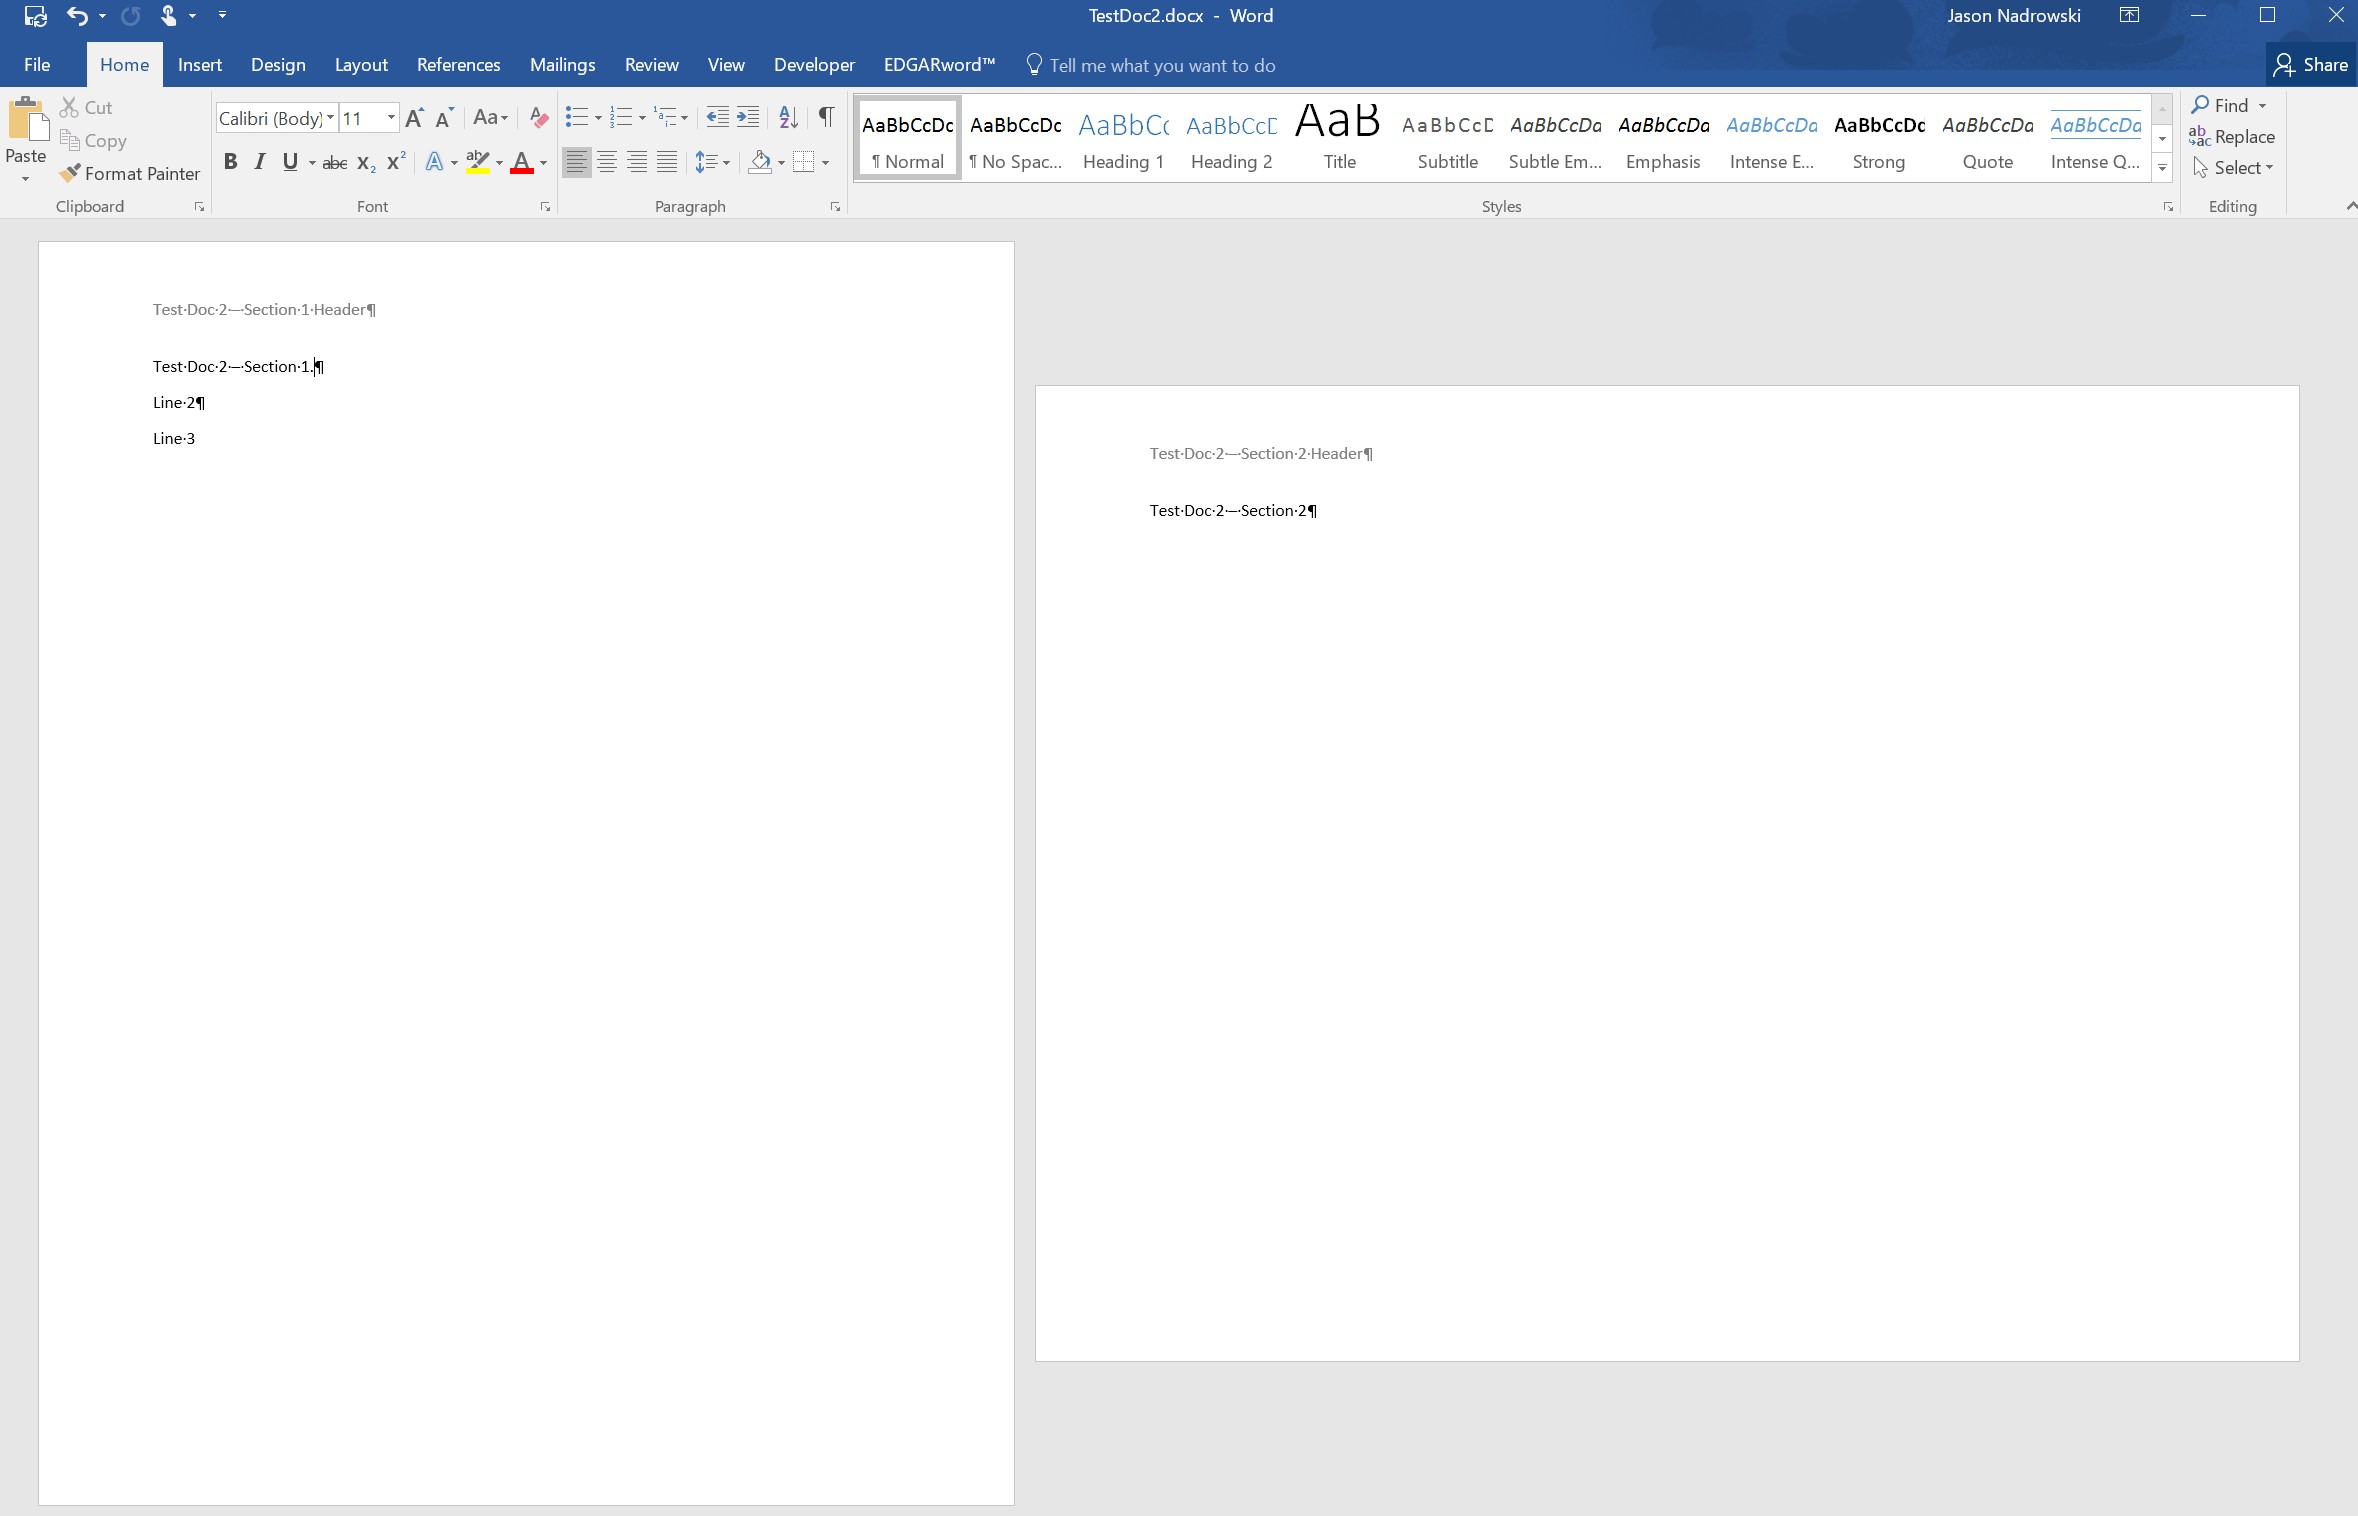
Figure 27: TestDoc2.DOCX
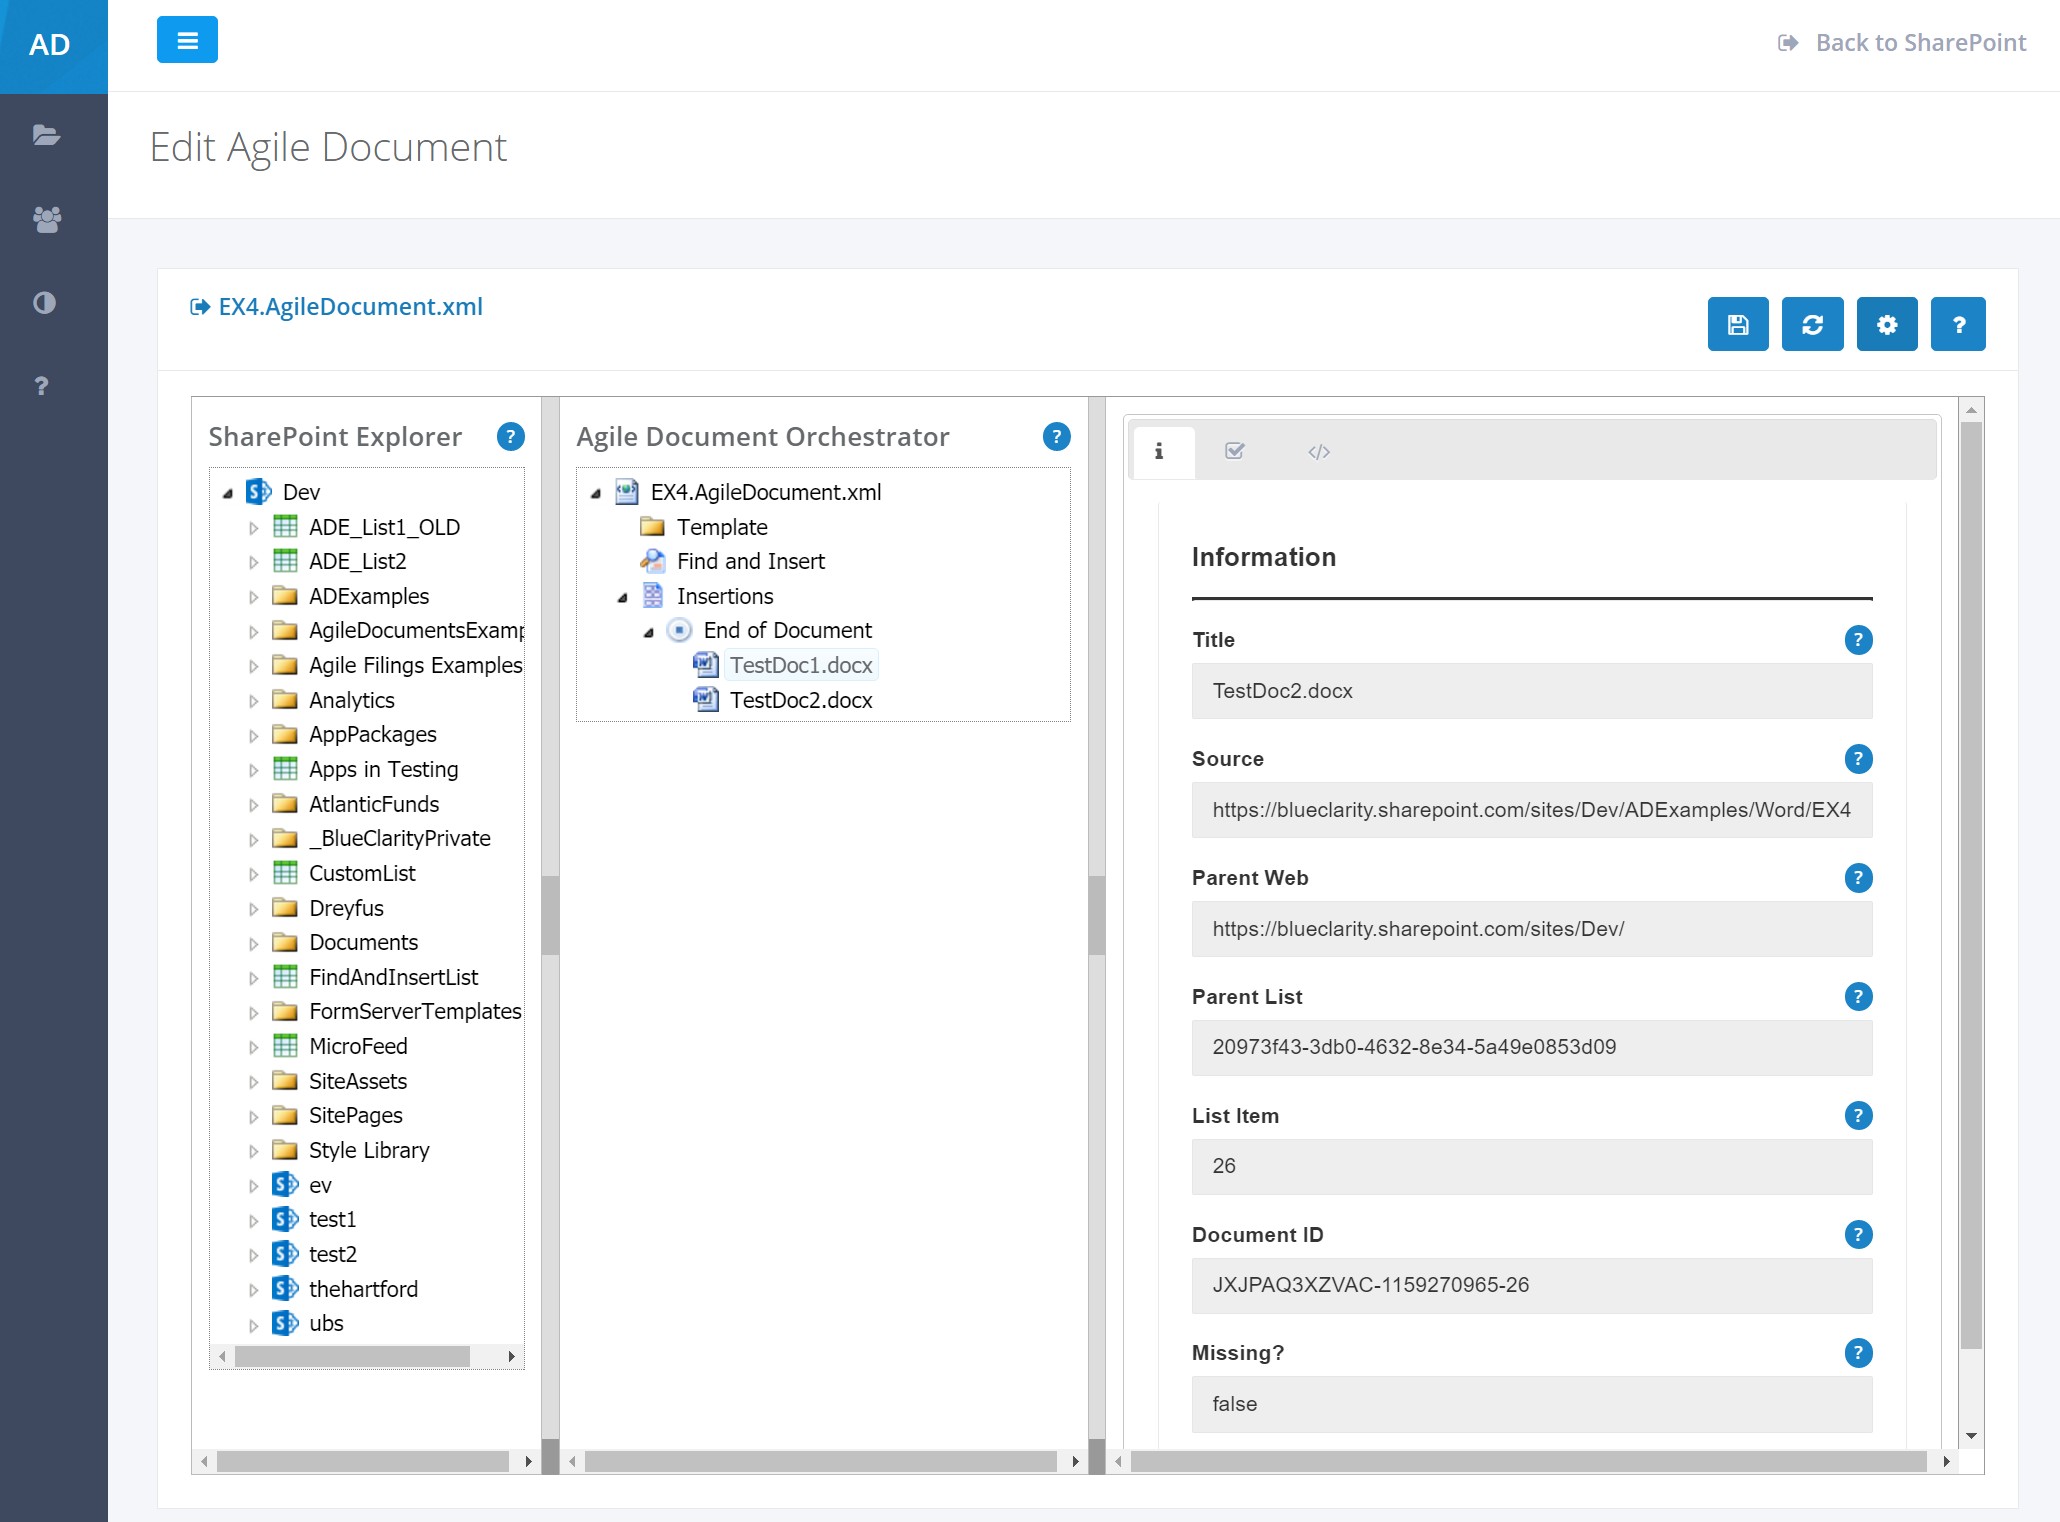
Figure 28: Editing the Agile Document
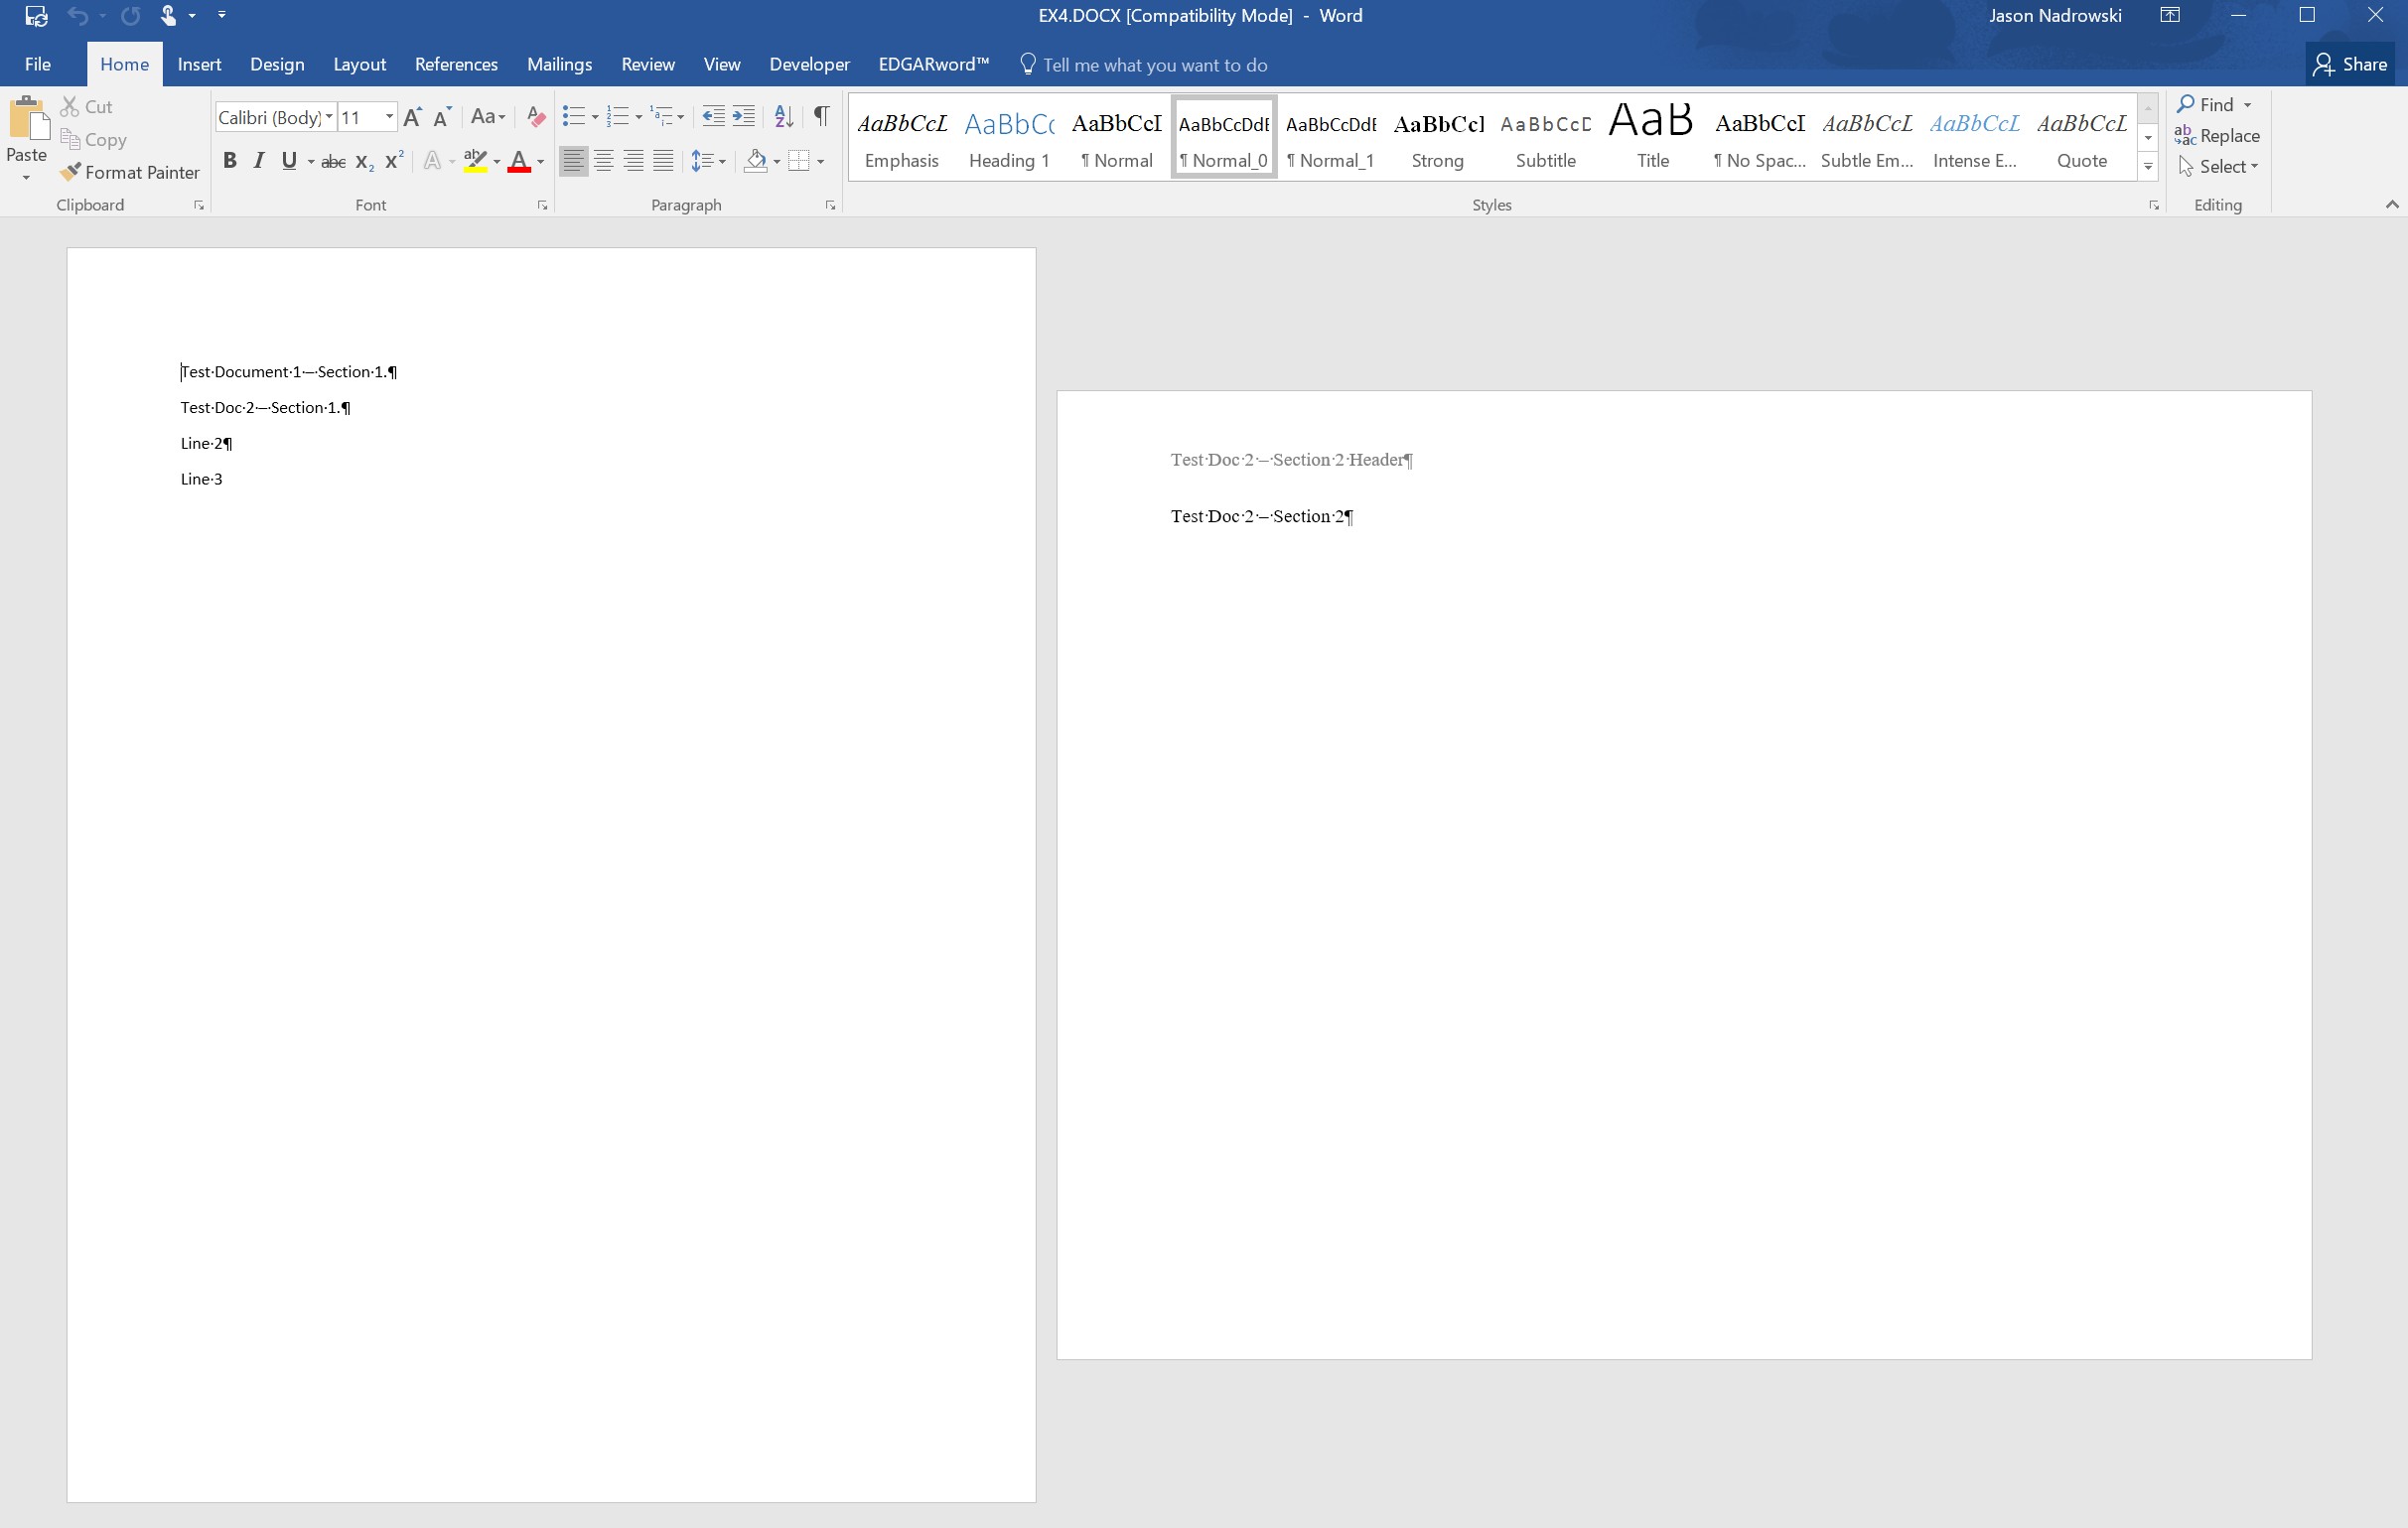
Figure 29: Output
Let's talk about what is happening here. First, note that TestDoc1.DOCX is a document with one section. It has a single paragraph and a header. Whereas, TestDoc2.DOCX has two sections. Each section has content in the header and body. Note that the headers for section 1 and section 2 are different. When you examine the output, you probably noticed that the TestDoc1.DOCX header is missing and the first section header in TestDoc2.DOCX is missing. This is intentional.
In Agile Documents, the first section of a word processing document is merged into the existing section of the Agile Document you are building. This simplifies the majority of document building tasks by adding the content immediately after its current insertion location and in the same section. Therefore, you could add two documents--each with one paragraph--to an Agile Document and the result would be two paragraphs in the same/only section. If, however, you truly desire a section break between these two paragraphs, you could insert a section break immediately before the paragraph in the second document.
Back to our example. The first section of TestDoc1.DOCX is merged into the existing [blank] document. This is why the first [and only] section header is not reflected in the built Agile Document. Further, the first section of TestDoc2.DOCX document is merged into the existing document--which now includes the merged TestDoc1.DOCX document. That is why the second document's first section header--and really any other section specific options--are ignored. However, when Agile Documents encounters the second document's section break, it inserts that section break and preserves that section's header and orientation. The key is to add a section break in an inserted document inorder to insert a section in the output document.