Help / Manual / API - REST
There are multiple ways to integrate with Agile Documents.
The traditional way is to navigate to Agile Documents from SharePoint. You may also provide URLs that direct the user to specific Agile Document functionality. In this later case, you may embed a URL in an email or a web page that immediately builds an Agile Document. This is in contrast to the traditional way, which necessitates navigating to SharePoint, clicking on the Agile Documents app, finding the Agile Document in SharePoint Explorer and then right-clicking on it to build. Both methods are optimized for user access. So if the user has not previously logged into SharePoint, they will be prompted and then forwarded along. This type of behavior is a little tricky to handle when integrating with your own custom code or other service platforms.
The REST API methods [discussed in this section] are optimized to be coded against and/or integrated with other service platforms--such as Microsoft Flow. You can find more information about RESTful APIs on Wikipedia.
The latest (2018.08.01) API definition can be found on SWAGGERhub. Please note than in SWAGGERhub, there is an icon in the upper right hand corner where you can download the definitions in JSON format. These can be used with Microsoft Flow and other service platforms to create custom connectors to Agile Documents.
In order to use Agile Document's Rest API services, you first must obtain an APIKey from Agile Documents. These unique keys are submitted with your REST API requests. They also serve to authenticate and authorize your access to the system and various Agile Document operations.
API Keys
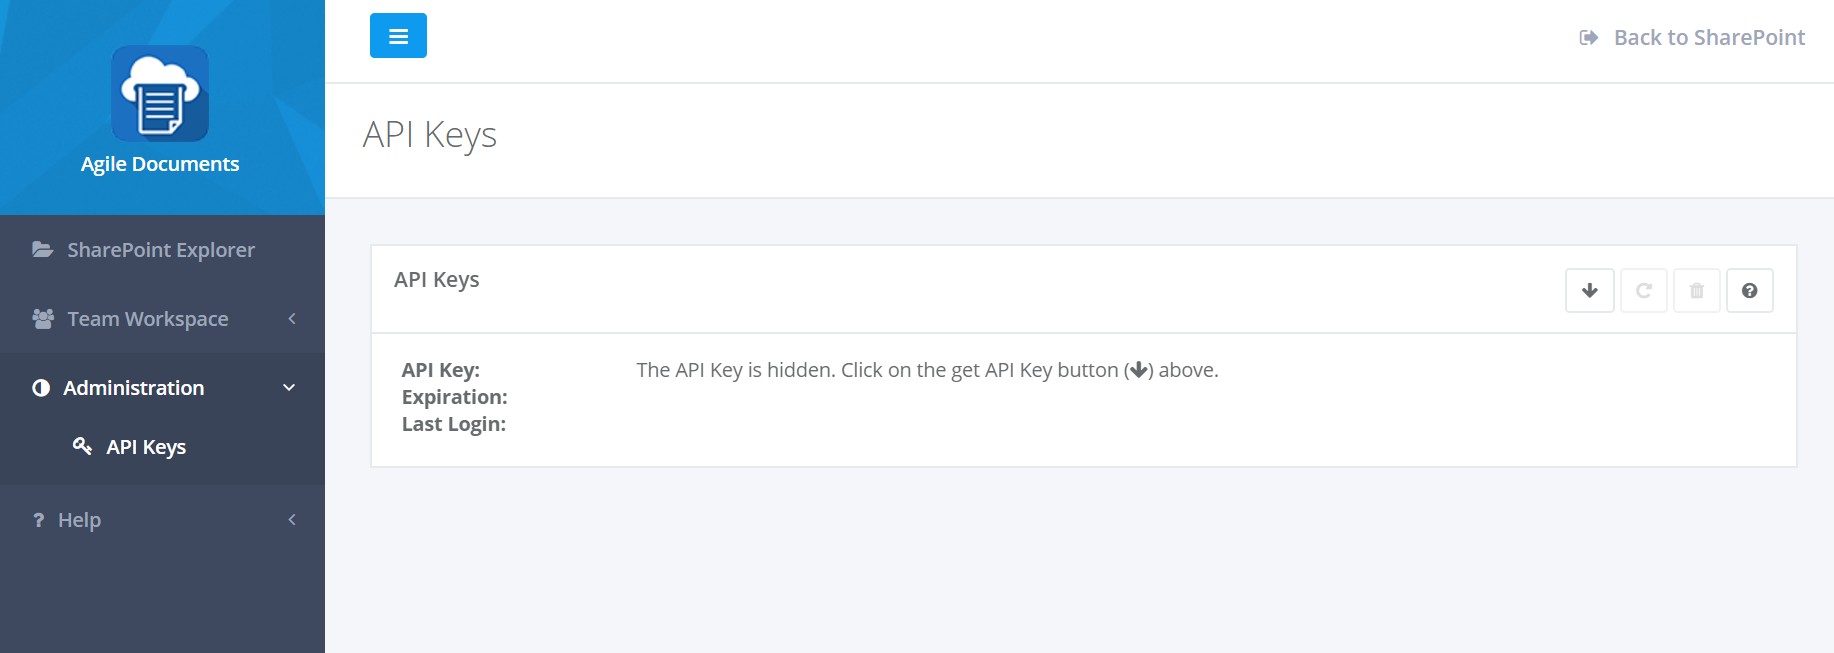
You must obtain an API Key before you can use the REST APIs. You do this through the API Keys page shown in Figure 1. Frequently, you will navigate to this page from SharePoint Explorer. But, as this is a left navigation choice you can navigate to this page from any Agile Document's page.
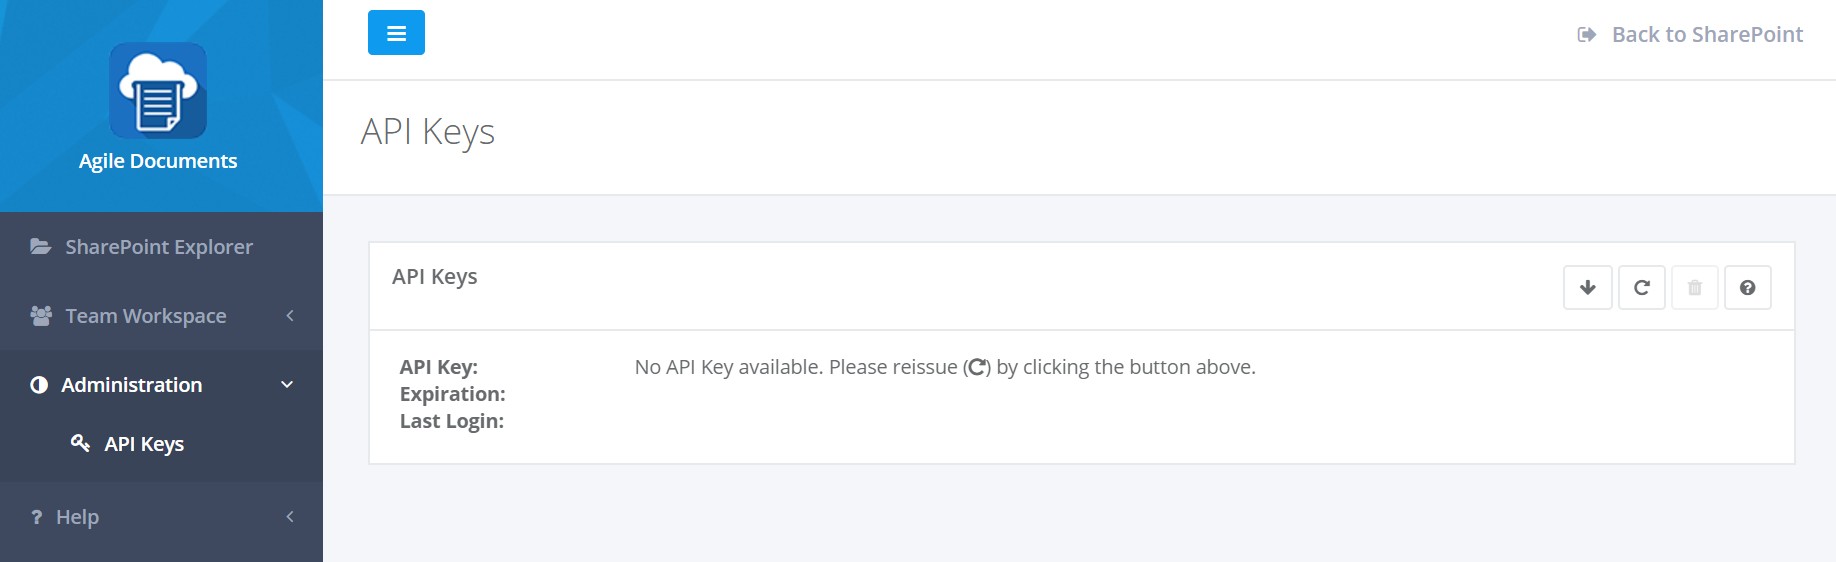
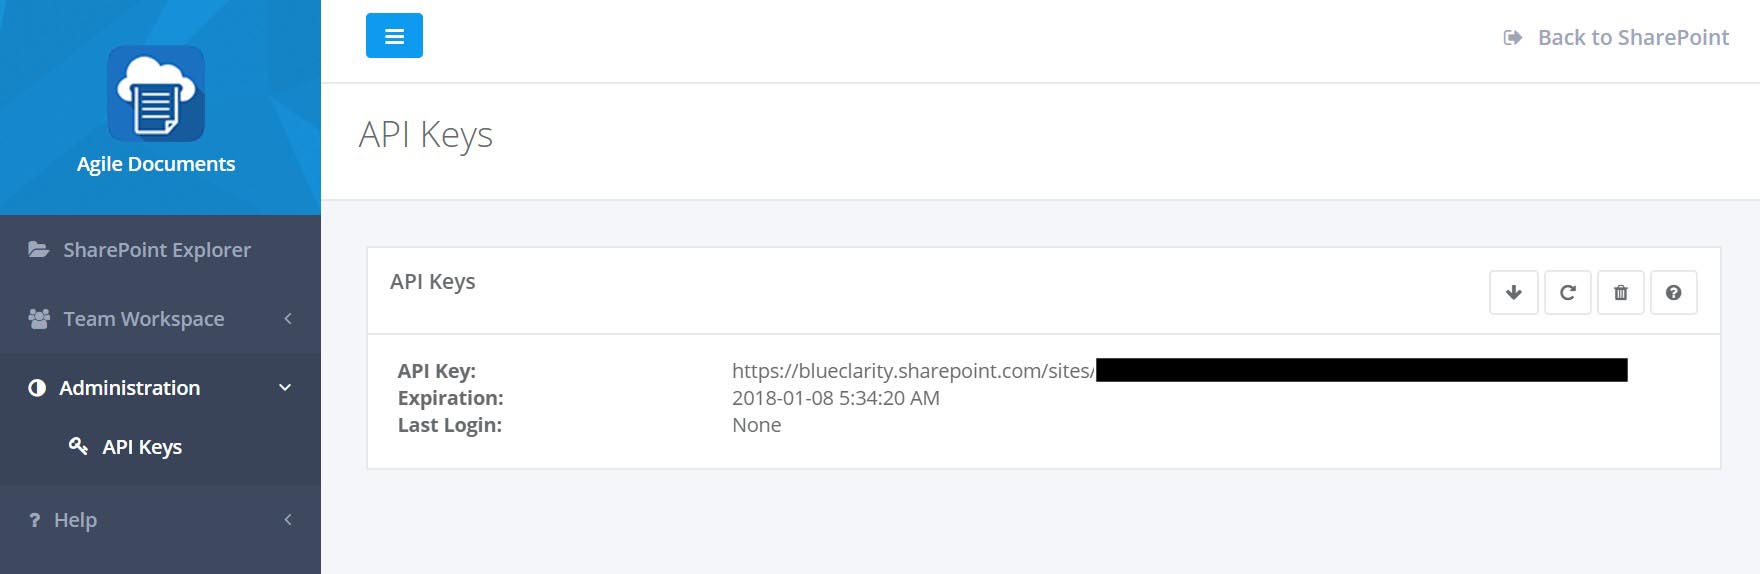
As stated in Figure 1, click on the toolbar button in the upper right. If you had NOT previously created an API Key you will the screen shown in Figure 2. If you had previously created an API Key, you will see them listed as shown in Figure 3.
Clicking on the toolbar button will issue or re-issue a randomly generated API Key and is shown in Figure 3. Please note that these are sensitive credentials and should be treated with the same secrecy you have with your user name and password. In fact, these credentials have same permissions your SharePoint user credentials have. Also, they are unique to the SharePoint site collection they were issued with. Any operations will be associated with your corresponding SharePoint credentials. So, if you build an Agile Document, the outputs of that process will appear as uploaded by you.
Clicking on the delete toolbar button will delete your API Key and will immediately disable Rest API access for your account. However, Agile Documents will complete any Rest API requests currently in progress at the time you deleted your API Key. It should also be noted that re-issue will delete your current API Key and issue a new set. The delete behavior mentioned above will also apply to the old API Key assigned prior to the re-issue. Thus, the previously issued API Key will immediately cease working except for cases where an operation is in progress.
GET and POST Helper Methods
The Agile Document's REST API methods rely on the HTTP verbs of GET and POST. The following are C# .NET examples of a GET (Figure 4) and POST (Figure 5) that you might use. In order to be concise, we define these once and then reference them in the sections below.
BuildWithURI
The BuildWithURI method queues a build for the specified Agile Document. Its direct URI is https://www.blueclarity.com/AgileDocuments/api/agiledocuments/BuildWithURI.
Parameters
| Name | Description |
|---|---|
|
APIKey *Required string (query) |
Your assigned API Key |
|
AgileDocumentData *Required (body) |
Data that specifies the Agile Document (agiledocumentURI) and optionally data to augment the Agile Document build process.
Please note that outputfileuri and outputfilesuffix parameters are mutually exclusive of each other -- please specify one or the other.
Example Value: Model Parameter content type: application/json |
Curl
curl
  -X POST "https://www.blueclarity.com/AgileDocuments/api/agiledocuments/BuildWithURI?APIKey=MyApiKey"
  -H "Content-Type:application/json"
  --data "{  'agiledocumentURI': 'https://blueclarity.sharepoint.com/sites/site1/ADExamples/Word/EX1/EX1.AgileDocument.xml',  'findinsertURI': 'https://blueclarity.sharepoint.com/sites/site1/CustomList/2_.000'}"
Server Response (application/json)
| Code | Description |
|---|---|
| 200 |
Example Value: Model |
| 404 |
|
| 406 |
|
| 500 |
|
Figure 6 is a simple example of how to implement BuildWithURI. Please note that Figure 6 references the PostJSONToURL method defined in Figure 5.
As you review the code, you'll notice that the POST reponse is parsed to retrieve the server assigned TaskID. Once you have obtained the server assigned Task ID for your request, you probably want to check on its progress to see when its completed via the GetTaskStatus method discussed below.
GetTaskStatus
The GetTaskStatus method checks on the status of an Agile Document build -- presumably one you created via BuildWithURI. Its direct URI is https://www.blueclarity.com/AgileDocuments/api/agiledocuments/GetTaskStatus.
Parameters
| Name | Description |
|---|---|
|
APIKey *Required string (query) |
Your assigned API Key |
|
TaskID *Required string (query) |
The Task GUID to lookup. |
Curl
curl
  -X GET "https://www.blueclarity.com/AgileDocuments/api/agiledocuments/GetTaskStatus?APIKey=MyAPIKey&TaskID=someGUID"
Server Response (application/json)
| Code | Description |
|---|---|
| 200 |
Example Value: Model |
| 404 |
|
| 406 |
|
| 500 |
|
Figure 7 is an example of how to implement GetTaskStatus. Please note that Figure 7 references the GetToURL method defined in Figure 4.
Microsoft Flow Integration
Currently, we do not publicly integrate our API with Microsoft Flow. However, this is about to change as we Flow will soon offer an Agile Document's connector.
In the meantime, you can create a custom connector very quickly that connects to our API. In order to create a custom connector in Microsoft Flow, please review Register and use custom connectors in Microsoft Flow.
In short, you need to select Custom Connector from the Microsofot Flow menu (Figure 8). This will take you to your Custom connectors page where you need to click Create custom connector in the upper right. This will start the multi-step process wizard process of creating the Agile Document custom connector. This first step is shown in Figure 9, where you upload the Agile Documents JSON API definition and optionally upload the Agile Documents Icon. Next you specify the connectors security settings shown in Figure 10.
After that, modify the Action defitions to delete the APIKey as shown in Figures 11 and 12. This allows you to create a connection--we'll get to that in a little bit--that defines the APIKey once. Through the Security settings you have previously set, you will avoid the need to specify the APIKey for each Agile Documents Flow Action. Its worth mentioning that had we set the connector's security settings to no authentication, we would need to pass in the API Key each time to the various Agile Documents Rest API methods and we would not delete this parameter. But, we opted for the most efficient operation and specified API Key authentication.
When you advance to Test, it will require you to click on Create connector in the upper right of the screen (Figure 13). This could have also been clicked on Figure 11 or 12 as well -- assuming you had deleted the APIKey parameter. After the connector is created, you need to create a connection. Click on the New Connection button as shown in Figure 14. This may ask you to navigate away from the page -- which is OK. It will then prompt you for your API Key (Figure 15). Keep in mind the API Key will be specific to a particular site collection. Therefore you should consider creating a different connector for each site collection you wish to interact with. Depending on your requirements, you could opt to create a single connector with no authentication, keep the APIKey parameter for each Agile Documents API method, and then specify the APIKey for each Agile Document Action in Flow. But, that option is usually more cubersome when creating Flows.
Now you can Test operation(s) of your connector (Figure 14), or launch into creating a new Agile Document Flow. Generally, you will start creating your Flows and if you have a problem go back to test operations.
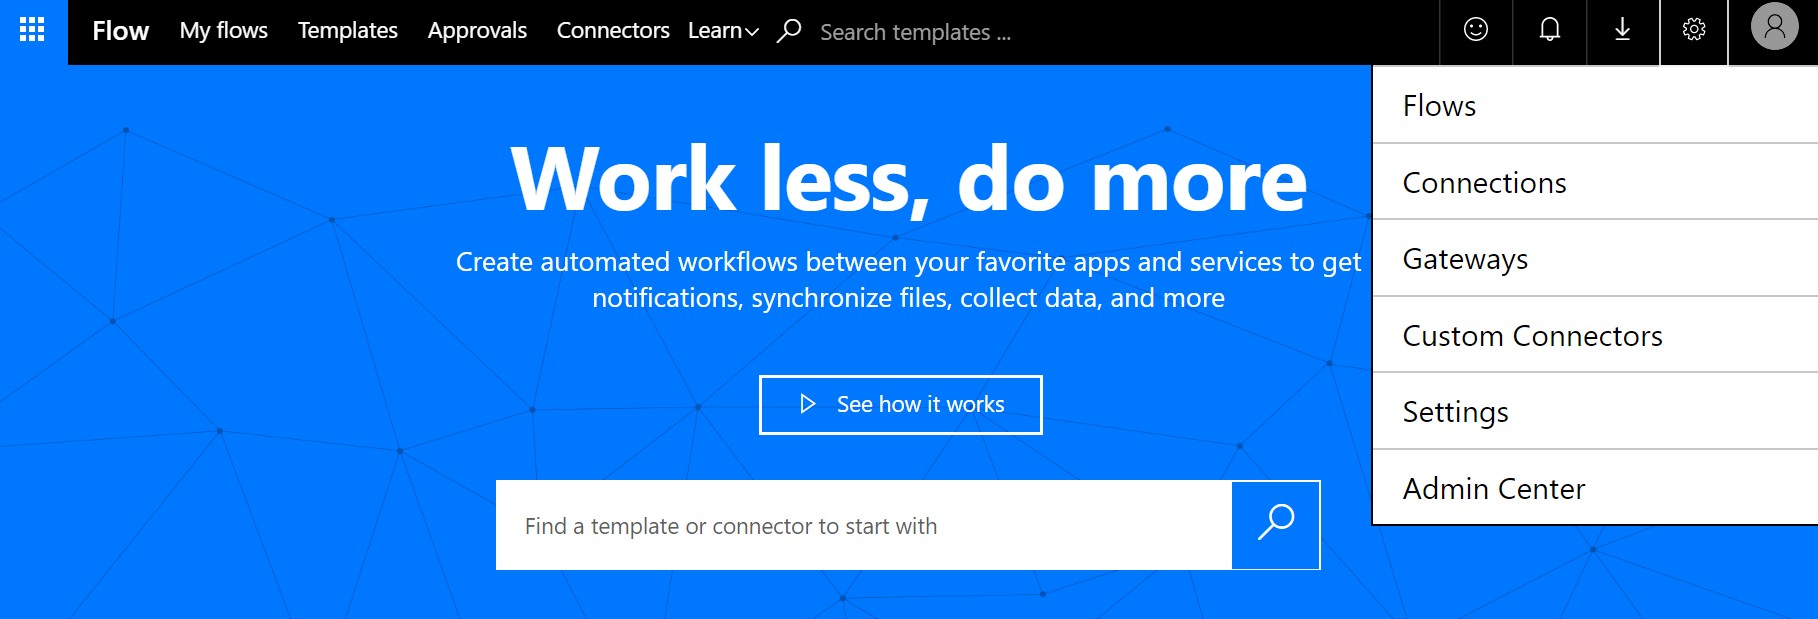
Figure 8: MS Flow Create Connector Menu Choice
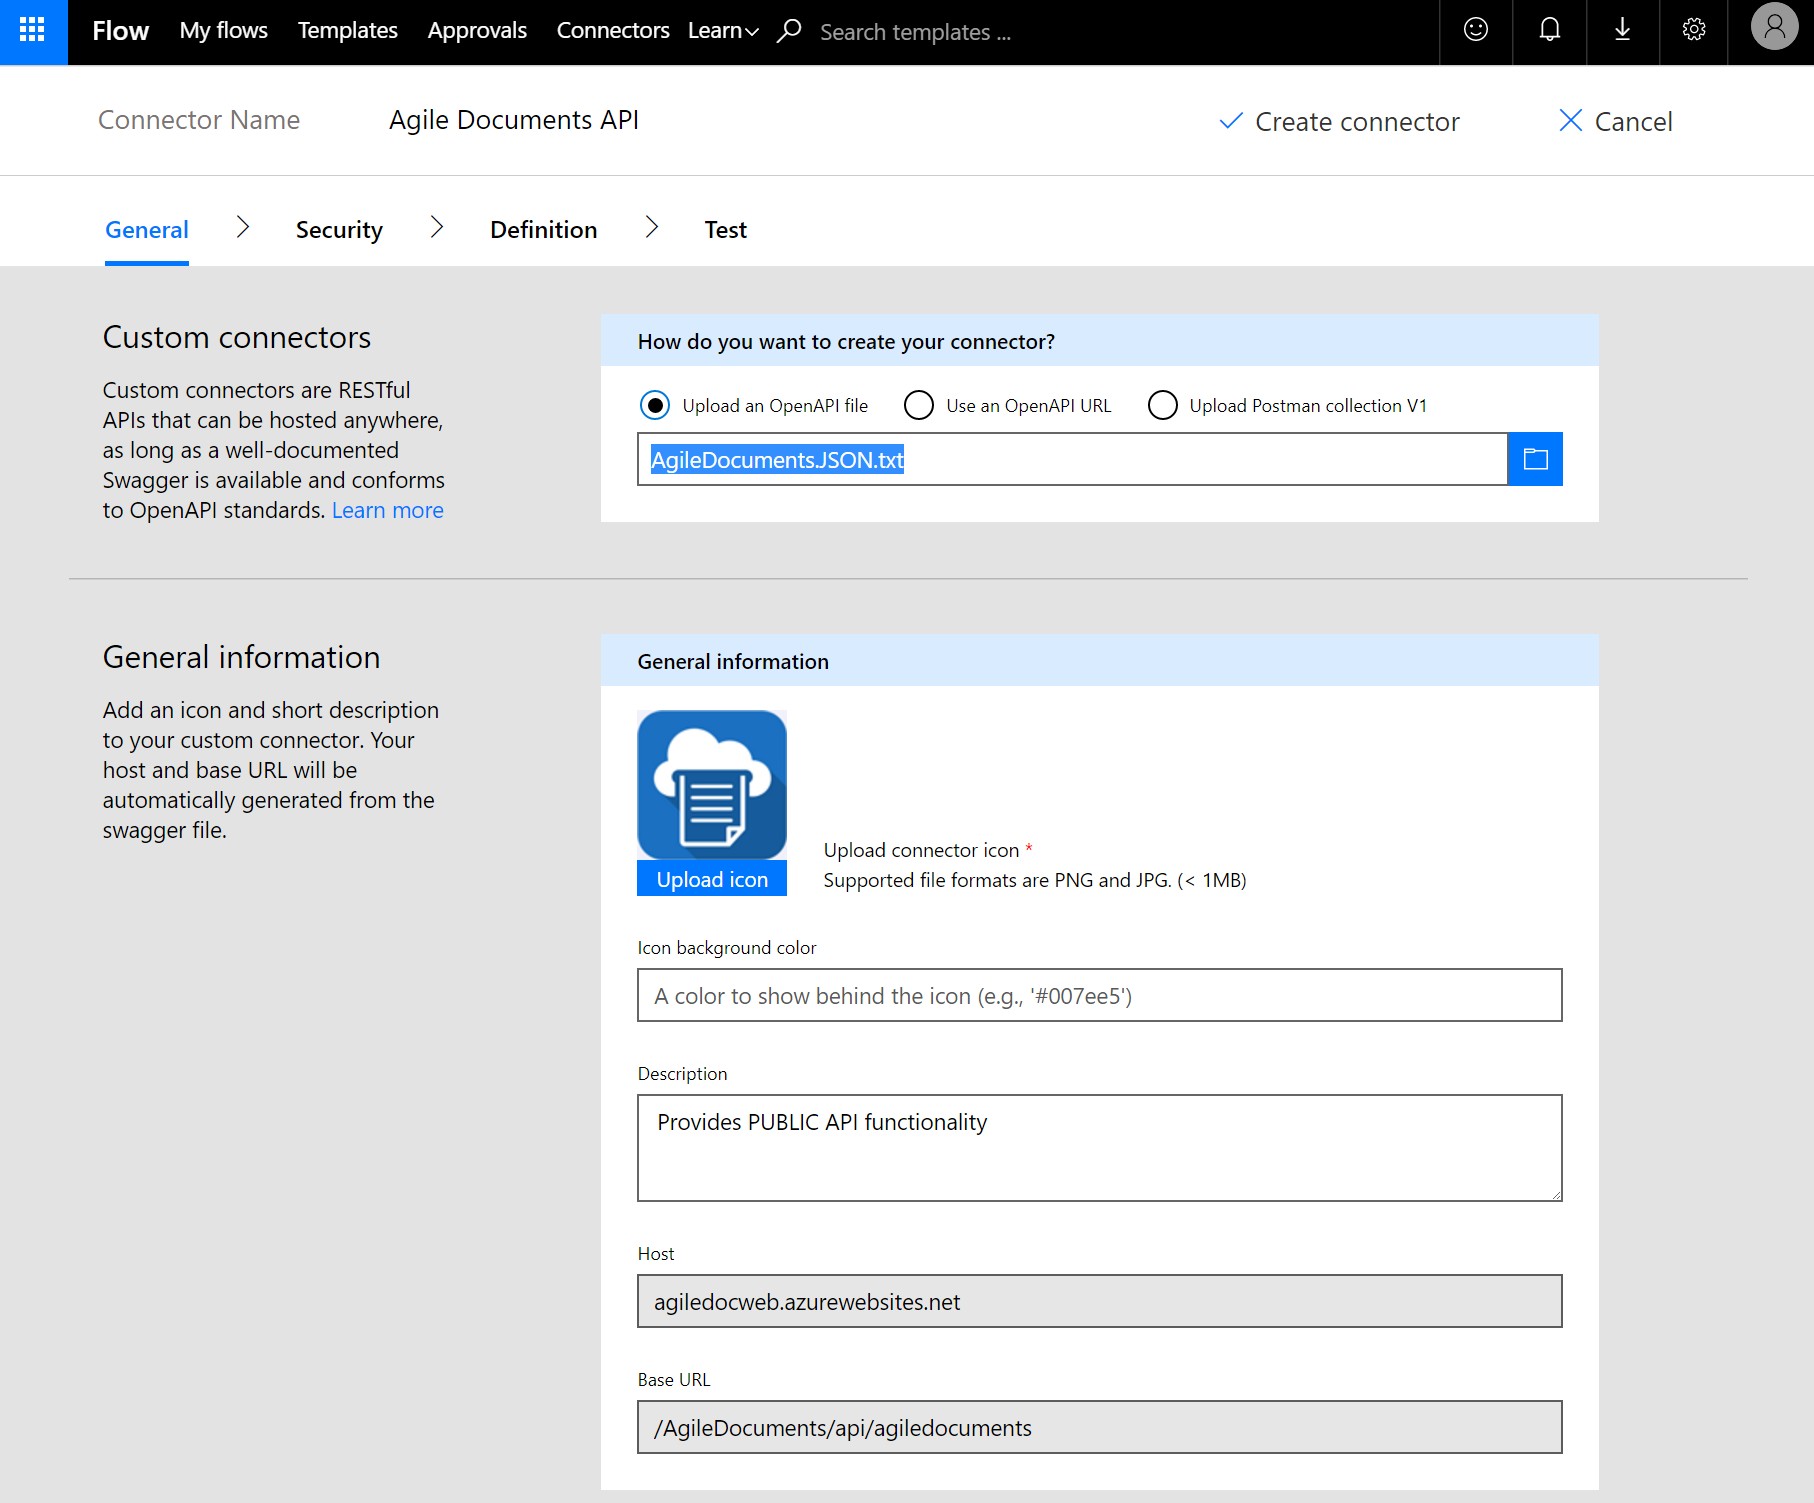
Figure 9: MS Flow Create Connector - General

Figure 10: MS Flow Create Connector - Security
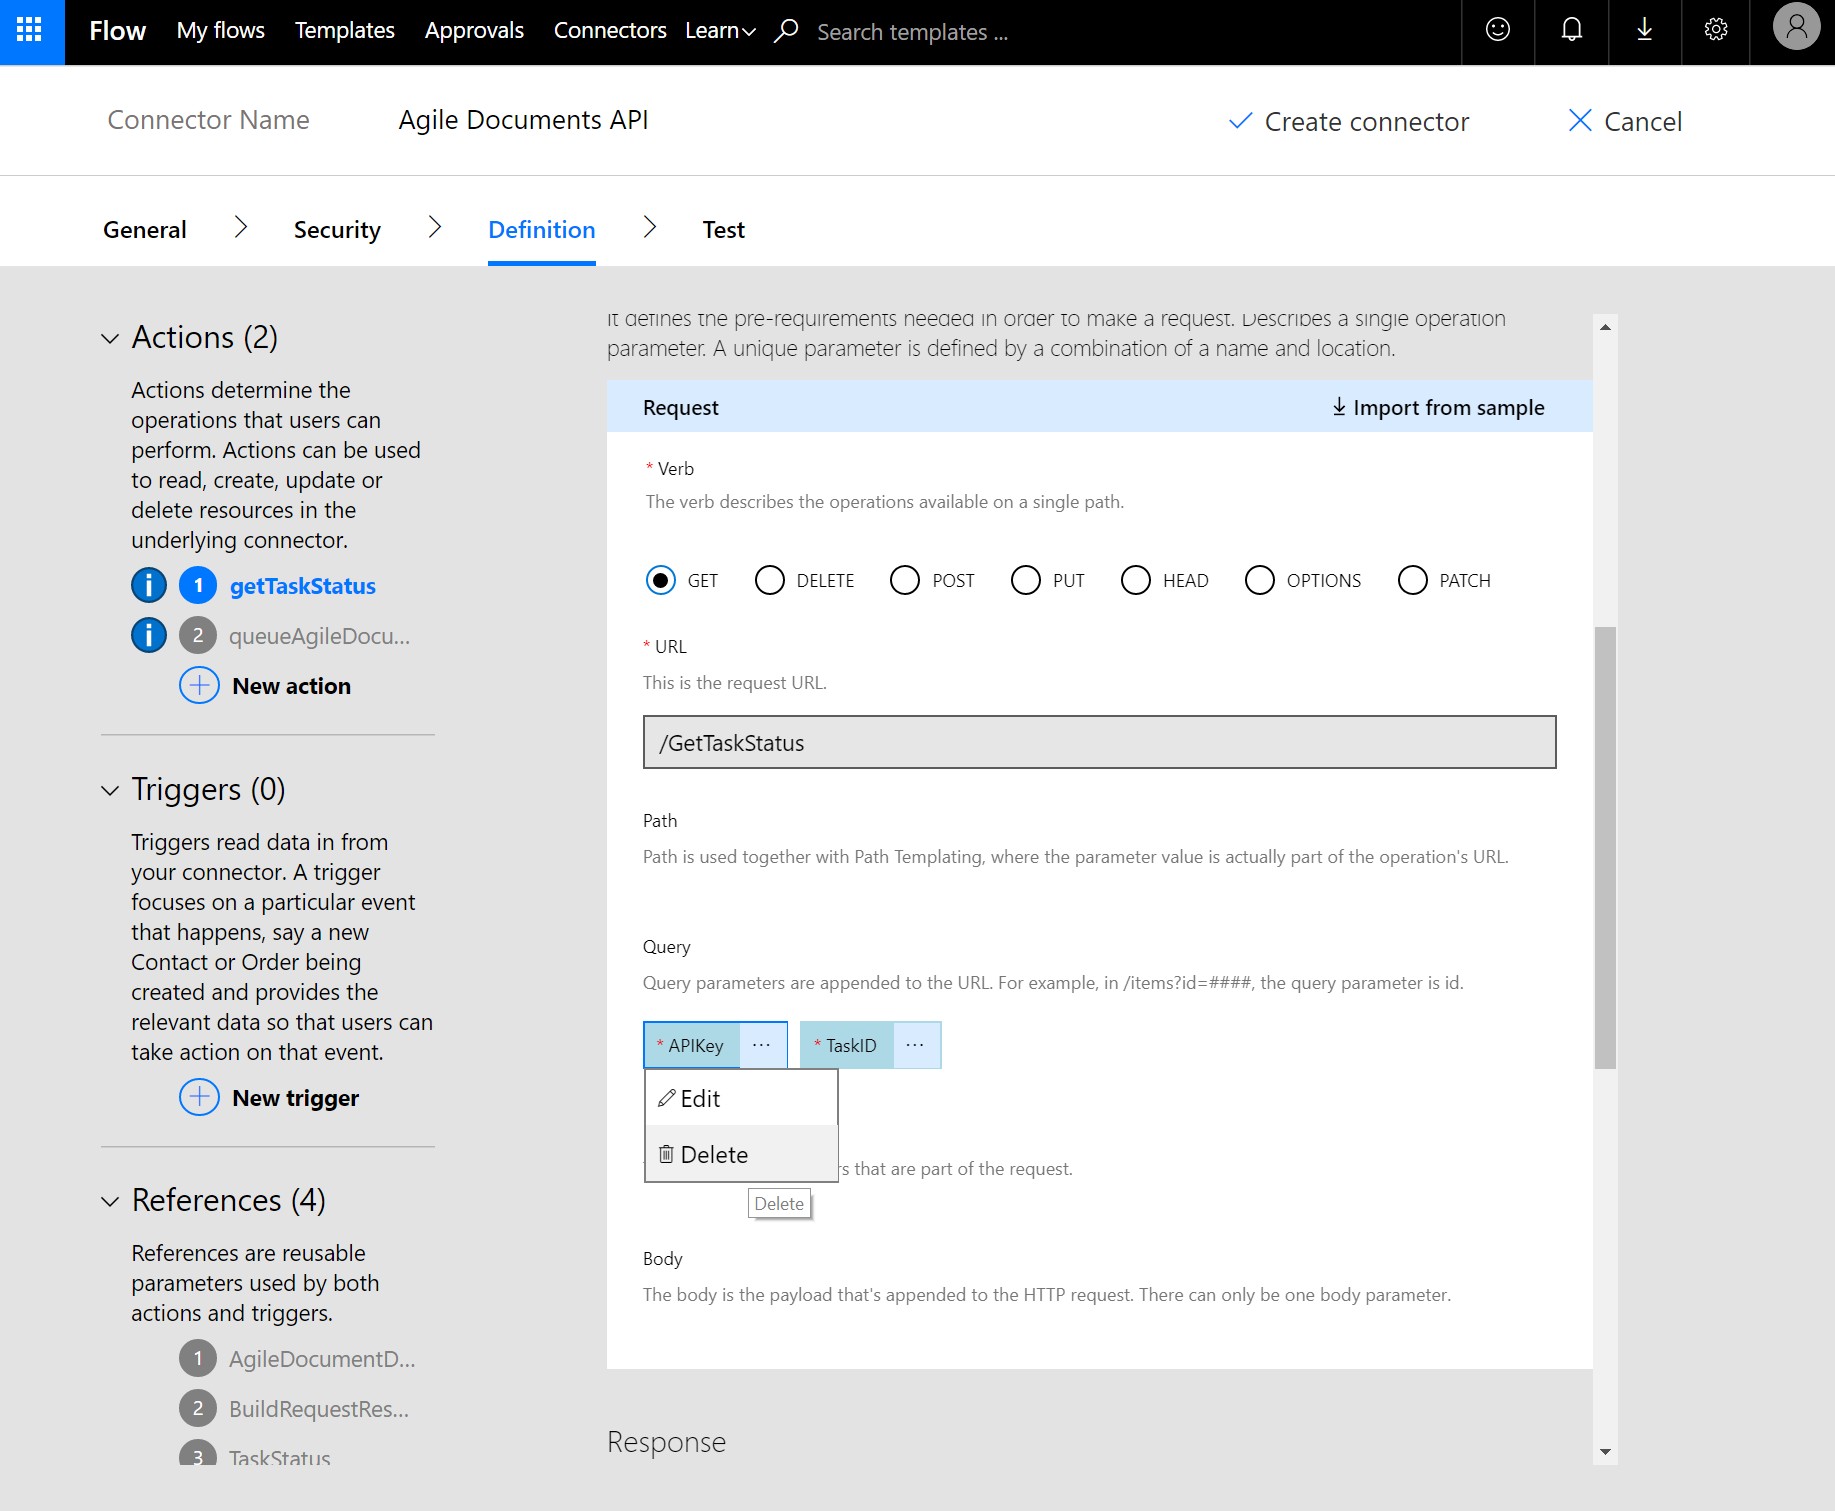
Figure 11: MS Flow Create Connector - Definition - Get Task Status
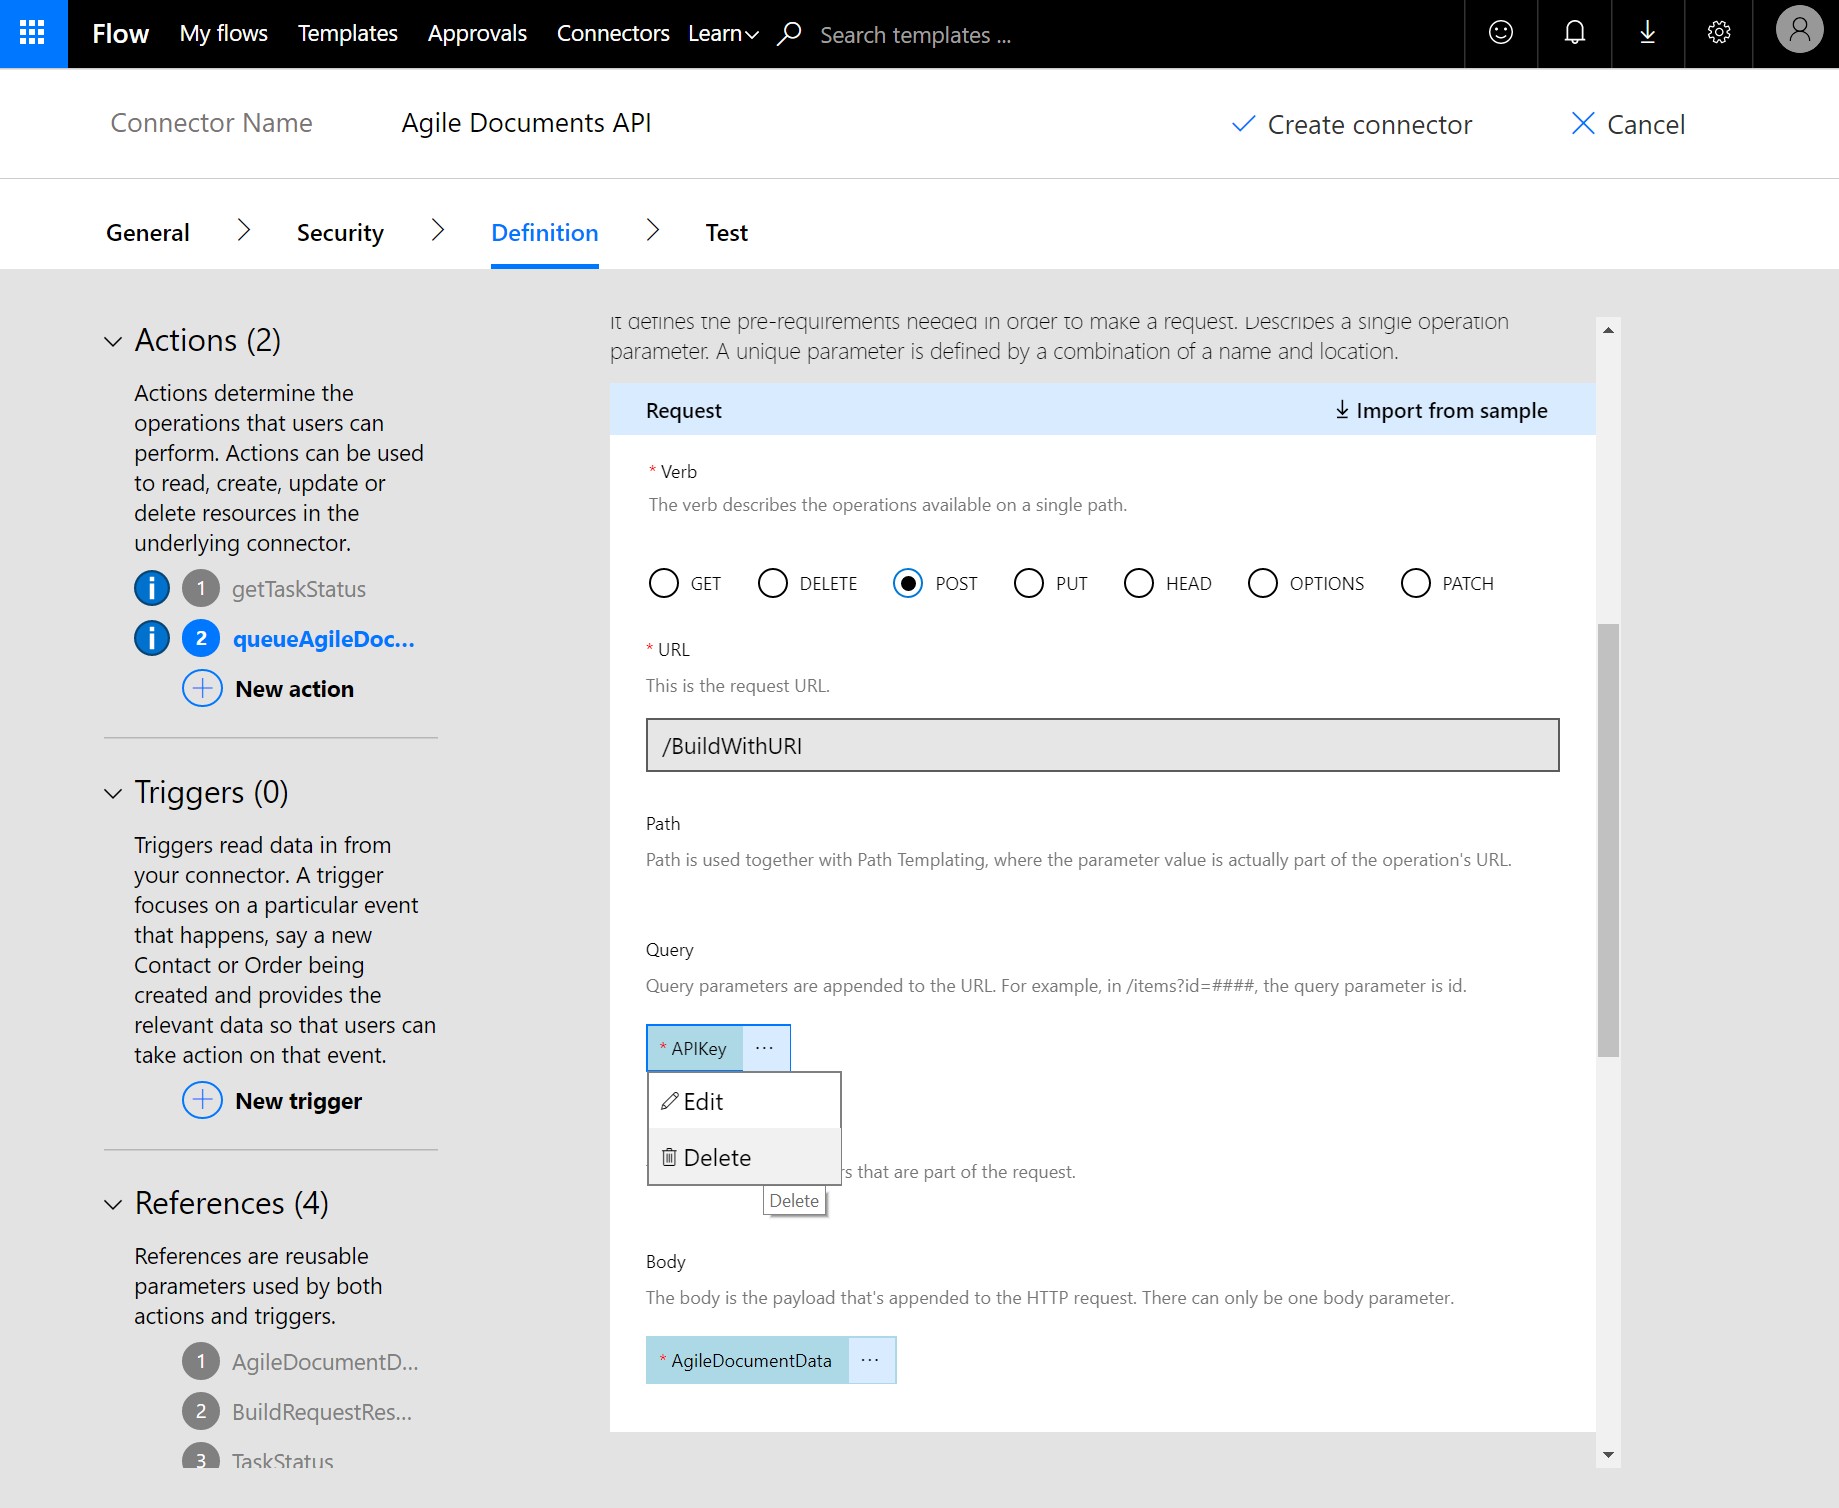
Figure 12: MS Flow Create Connector - Definition - Queue Agile Document Build
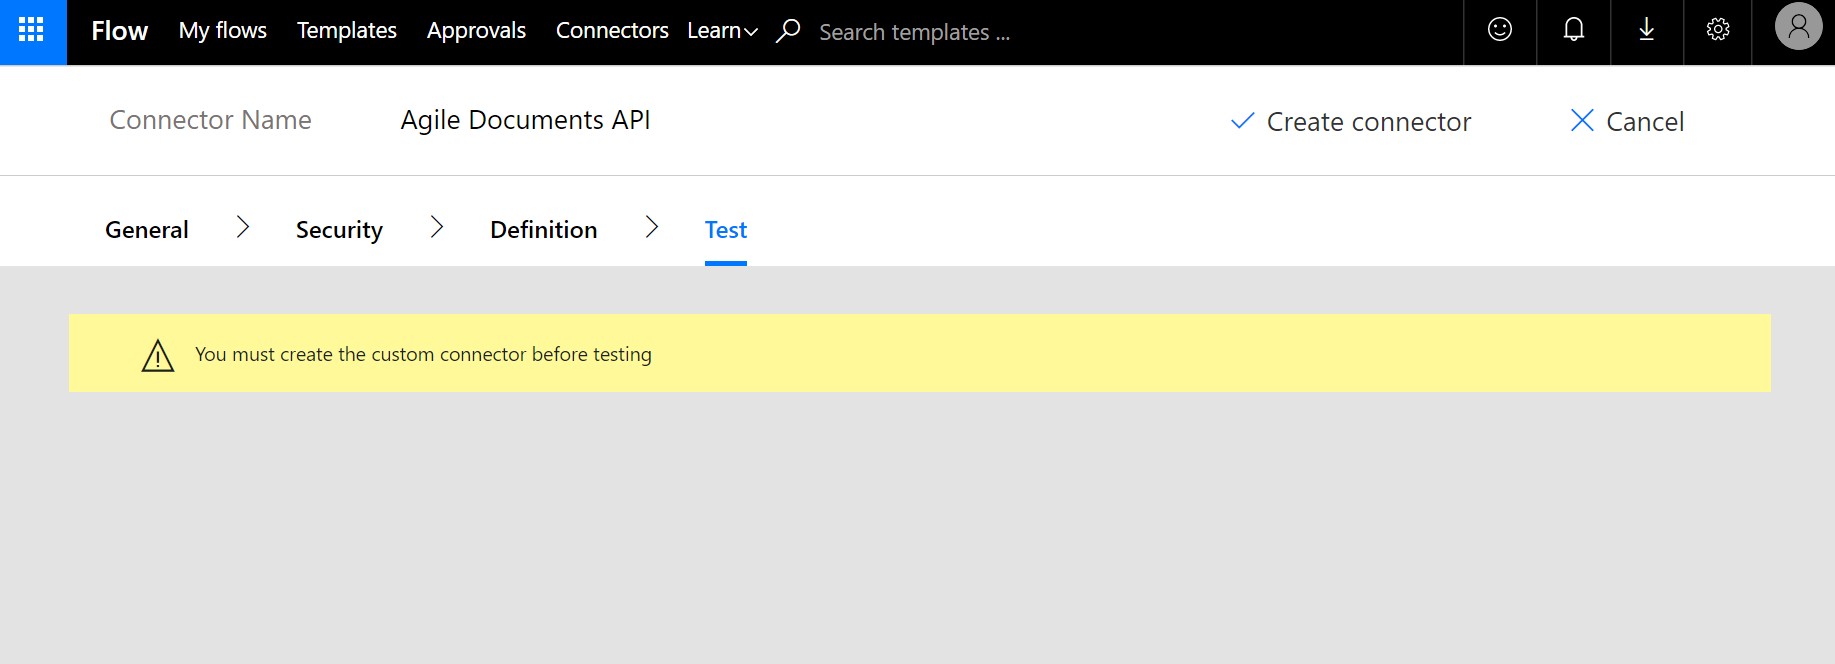
Figure 13: MS Flow Create Connector - Test - Create Connector
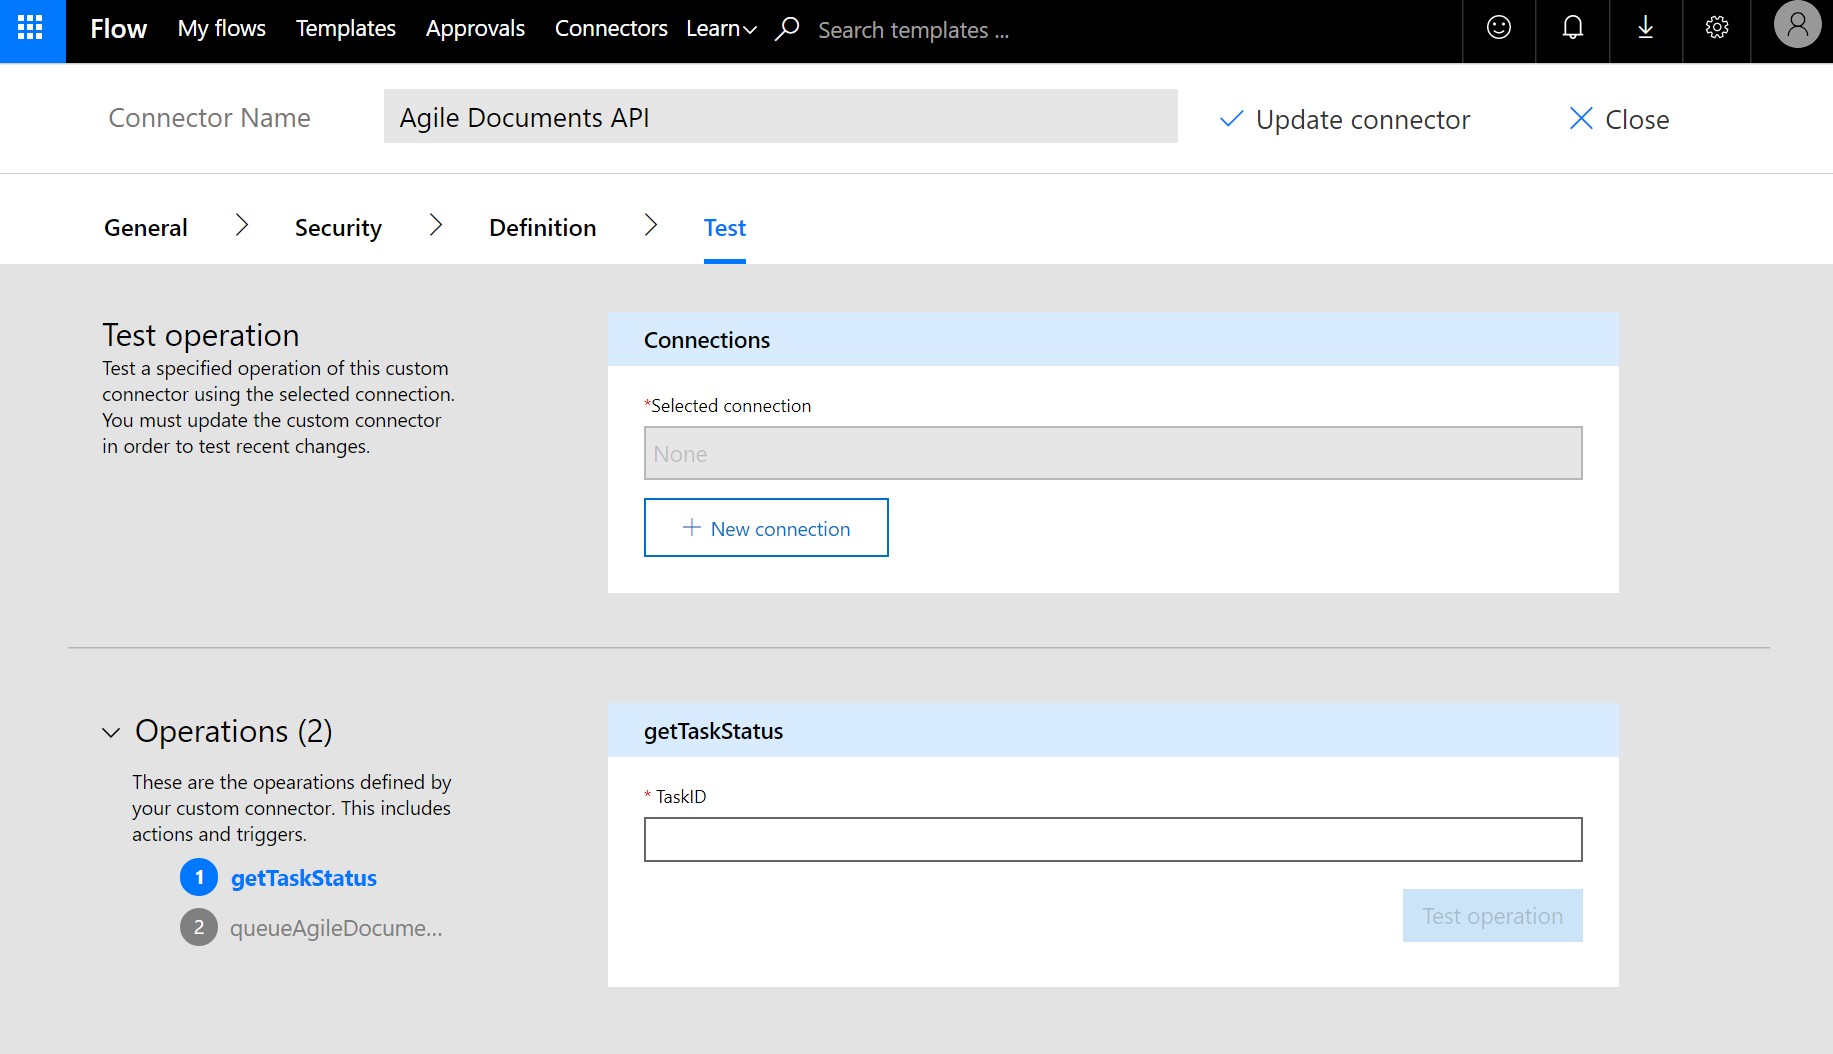
Figure 14: MS Flow Create Connector - Test - New Connection
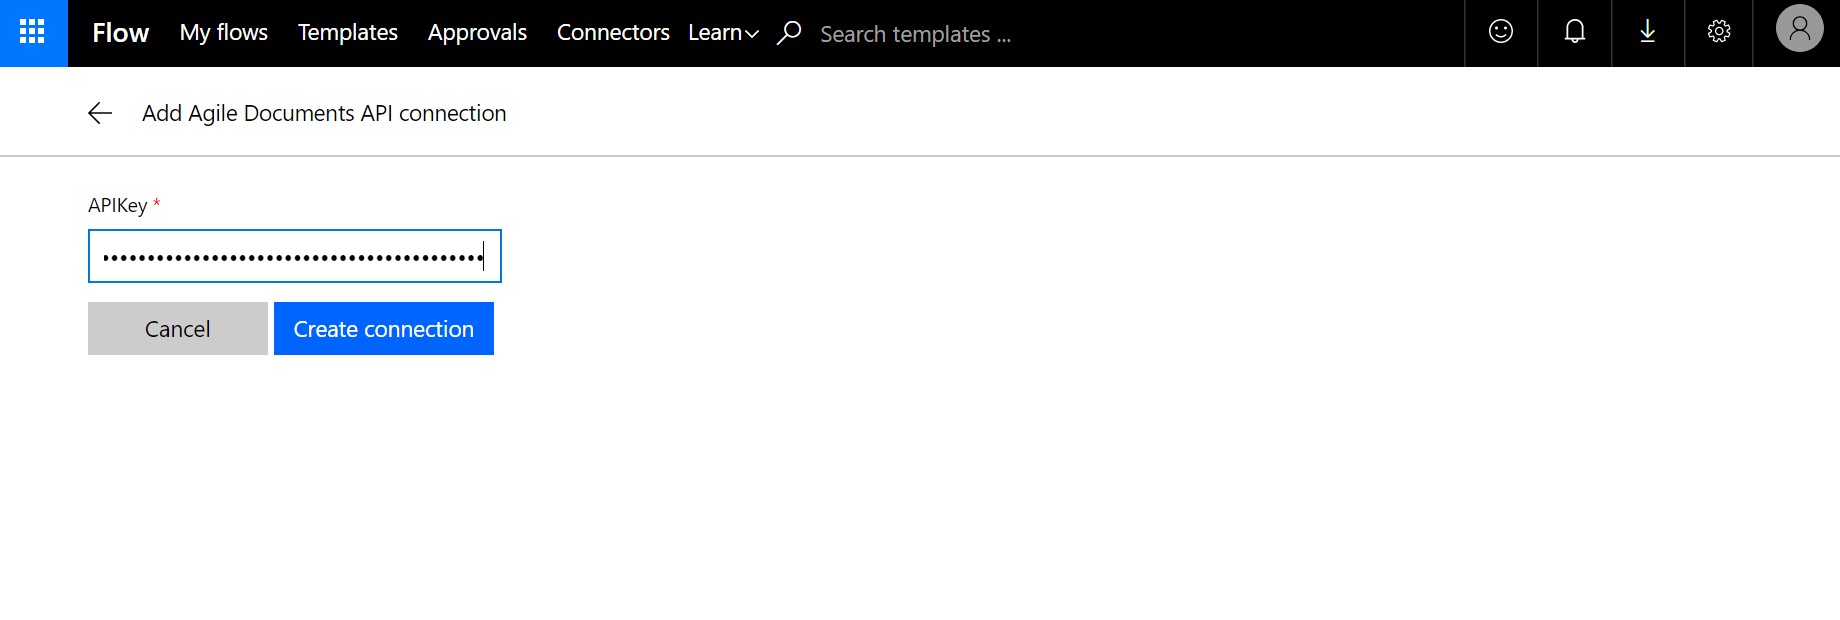
Figure 15: MS Flow Create Connector - Test - New Connection API Key